How to Create a DIY Lighted Wooden Pumpkin

Last updated September 7, 2023
Presented by Anika Gandhi of Anika's DIY Life.
With just a handful of yardsticks, some tools and LED string lights, you can create this cute pumpkin display, perfect for fall.
Difficulty:
Beginner
Duration:
Under 2 hours
Table of Contents
Cut
Arrange
Create the Stem & Glue
Draw a Pumpkin
Cut Out Shape
Paint
Cut

Before you begin, here's what you'll need:
- Yardsticks
- Paint sticks
- LED lights
- Paint (orange and green)
- Hot glue
- Sanding sponge
- Jigsaw
- Miter saw /miter box
- Power drill
- Safety glasses
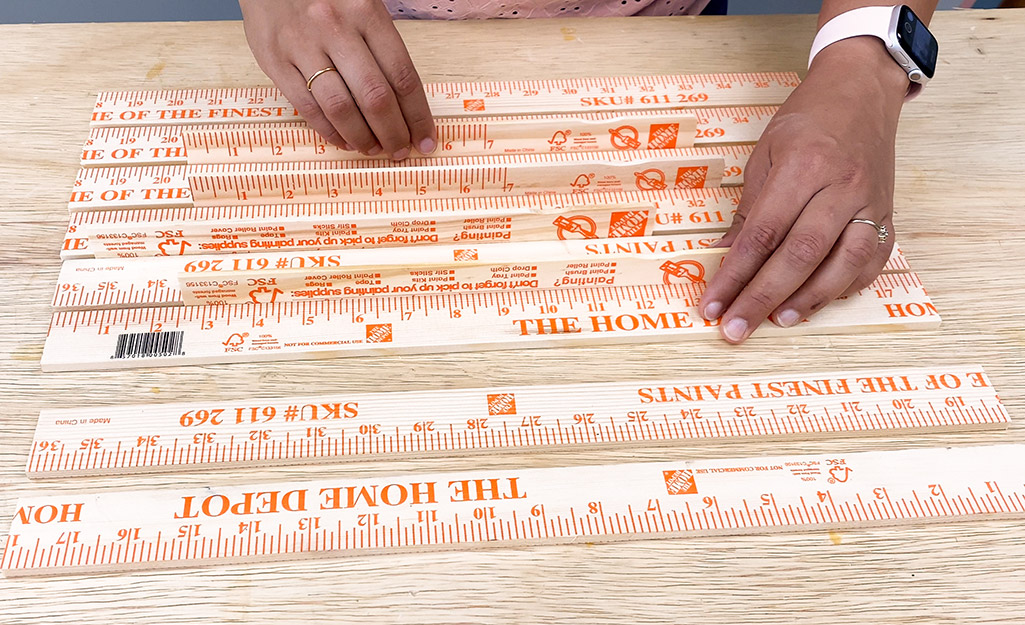
Cut yardsticks in half using a miter saw or a miter box and handsaw.
Arrange

Arrange the yardsticks with even spacing. A paint stick is great option for this.
Create the Stem & Glue

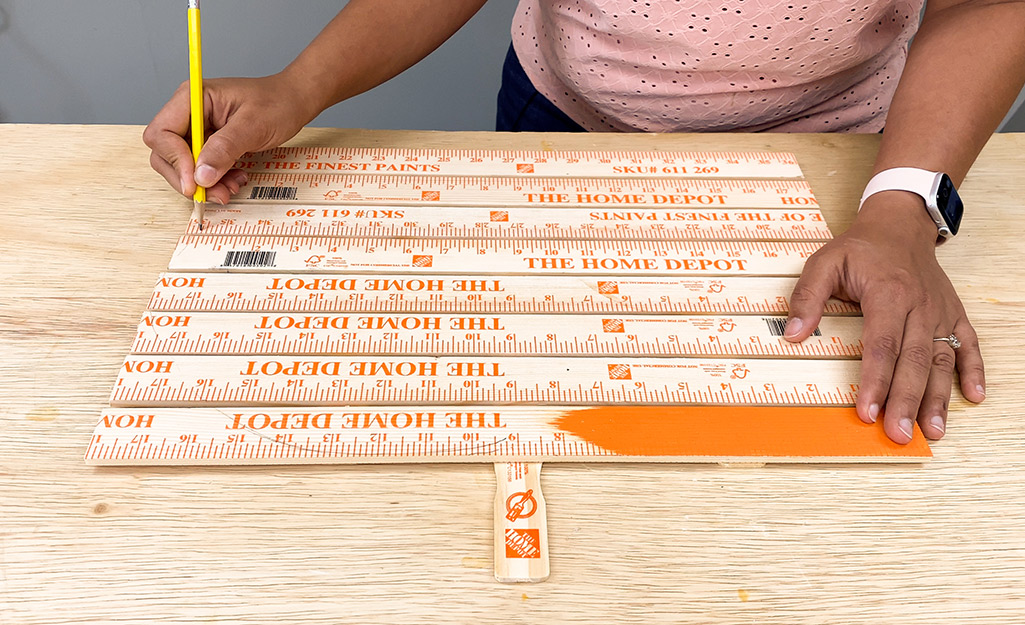
Add a paint stick in the middle to make the stem and a couple of paint sticks on both sides of it to hold the yard sticks together. Apply a generous amount of hot glue and glue down all three paint sticks.
Draw a Pumpkin

Draw a pumpkin shape on the yardsticks.
Cut Out Shape

Cut out the shape using a jigsaw.
Paint

Paint the pumpkin and the stem in the colors of your choice.
Mark & Drill

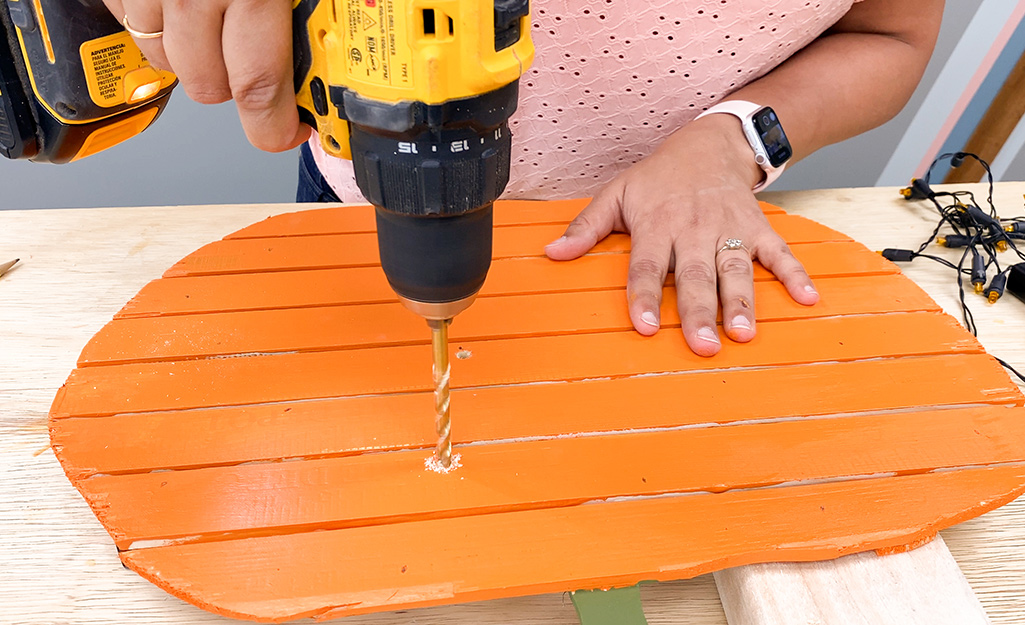
Mark and drill holes for the LED lights.
Attach LED Lights

Apply a dab of hot glue around the LEDs and attach them to the pumpkin.
Complete!

Viola, your lighted wooden pumpkin is complete! Display it inside or maybe even by your front door. It will make a cute addition to anyone's home.
If you're looking for holiday decor, lights and more, The Home Depot delivers online orders when and where you need them.


