How to Create a Pie Stand and Pie Puzzle

Last updated September 7, 2023
Presented by Cara McIntire of Never Skip Brunch.
Try out this fun project and you and your child can create a beautiful pie plate for the holiday table, along with a fun pumpkin pie puzzle.
Difficulty:
Beginner
Duration:
2-4 hours
Table of Contents
Gather the Tools and Materials
Create the Base
Create the Cork Round Top
Create the Wood Round Top (Optional)
Attach the Top to the Base
Decorate It
Gather the Tools and Materials
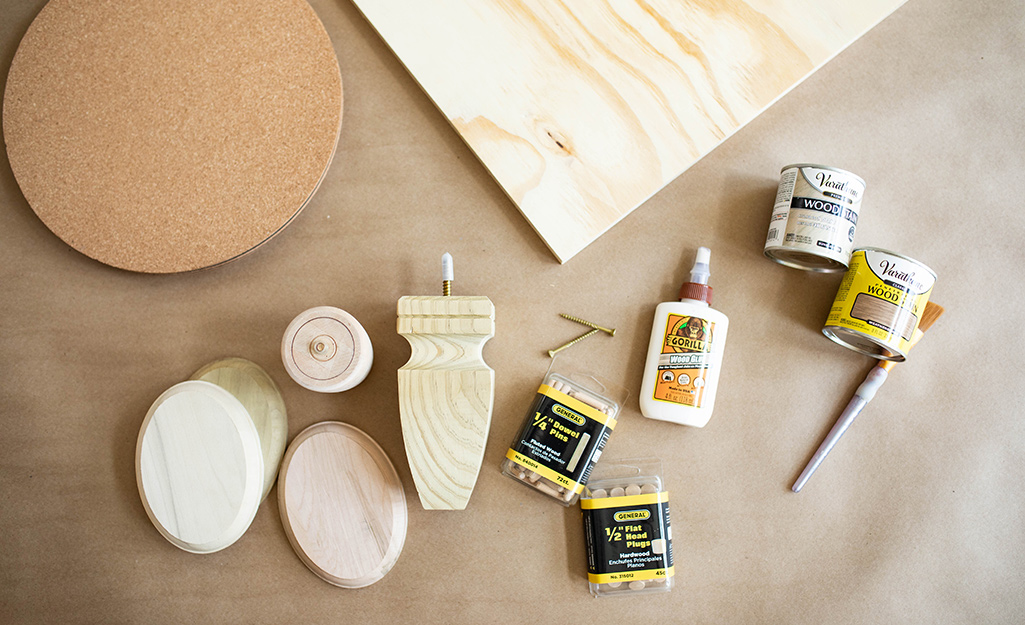
Pie Stand:
- Stair railing rosette, oval or circle
- Furniture legs
- Wood glue
- Four 12-inch cork matts (power tool free version)
- or 2x2 sanded plywood board
- Dowel pins or 1/2-inch flat head plugs for decor
- 2-inch screws
- Your choice of stain, spray paint or acrylic
Pumpkin Pie Puzzle:
- Home Depot Boxes
- Orange Paint
- 9-inch brown masking paper
- Pom Poms & Brown Felt
Tools Used:
- Box knife
- Hot glue gun
- Foam sponge brush set
- Paintbrushes
Create the Base
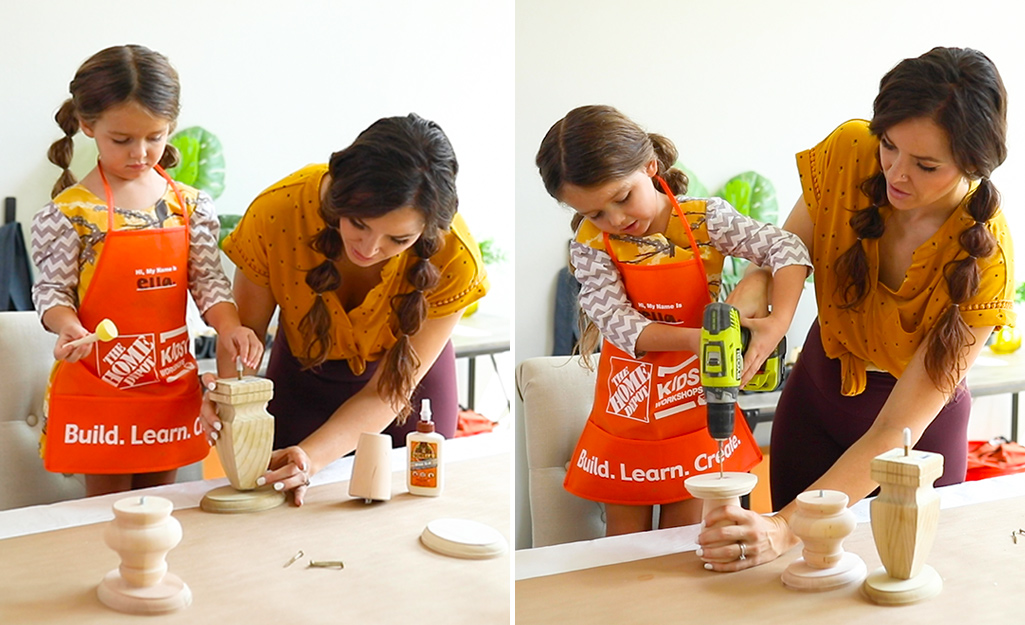
Make the base by attaching the furniture legs to the stair railing rosette.
- Apply wood glue to the end of the furniture leg (the side without a screw).
- Stick it down in the middle of the stair railing rosette.
- Let dry.
- For added strength, drive a screw through the bottom of the rosette into the middle of the furniture leg.
Create the Cork Round Top
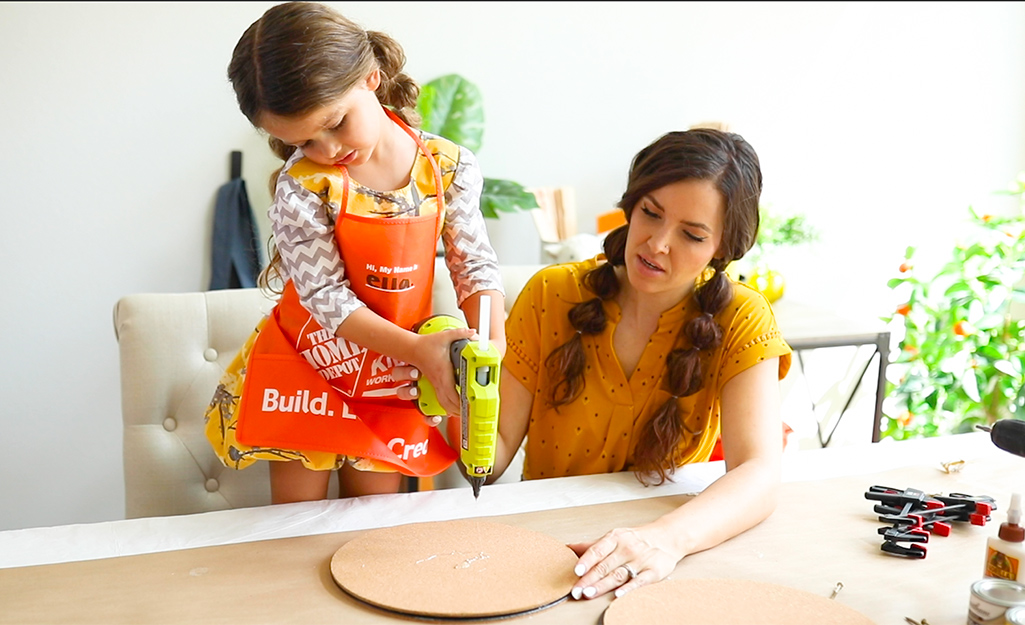
- Stack the four 12-inch cork rounds, arranging so that both the bottom and the top are cork-side out.
- Attach all four cork rounds together using hot glue.
- Press firmly until glue is cool for a smooth and even finish.
Tip: Assist your child with using the hot glue gun depending on their age and skill.
Create the Wood Round Top (Optional)
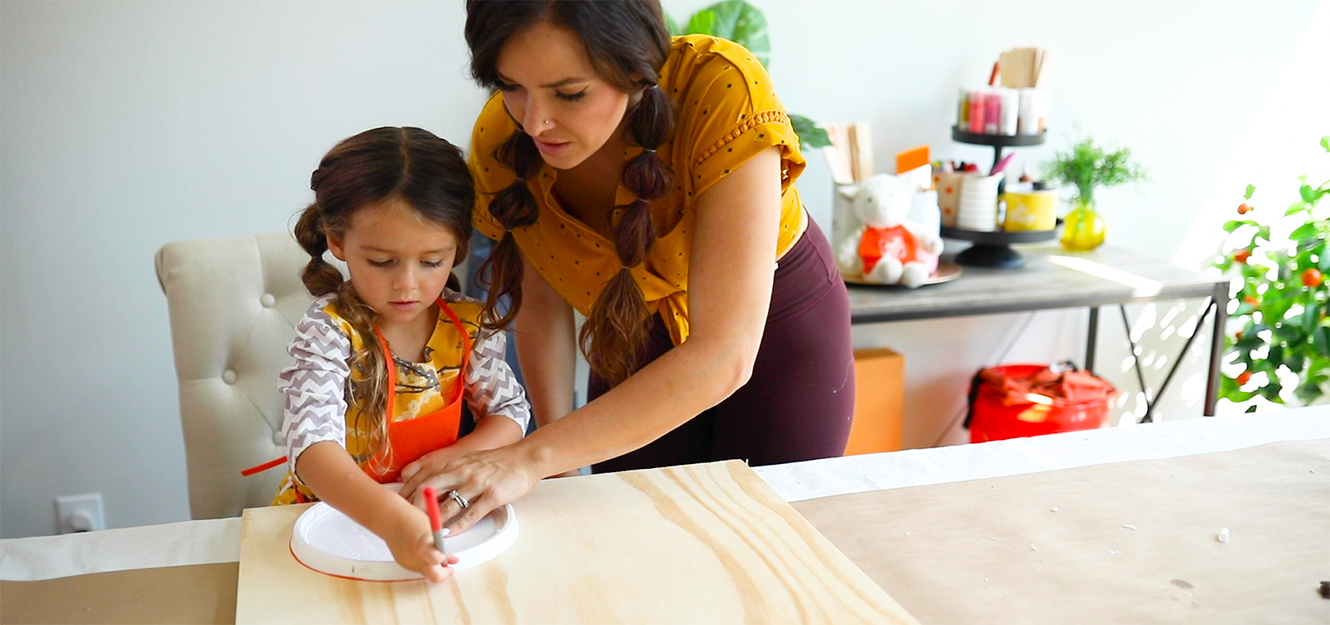
If you prefer, you can build a wood top.
- Trace a 10- or 12-inch circle onto a plywood project board or any other 3/4-inch thick wood piece you’d like to use. Bucket lids work great for tracing, or you can use a plate.
- Cut around the outside of the circle using a jigsaw.
- Lightly sand the edge to remove any rough edges.
Attach the Top to the Base
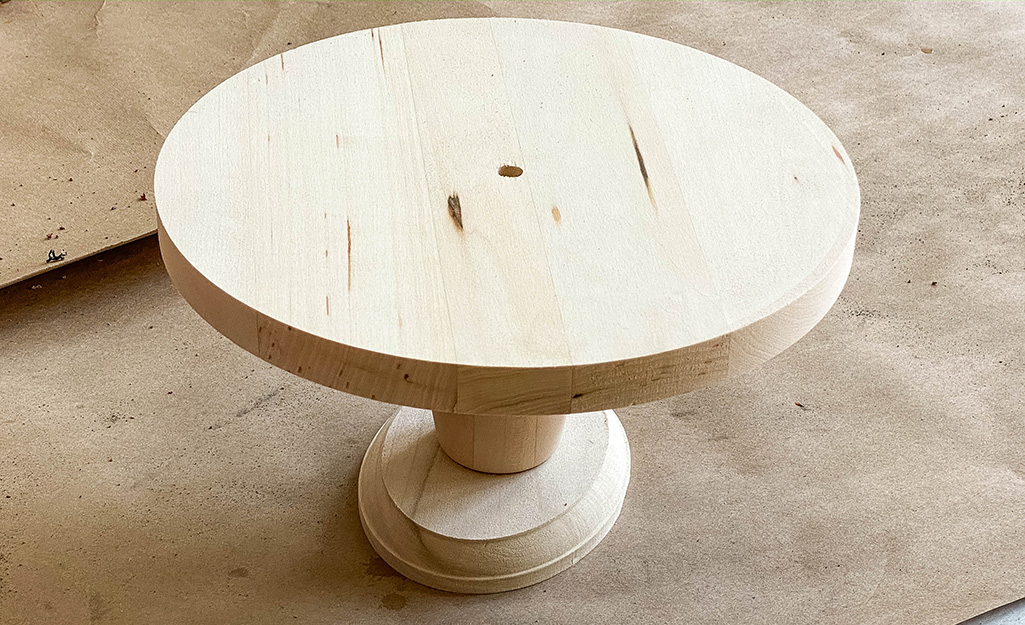
- Drill a small hole in the very center of the bottom of the round tray. Be sure not to drill it all the way through or you’ll end up with a hole in the middle of your tray.
- Screw the top screw of the furniture leg on the base into the hole.
Tip: For a power tool free option, you can hand-screw a furniture leg top plate into the bottom center of the tray and screw your furniture leg into it.
Decorate It
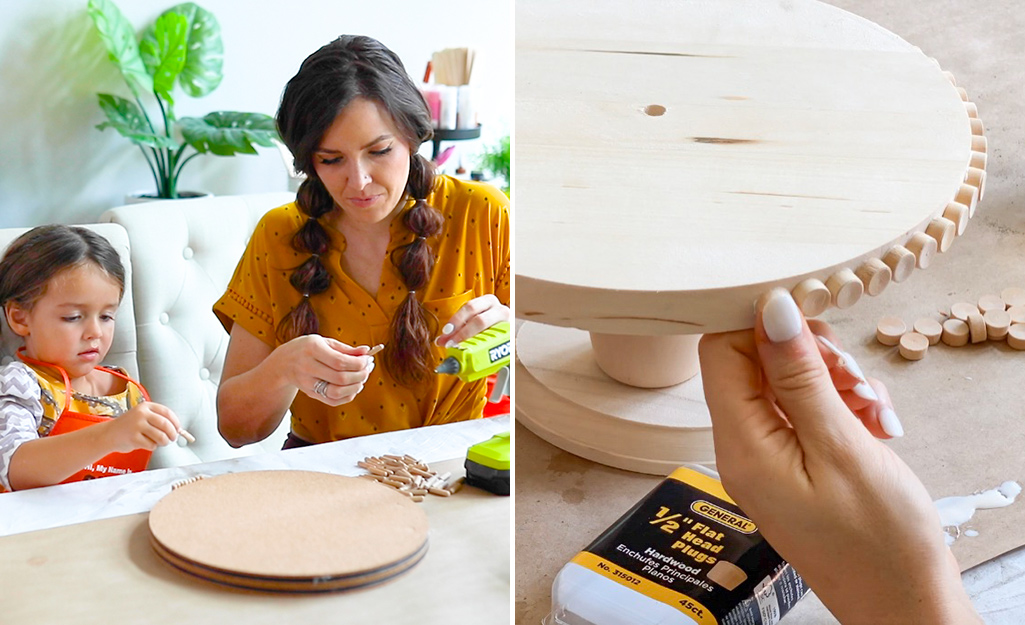
- To create a textured edge, you can glue dowel pins or flat head plugs to the side.
- In the example, the edge of the corkboard tray was finished by gluing dowel pins to the edge all the way around using hot glue.
- Texture was added to the wood round top by attaching flat head plugs to the edge with wood glue.
Paint or Stain (Optional)
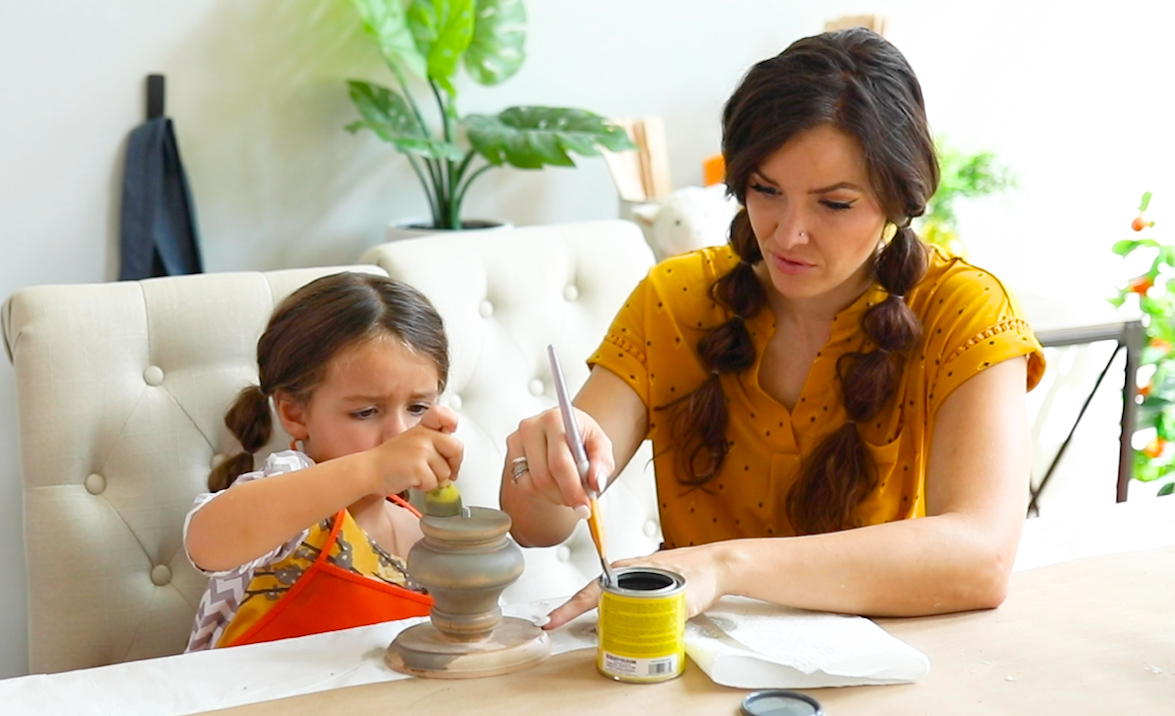
- Add a pop of color with paint or opt to stain your pie stand for a chic wood look.
- Be sure to use a food-safe paint or stain.
Add Your Favorite Pie
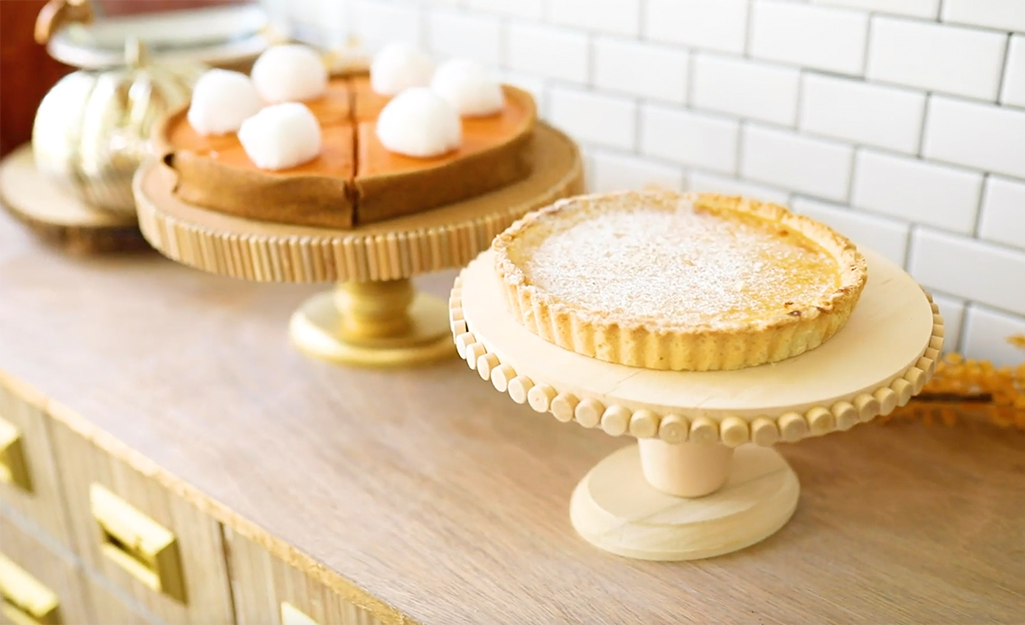
Set your favorite Thanksgiving pie on top and it’s ready to serve. It’s chic enough for the grown-up table, but can also work as a cute display for our DIY pumpkin puzzle project.
Build a Pumpkin Pie Puzzle
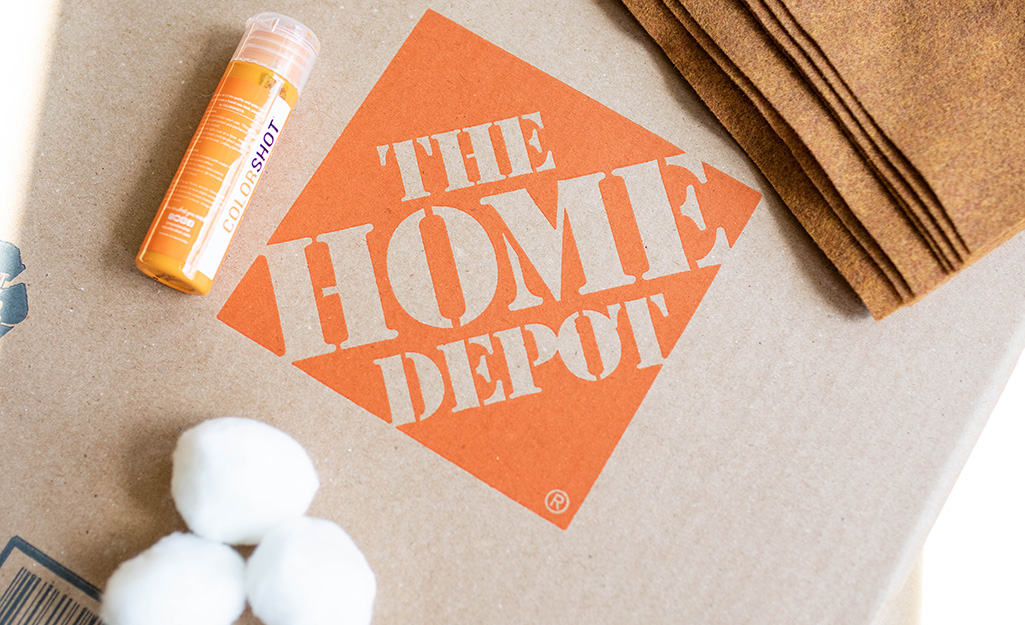
Now that you have a pie stand, use the rest of the materials to build a pie-shaped piece of decor that you can use for decoration or a little fun.
Trace and Cut Pie Form
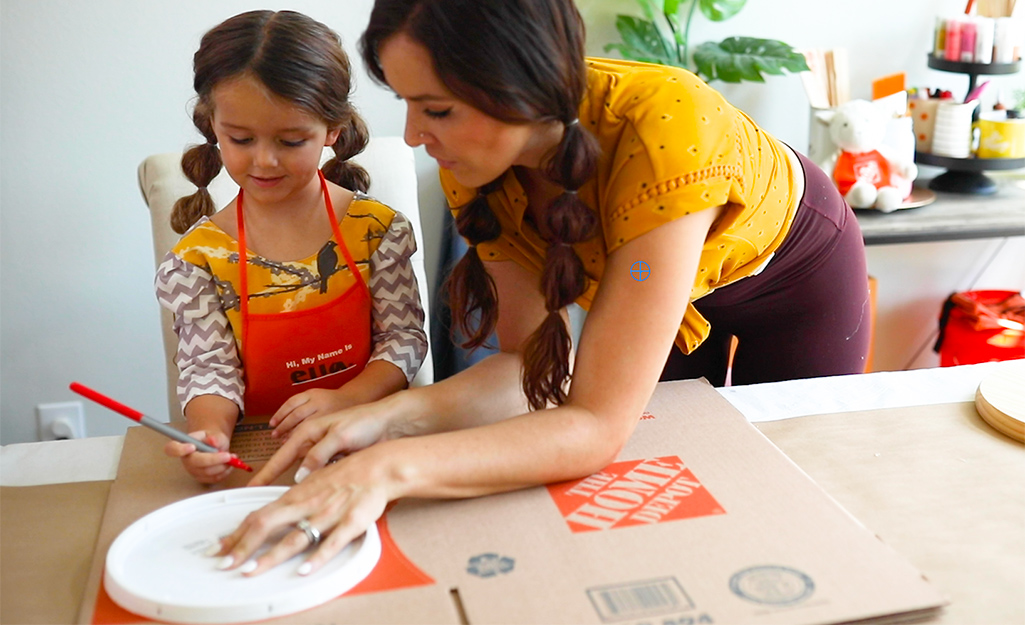
- Trace a 10-inch circle using a 2-gallon bucket lid or similar sized plate.
- Cut it out using sharp scissors or a box knife.
- Repeat to make 5 to 6 circles that are the same size.
Glue the Cardboard Rounds
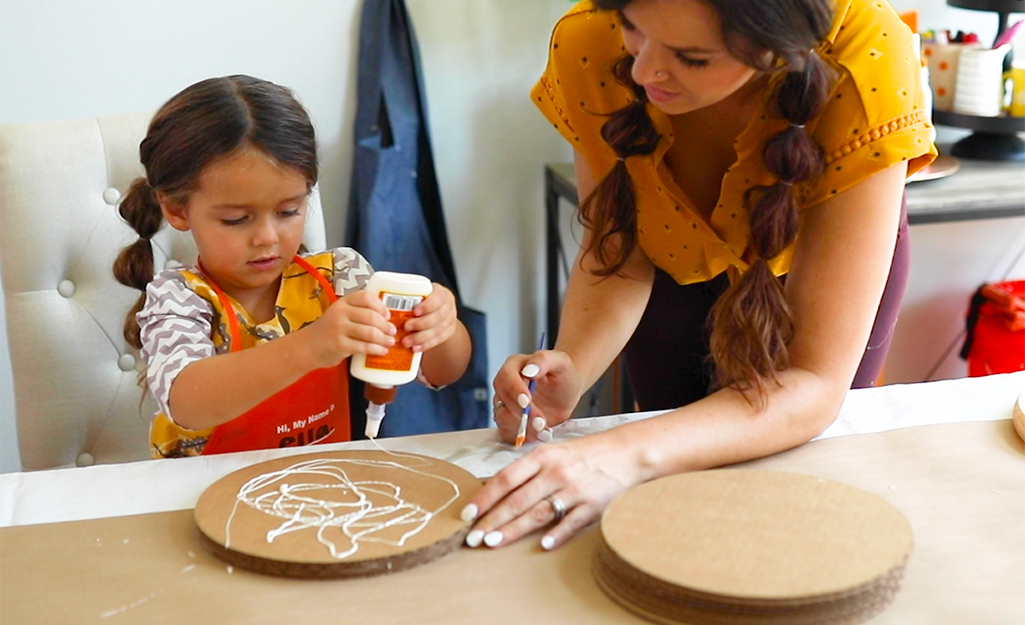
- Use wood glue and attach all the cardboard rounds together in an even stack.
- Use a paintbrush to smooth it out between pieces.
- Let dry.
Cut the Cardboard Stack into Pieces
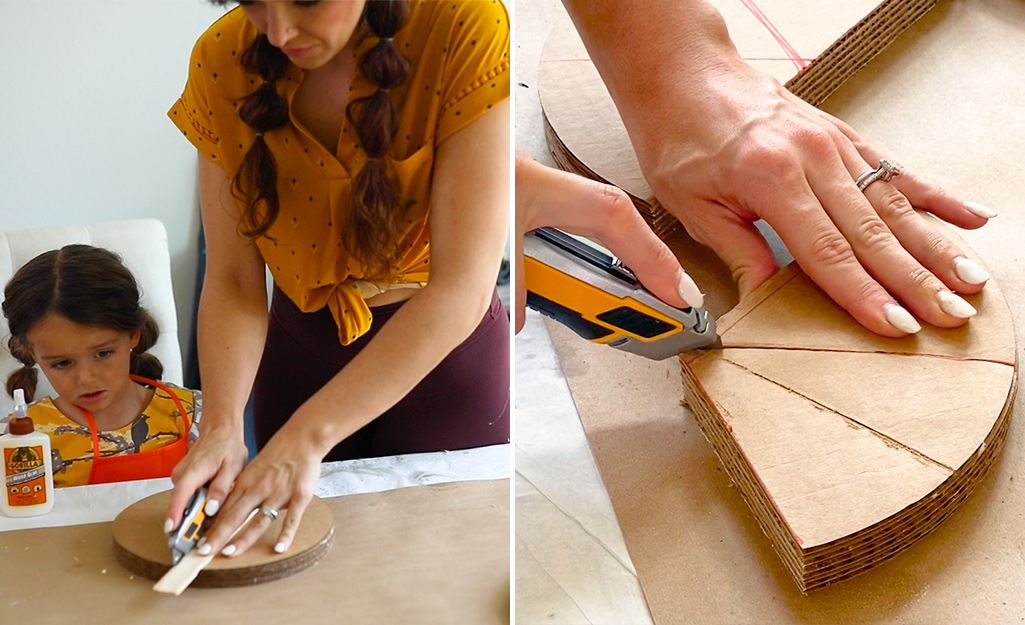
- Once dry, cut the round cardboard stack into pie pieces. In the example, it was cut into six pieces.
- Use a paint stick or ruler as a straight edge and cut the stack in half along the line.
- Make multiple passes over the same line with a box knife to cut through the whole stack without bending it.
- After it is cut in half, then cut each half into three even pie pieces. (They don’t have to be exact.)
Glue Paper to the Sides
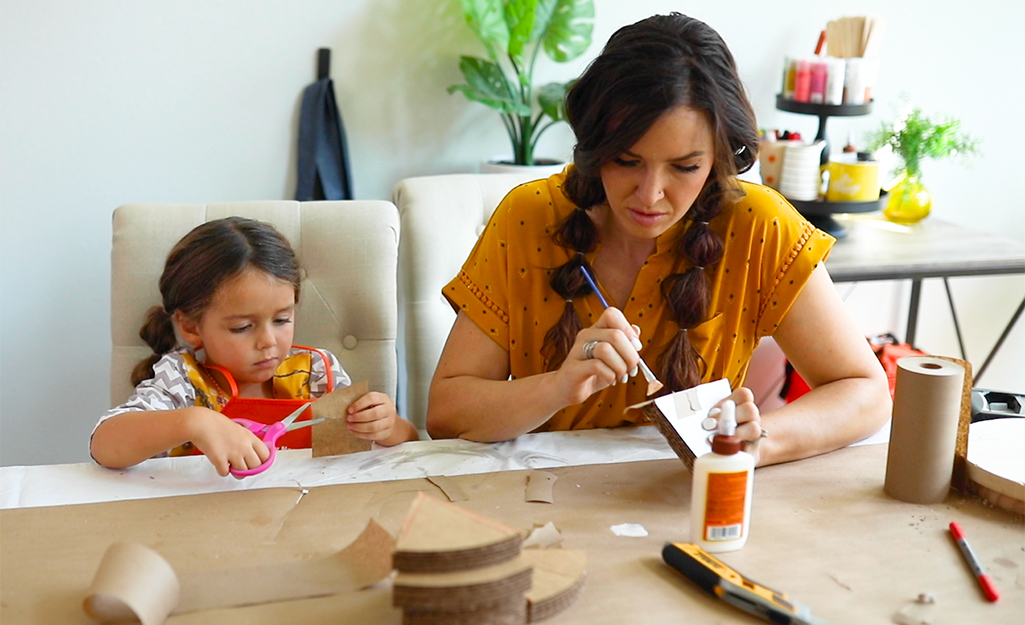
To make the edge surfaces smoother, glue some thin masking paper to the sides with wood glue – using a papier-mache technique with less mess.
- Cut paper into strips.
- Apply glue to the sides of the pie pieces.
- Stick down a strip of masking paper, then brush glue over the top.
- Let these pieces dry completely.
Paint the Pie Pieces
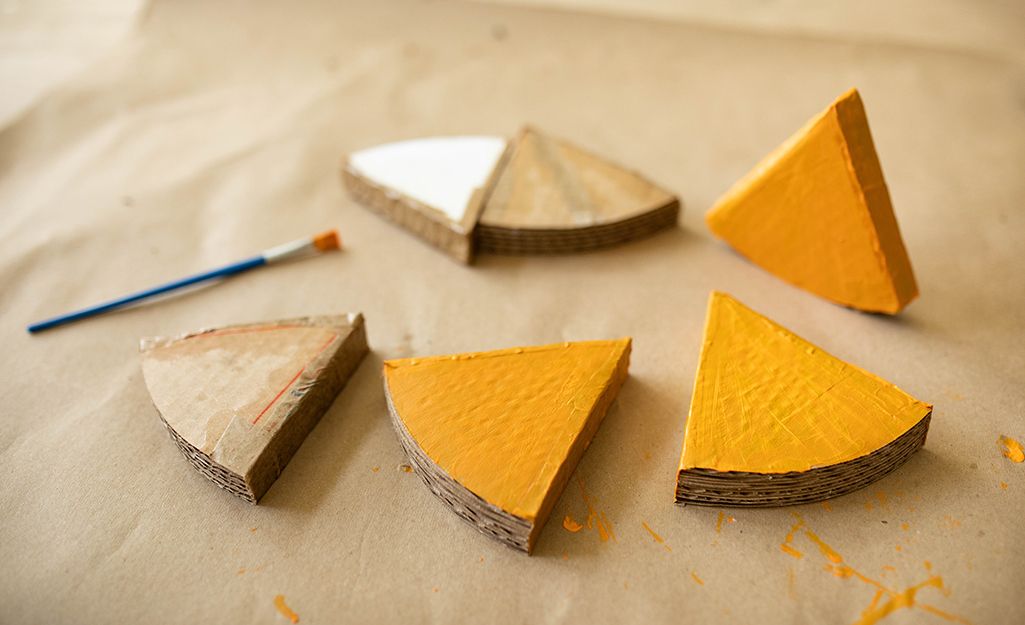
The example was styled as a pumpkin pie, so the pie pieces are painted orange.
- Use two coats of craft paint.
- Let the pieces dry between coats.
Glue On the Felt “Crust”
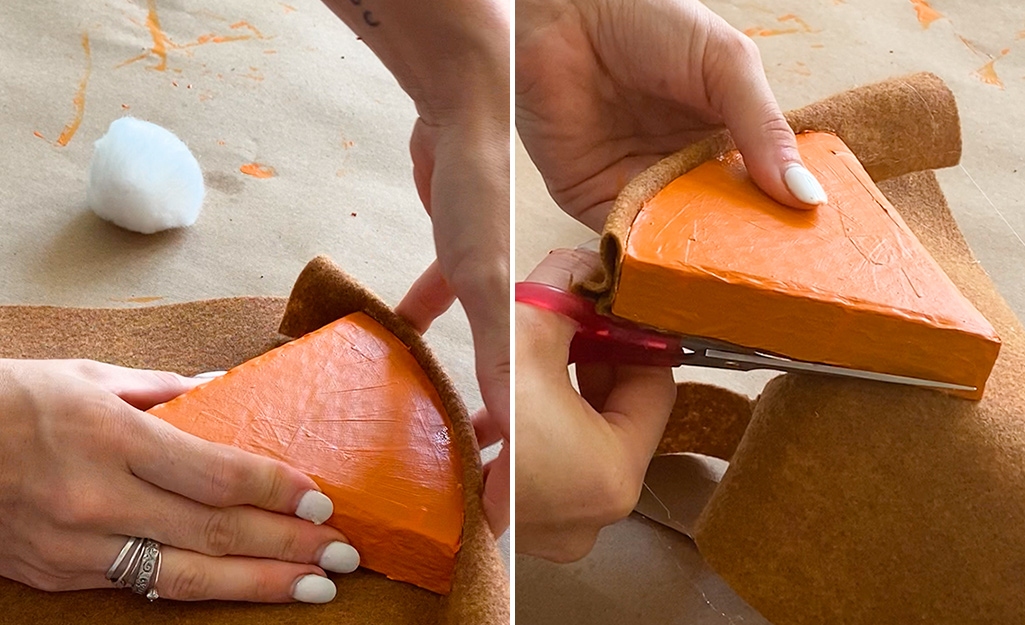
- Start by hot gluing felt on the back of the pie piece by lining up the bottom of the pie piece with the edge of the felt.
- Then fold the felt over onto itself to create a bend at the top of the pie piece so that it looks like a crust edge.
- Add hot glue to the bottom of the pie piece and secure it to the felt.
- After the glue has cooled, finish by trimming the felt around the pie piece with scissors.
Add a “Whipped Cream” Pom Pom
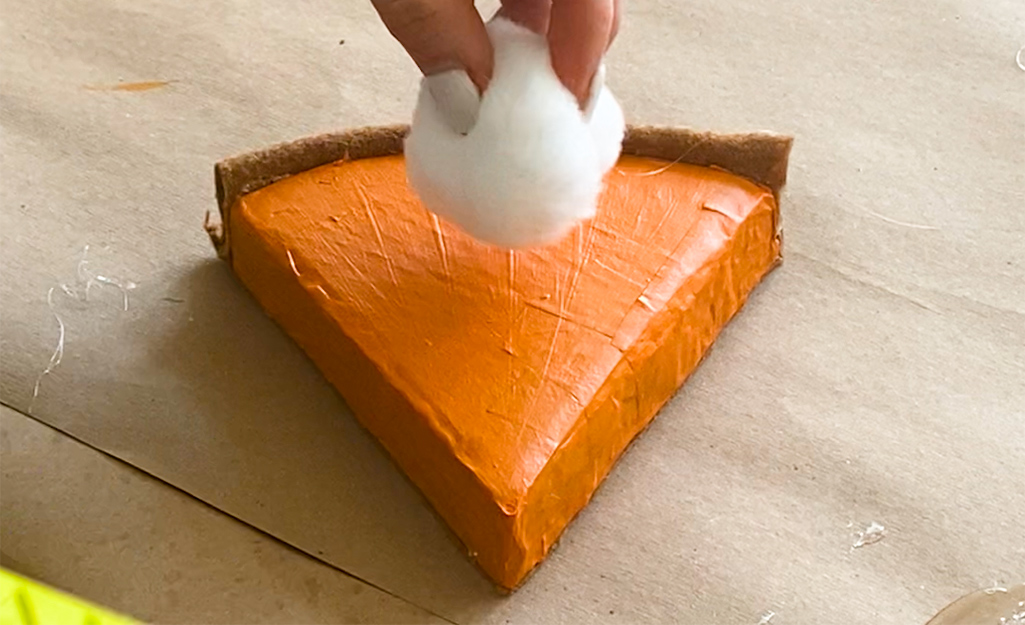
- Add a dot of hot glue to your pom pom and secure it to the top of the pie.
- Repeat for each pie slice.
Style & Play
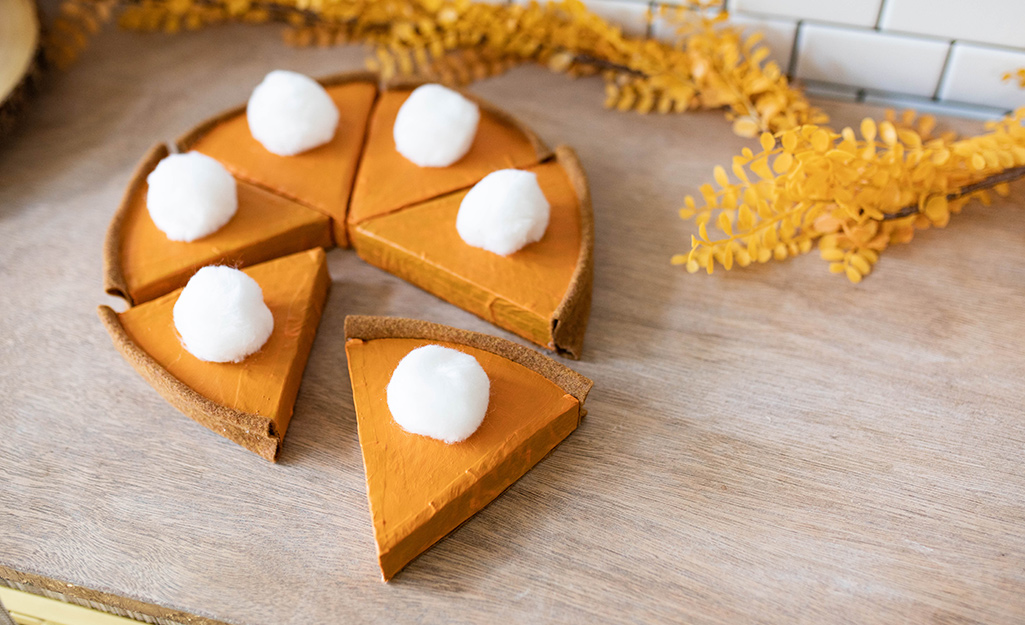
Your little one can serve this up as a seasonal special in their chef’s kitchen, or you can style it on the pie stand and use it as a centerpiece decoration for the Thanksgiving kids table.
This piece of DIY decor will liven up your holiday table, and the pie piuzle will be a fun project to get your kids involved in the holiday planning.
Ready to start your project? The Home Depot delivers online orders when and where you need them.


