How to Crimp Connectors

Last updated September 7, 2023
Installing crimped cable connectors on your networking cables is a job you can easily do yourself. This is a common technique for coaxial cables and unshielded twisted-pair (UTP) cables (often called an Ethernet cable).
This guide will show you how to crimp the connectors on both types. Before you begin, read any wiring instructions that come with your connectors.
Difficulty:
Beginner
Duration:
Under 2 hours
Table of Contents
Strip the Coaxial or UTP Cable
Prepare the Wire
Attach the Connector
Crimp the Connector
Finish the Connection
Strip the Coaxial or UTP Cable

- Use wire cutters to cut and square off the end of the cable. If the wire cutters flatten the cable, gently mold it with your fingers until it is round again.
- Use wire strippers to remove 1/2-inch of the cable’s sheath to expose the bare copper center.
- Use your fingers to expose 1/8-inch of braid and foil by pinching and pulling off a small piece of the outer sheath.
- For UTP cable, strip
1/2-inch down from the end using cable strippers, and then carefully trim off the trip cord.
Tip: An installation kit can provide all the tools and materials you need to cut, strip and crimp networking cables.
Prepare the Wire

- Slip the ferrule (the metal tube that will be crimped, also called an electric end terminal) over the end of the cable.
- Use your fingers to bend all the braid back over the ferrule as evenly as possible.
- For UTP cable, untwist each pair of wires down to the sheathing. If you’re working with CAT-6 wire, cut the center core down to the cable end.
- Lay out the wires side by side in this order: white-orange, white-green, blue, white-blue, green, white-brown, brown.
- Trim all the wires to the same length, 1/2 to 3/4 inches from the sheath.
Attach the Connector

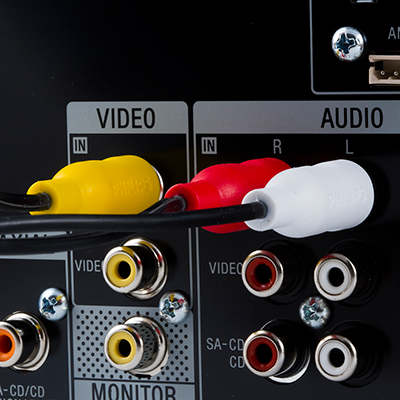
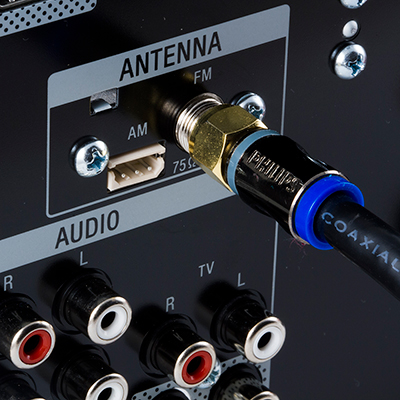
- Push the end of the cable into the F connector so the connector tube goes between the foil and outer housing of the cable.
- Push the end until the white insulator is flush with the bottom of the connector.
- Slide the ferrule over the bottom of the connector.
- Do not twist the cable inside the connector.
- For UTP cable, insert the wires in the order specified in Step 2 into the RJ-45 plug. The cable sheath should extend into the plug by about
1/2-inch and will be held in place by the crimp.
Crimp the Connector

- Make sure the ferrule is flush against the connector body.
- Crimp the ferrule tightly around the end of the connector using a crimping tool.
Squeeze the tool handles fully, then release. - Use an appropriately sized crimping tool. A crimping tool with multiple die sizes is ideal. Crimping with a too-small die can damage the ferrule. Crimping with
a too-large die
can create a weak or unfinished crimp.
Finish the Connection

- Trim any loose wires or braid.
- Cut the copper core wire flush with the end of the connector.
- Pull on the connector to make sure it is firmly attached.
- For UTP cable, make sure the wires are in the right order, extend to the front of the plug and make good contact with the metal bases in the RJ-45 plug.
- Repeat the steps to attach a connector on the other end of the cable.
Tip: Slide heat-shrinking tubing over the ferrule and shrink it using a heat gun to create a secure, professional-looking connection.
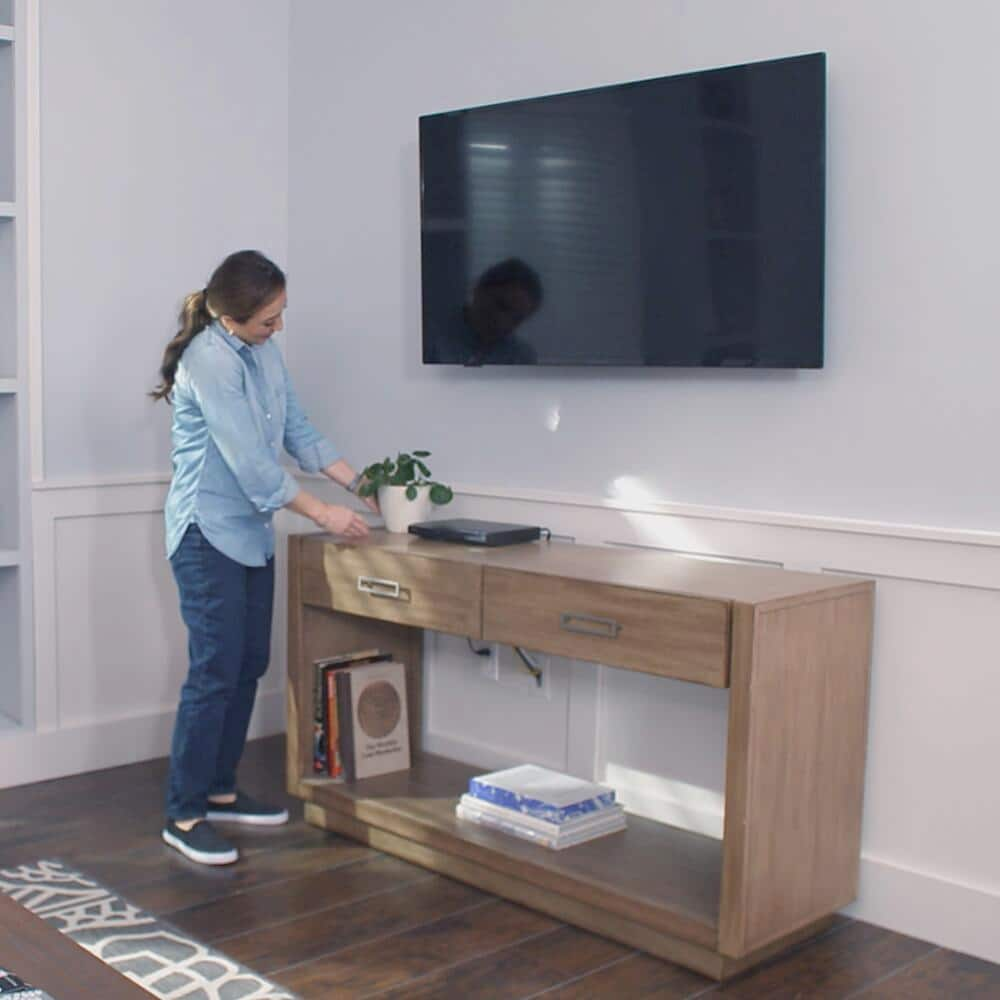
Learning how to crimp connectors correctly will ensure you don’t accidentally damage your cables and that you have a durable and effective connection. Ready to get the tools you need to prepare your networking cables? Use The Home Depot Mobile App to find everything you need.