How To Finish Wood

Last updated September 7, 2023
Applying a wood finish is an essential step to protect the wood's surface. Finishing wood prevents swelling and cracking, protects against stains and enhances the appearance of the wood. This guide covers how to finish wood. It includes information on the different kinds of wood finishes and tips for choosing the right one.
Difficulty:
Beginner
Duration:
Under 2 hours
Table of Contents
Why to Apply a Finish
Types of Wood Finishes
Paint
Polyurethane Wood Finish
Shellac Finishes
Lacquers
Why to Apply a Finish
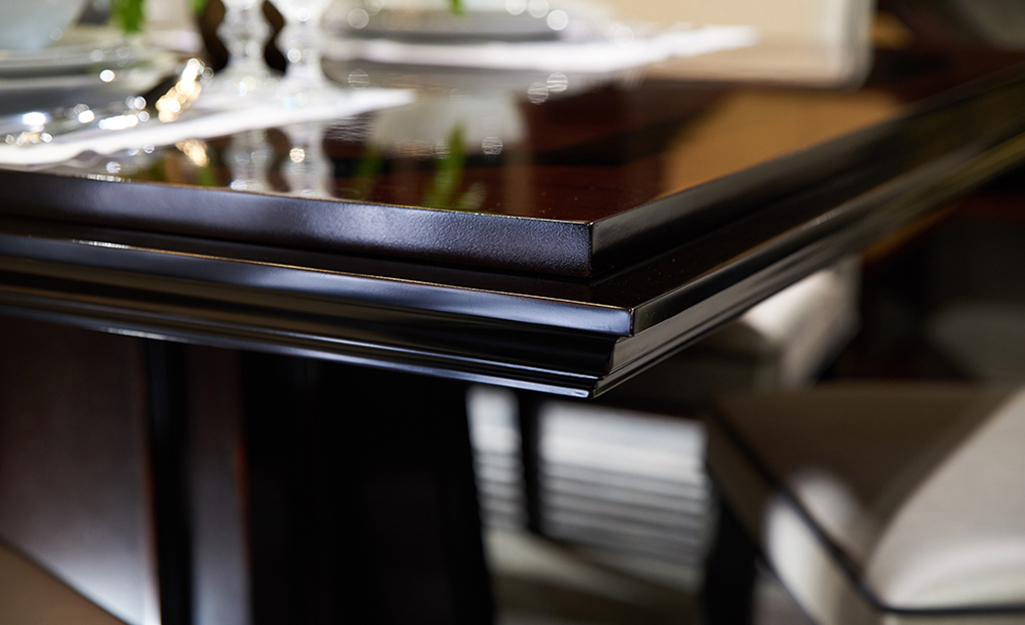
The main reason to apply a finish to wood is for protection. Wood is a porous material that will absorb moisture, dirt and oils. Protecting your wood projects with a finish will keep them looking good for years to come. Also, finishes improve wood's appearance. Stains highlight and add color to wood grain. A topcoat seals in the color, increasing its longevity. Even basic clear finishes add sheen and warmth to wood.
Types of Wood Finishes
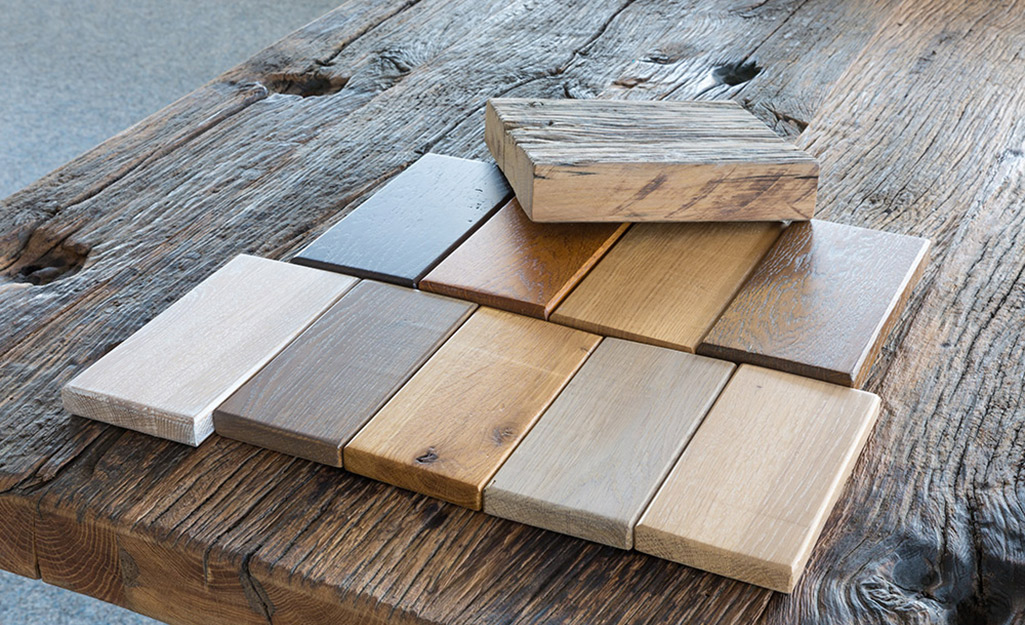
There are several types of interior wood finishes. Each finish offers a different level of protection and appearance on the surface of wood. Depending on the project, you can use more than one finish. The two categories of wood finishes are penetrating finishes and surface finishes.
Paint
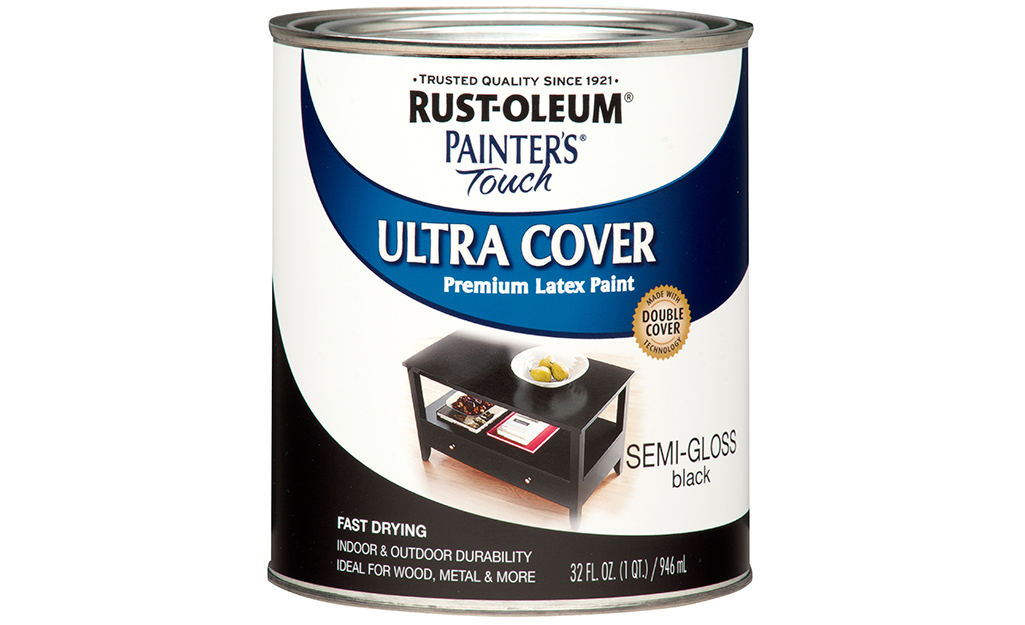
Paint is a basic finish that covers and protects almost any surface. Paint is commonly used on wood-engineered products such as MDF and plywood. It also works well for woods considered “paint grade,” which tend to have a plain appearance. These woods include poplar, maple, alder and birch.
Polyurethane Wood Finish
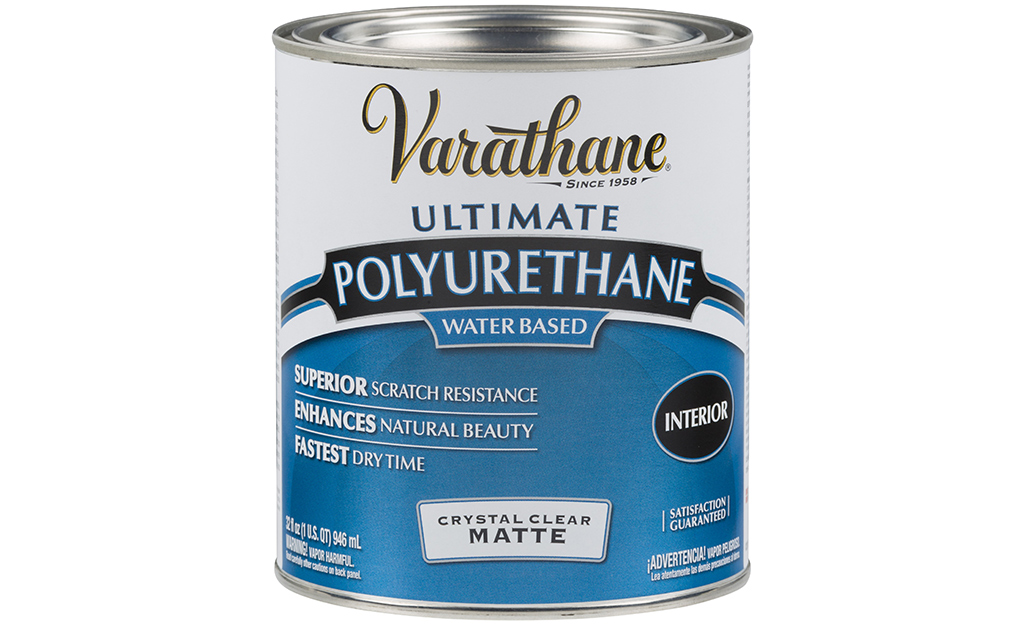
Polyurethane wood finish is a resin that provides a durable finish when it cures. It comes in several clear finishes, such as gloss, semi-gloss, satin and matte. It's also available in oil- and water-based formulas. The water-based poly finish is known as polyacrylic and is more popular due to its ease of use and cleanup. You can apply polyurethane with a synthetic or natural brush, rag, roller or with a sprayer. Polyurethane is a good all-around finish that can be used for almost any type of indoor wood projects.
Shellac Finishes
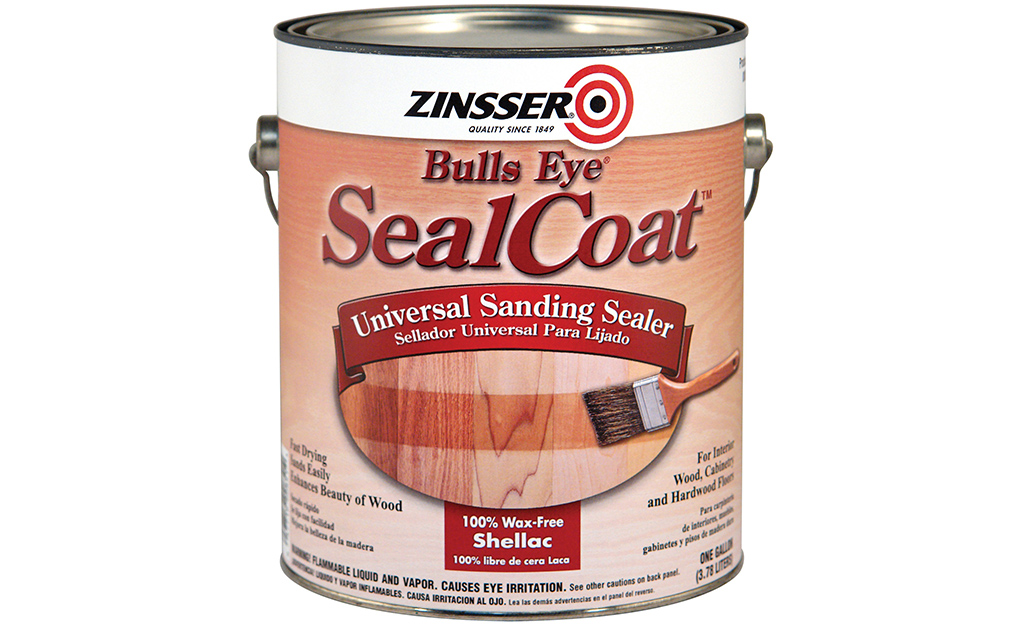
Shellac finishes are natural products made from combining a resin secretion from the female lac bug with a solvent (alcohol). Shellac adds a protective coat to surfaces while giving wood a warm amber glow. It's heat sensitive and is not recommended for tabletops. Shellac can be applied with a natural bristle brush or a cotton rag.
Shellac finishes are not as commonly used as they once were. While this finish is not durable, it is easy to use and very versatile. When refinishing antiques, you can use shellac to create a low lustre finish that looks good. Start by spreading a coat of shellac over the refinished piece. Allow it to dry overnight. While shellac dries quickly, the resin cures slowly. After the shellac has thoroughly dried, it may need to be lightly sanded with 320-grit sandpaper and given a second coat. If a second coat isn’t needed, apply a thin coat of wax over the piece and buff.
Lacquers
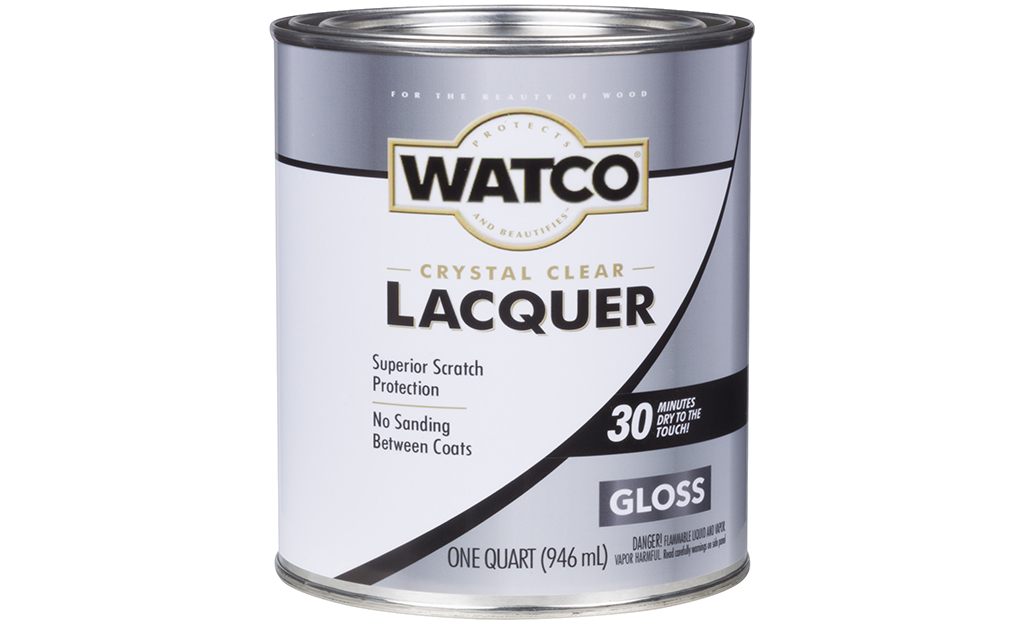
Lacquers dry to a hard and durable intense gloss finish. Lacquers dry much quicker than oils, so finishing can be done more rapidly. It is an extremely durable finish that's resistant to damage. However, over time, lacquer can begin to discolor and become scratched.
Most lacquers available today need to be applied with a spray system. Use a spray system that’s compatible with lacquer finishes. Check to make sure you have the proper needle and air pressure. When using a spray system, work in a properly ventilated environment. Comply with all fire and safety ordinances.
Paste Wax
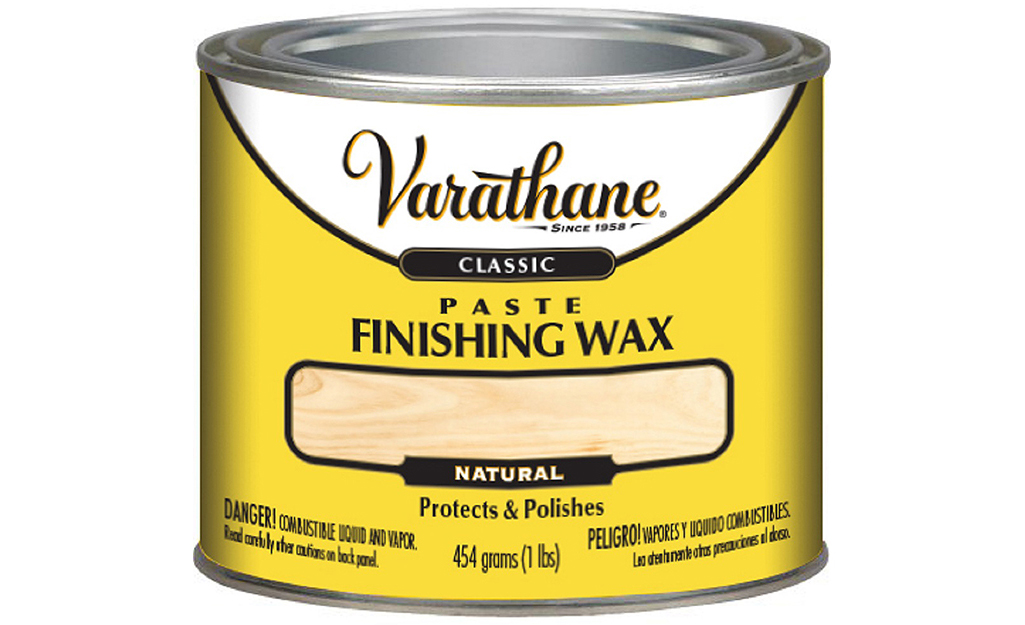
With the popularity of chalk and milk paint, paste wax is becoming a popular way to finish wood. Paste waxes are usually made from Carnauba wax. It does not offer protection from heat, but it protects the wood from moisture.
When applied properly, paste wax can add beauty to an old piece of furniture. Paste wax can be used over shellac to create a low lustre look. Apply paste wax with a cotton rag.
Wood Oils
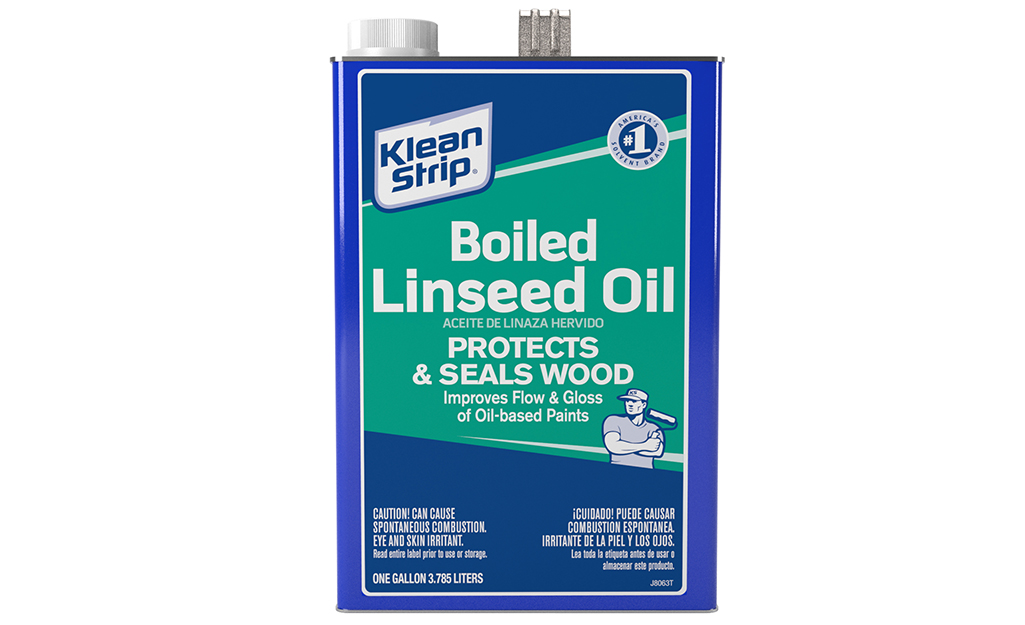
Wood oils are penetrating finishes that are easier to apply and leave a more natural look. Penetrating finishes are absorbed by the wood and dry inside the wood.
A penetrating finish is nothing more than an oil finish with a minimal amount of resin, if any. Examples of penetrating finishes are sealers, butcher block oils, teak oil,
linseed oil and Danish oil. These finishes bring out color and depth in wood without developing a buildup of finish on the surface like with paints, urethanes and lacquer.
They are applied heavily then wiped down to a dull sheen. Oils do not provide a shiny surface and may feel sticky for some time. Wood oils should be applied with a rag for the best results.
Oil finishes include:
- Lindseed oil is made from flax seeds and is slow-drying with good preservative properties and water resistance. Anything made with linseed oil is a fire risk.
- Danish oil is a penetrating linseed oil finish that is polymerized for fast and easy application.
- Teak oil does not exist as a product made from an actual teak tree. It is named “teak oil” because it is marketed to be used on teak wood. Teak oil is usually based on a mixture of linseed oil, varnish and mineral spirits. It is commonly used as a finish for outdoor furniture.
- Tung oil is often used as a drying oil and mixed with other varnishes and oils. Pure tung oil hardens upon exposure to air, so the resulting coating is transparent with a deep, almost wet look.
- Mineral oil for wood or Butcher block oil is an inexpensive and popular choice for wooden kitchen surfaces. Use mineral oil for wooden cutting boards and butcher block countertops. It is non-toxic, fills pores in wooden surfaces and repels food and liquids from entering the wood.
- Cedar oil rejuvenates the wood while infusing the wood with a natural insect repellent quality. It's derived from aromatic red cedar and can be used on any type of wood.
- Ipe oil is used to finish and protect decks made from exotic hardwoods for a deep, natural wood finish. Ipe oil is not for use on interior wood. It is more typically used as a deck finish.
Varnish
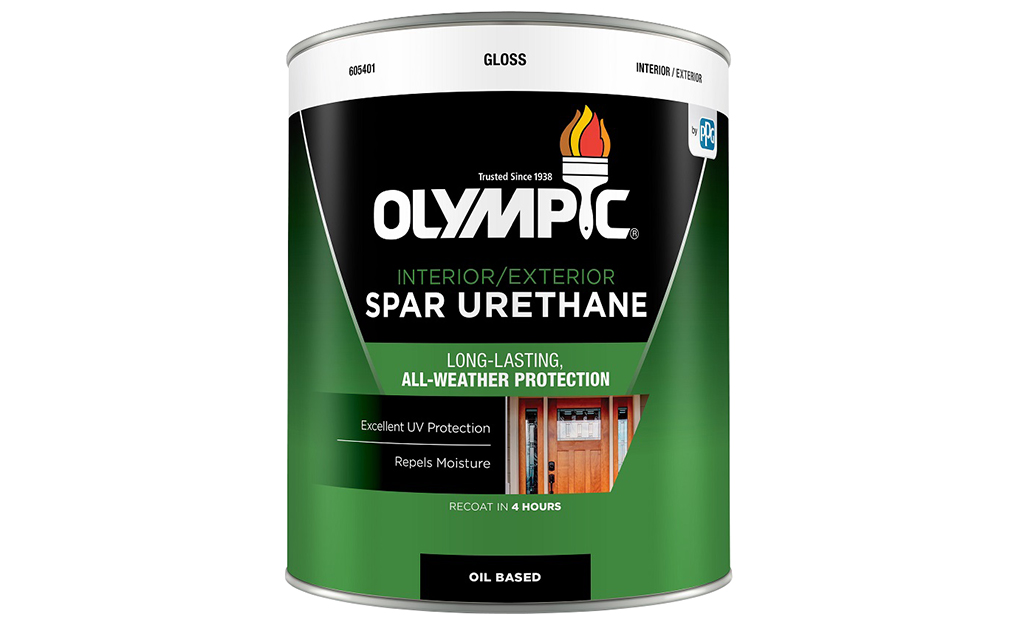
Varnish is a type of clear finish that is composed of a solvent, resin and oil. Traditional varnish is based on natural resins and oils and is thinned with mineral spirits or turpentine, which is not used much anymore. They are available in satin, gloss and semi-gloss finishes. Varnish is translucent, which allows the natural characteristics of a piece of wood shine. Varnish also adds a barrier that protects the wood against damage, including scratches and dents. Apply varnish with a new, natural-bristle brush.
Interior Wood Stain
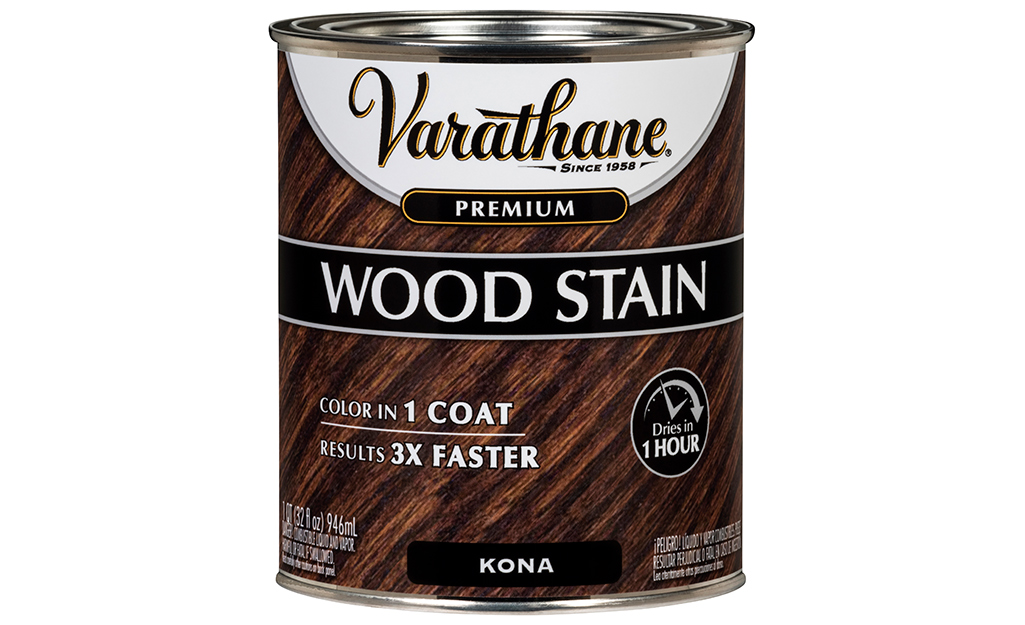
Interior wood stain is used to accentuate the grain in natural woods or plywood while still adding some color. While wood stains offer some level of protection on wood, it's recommended to use stain in combination with a surface finish. Stain can be applied with a brush or cotton rag.
After using oil-based stain, dispose of materials properly. Rags used with stain that contain linseed oil can spontaneously combust.
How to Finish Wood
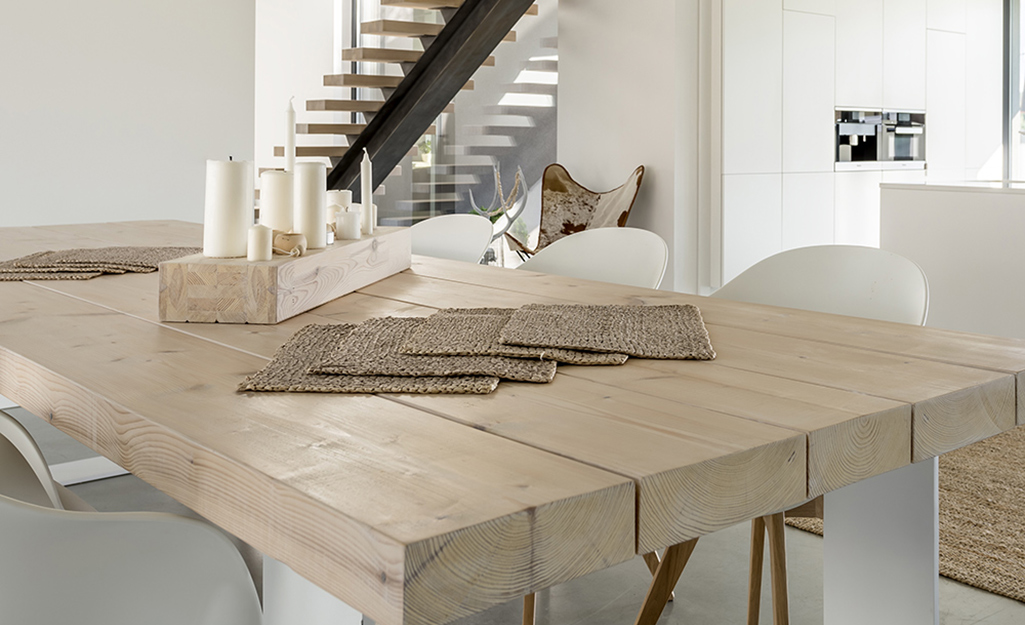
Finishing wood is the final step in any woodworking project. Select the perfect finish to bring your wood project to life and protect it for years to come.
As you try to determine the best finish to use, it's important to make a sample piece to test sanding, staining and application methods before doing so on the project itself. Testing the stain will save you a lot of heartache and time if you discover something doesn't look right halfway through the project.
Prepare the Wood
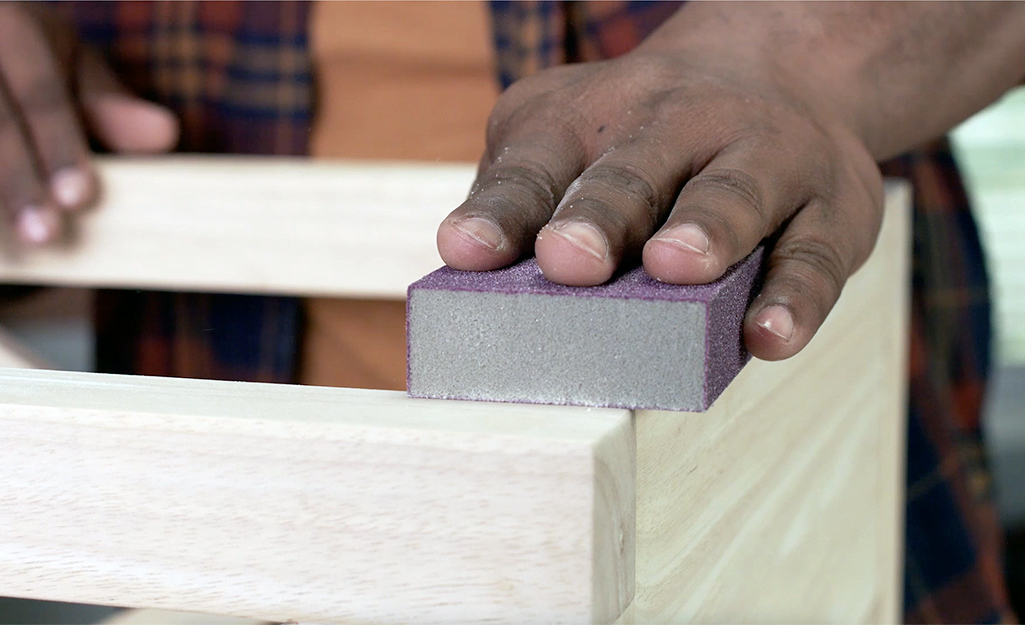
Prepare the surface of the wood by sanding to smooth down scratches or snags. Use a palm sander for large flat surfaces. A detail sander or hand sanding works for smaller areas.
- Sand with the grain of the wood. Use a coarse 120-grit sandpaper if there are deep gouges or imperfections in the wood.
- Repeat the sanding process with a progressively finer grit sandpaper until you are satisfied with the surface of the wood.
- Don’t skip using finer grit sandpapers. For example, if you start with 80 grit, move to 100, 120, 150, 180 until you're satisfied with the appearance. The goal of using each grit is to remove the coarse scratches from the previous grit. Be sure to sand thoroughly.
- Wipe down the surface with a clean cloth or tack cloth to remove dust and other excess materials. A clean paint brush or compressed air is helpful.
Apply the Stain
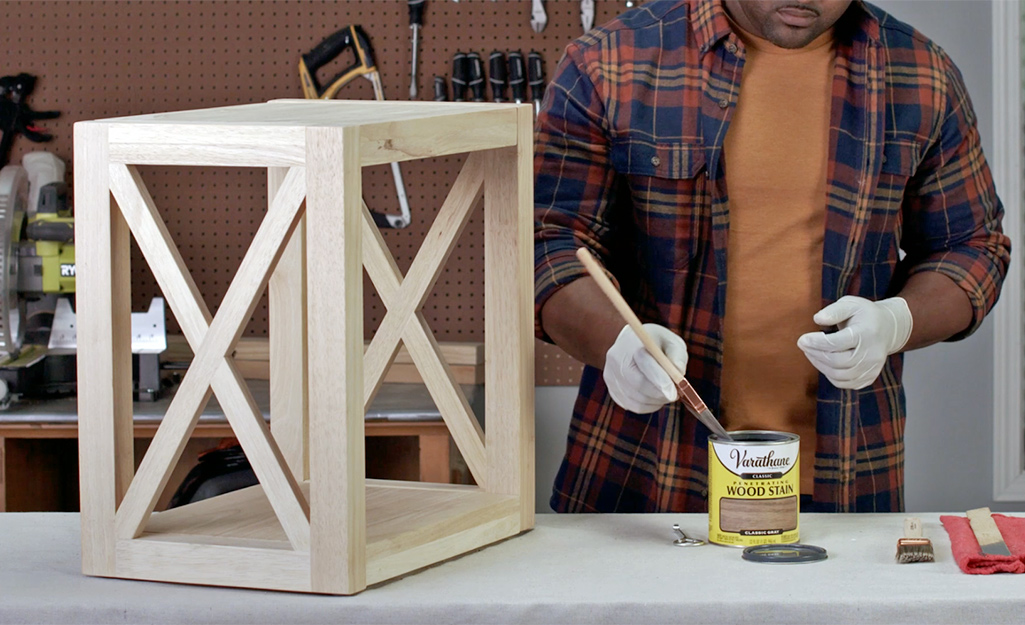
Apply stain, if using, to accentuate the wood's color and grain. Be sure to test the color on a sample board so you know it's correct. You’ll also be able to check your sanding technique.
Wait until the stain is completely dry before adding the finish. It's a good idea to allow 8 hours of drying time. Refer to manufacturer’s instructions for specific drying times for the product you’re using.
Apply the Finish
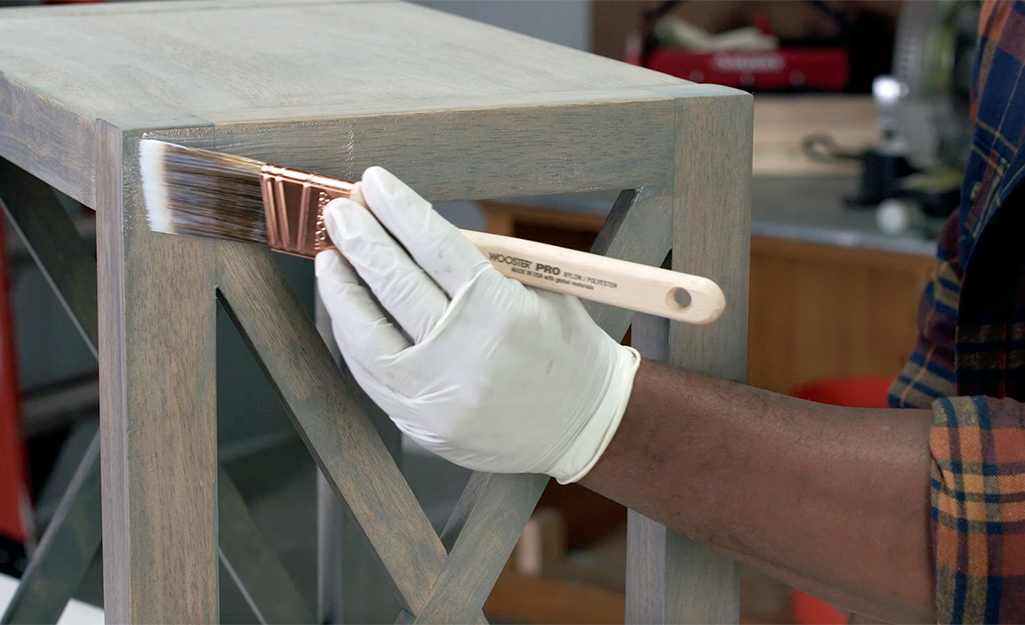
Pick the finish you want for your wood and try it on your sample. Use the sample results to guide your final choice.
Stir the finish in the can before applying it. Apply the finish onto your wood as thinly as possible. The method of application will depend on what kind of finish you’re using. as possible with a natural bristle brush or rag.
- Shellac is typically applied with a spray gun or a brush.
- Lacquer is applied with a spray system (though some claim to be brushable, these are the exception).
- Oils are applied with a rag, but a brush can be used as well for carved or hard-to-reach areas.
- Varnishes can be applied with a rag or a brush.
- Waxes can be applied with a rag or a brush.
You may need to apply several coats of finish to your wood. Allow the first coat to completely dry before you add the second coat.
- If needed, lightly sand between coats to eliminate bumps and other imperfections before adding more coats. Always sand between coats with 320 grit sandpaper to get a smooth finish.
- Wipe off the dust with a tack rag before applying the second coat.
- If adding a third layer of finish or more, be sure to sand and clean off saw dust in between coats.
- If you find the sheen on the finish is a little off, you can lightly buff the surface with 0000 steel wool to unify the sheen and to remove any small dust particles that may have settled.
- A coat of wax might be a good idea to add an extra layer of protection or to unify the sheen if the steel wool doesn't quite do the trick.
- Once the finish is completely dry, wipe the entire surface down to remove any lingering particles.
When you know how to finish wood, you can give furniture and other wood pieces a makeover. The type of wood finish you choose will depend on your project and the look you’re going for. As you work, be sure to follow the safety guidelines that come with the product you select.
Ready to get the supplies and materials for finishing wood? The Home Depot delivers online orders when and where you need them.


