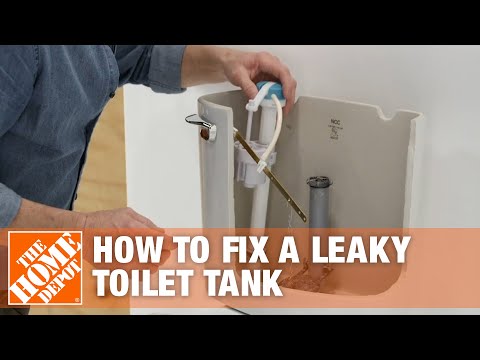
How to Fix a Toilet Tank
Last updated September 7, 2023
A leaky toilet can be both costly and irritating. There are several reasons a toilet may leak. Troubleshoot the problem by first adjusting the water level and replacing the toilet’s flapper. If the leak is coming from around the base of the toilet, a faulty wax ring may be to blame. If none of the above works, you have a leaky toilet tank that needs repair.
The most common internal toilet leaks are found around the fill valves, tank bolts or spud washers. Read this guide for easy-to-follow instructions on how to fix a leaky toilet tank. Find out how to replace a fill valve, tank bolt or spud washer to stop your toilet from leaking.
Difficulty:
Beginner
Duration:
Under 2 hours
Table of Contents
Turn Off Water and Drain Toilet
Replace Fill Valve
Replace Toilet Flapper or Gasket
Replace Spud Washer
Reinstall the Tank
Test the Toilet
Turn Off Water and Drain Toilet

Before you get started, have a bucket on hand to catch water.
- Turn off the water supply valve.
- Flush the toilet to remove all the water from the toilet bowl.
- Disconnect the water supply line from the tank.
- Sponge the inside of the tank until it's dry.
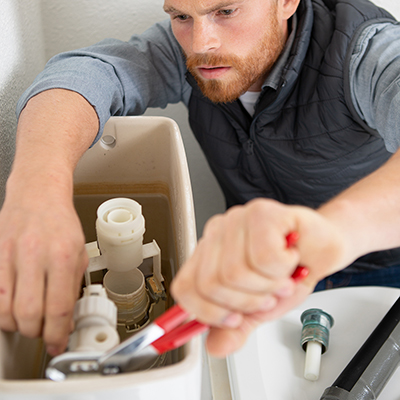
Replace Fill Valve

- Remove the float valve or fill valve using two adjustable wrenches.
- If you're not replacing other parts, install the new fill valve and gasket following the manufacturer’s instructions.
- Turn on the supply line and check for leaks. If necessary, tighten a quarter turn. If you still see leaks, proceed to Step 3.
- If you think the toilet tank bolts themselves are the issue, try this: Turn off the water supply and disconnect the hose again. Use a screwdriver to loosen the first bolt and then switch to an adjustable wrench to remove it. Do the same with the second bolt. If you still see leaking, proceed to Step 3.
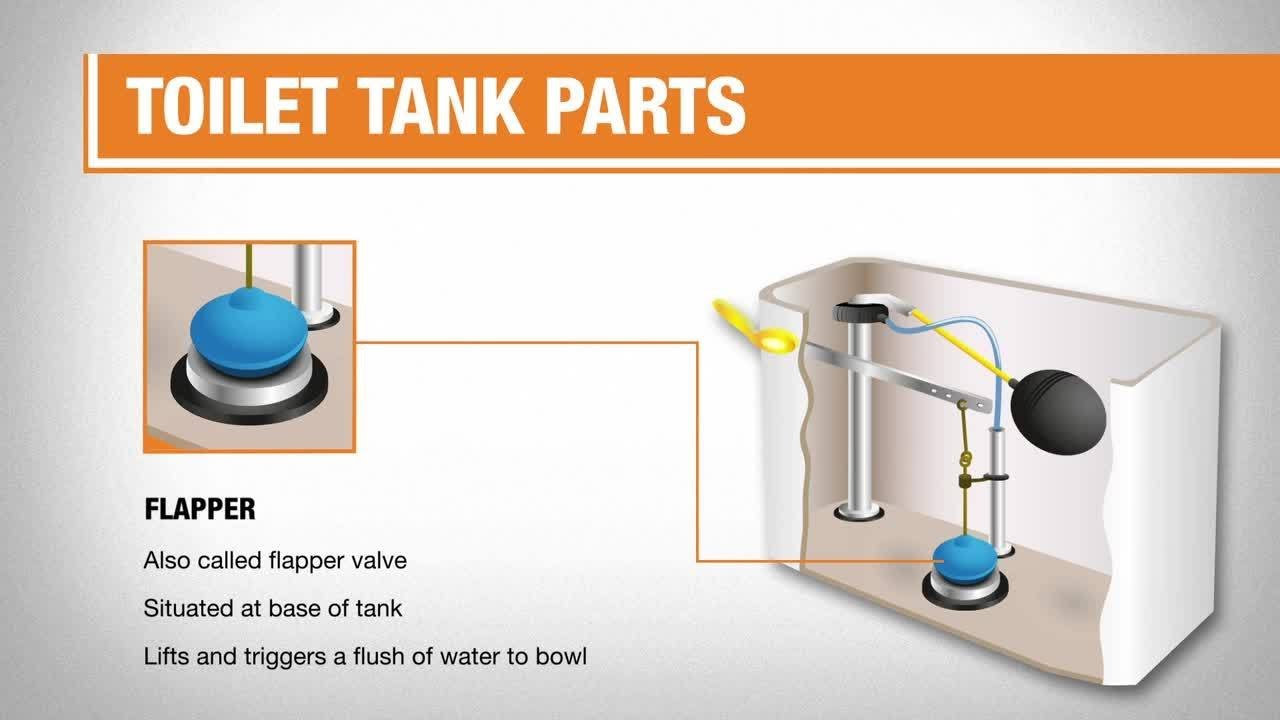
Replace Toilet Flapper or Gasket

Try replacing the toilet flapper (as shown in the image) first to attempt to solve the leaking issue. If that doesn't work, move onto the toilet gasket.
- To get to the toilet gasket, remove the the two bolts that attach the toilet tank to the toilet bowl. You will need a screwdriver and adjustable wrench.
- Each bolt will have a rubber gasket or washer that helps prevent leaks. Replace these gaskets with new ones.
- You may want to also replace the metal washers, bolts and nuts as well. Or try cleaning them with white vinegar and a small wire brush.
- If you aren't replacing the spud washer, reinstall the toilet tank. First, add the metal washers, then the rubber washers onto the bolts. Put the bolts thread side down through the tank and into the toilet bowl rim. From the underside, carefully tighten the washers and hex nuts until a seal forms. Remember to alternately tighten the nuts from side to side so the tank is even.
- Turn on the supply line and check for leaks.
- If you still see leaks, proceed to Step 4.
Replace Spud Washer

Unfortunately, if the leaking persists, try replacing the spud washer. To do so, the toilet tank will have to be removed once more. (Instructions on how to do so are in the previous step.)
- Once the tank is lifted and laid on a flat surface, look beneath it to remove the old spud washer.
- Install the new spud washer over the flush valve tailpiece. Additionally, apply some caulk around the edges to create a tighter seal.
Tip: Once the tank is off, you can also make other updates, if needed. If you have a kit full of parts for tanks screws and a spud washer, you can replace them with ease while the tank is removed.
Reinstall the Tank

Now, it's time to reinstall the toilet tank.
- Place the tank back on the base. Slide the metal washers onto the bolts and then add the rubber gaskets onto them.
- Put the bolts thread side down through the tank and into the toilet bowl rim. Carefully tighten the washers and hex nuts from the underside until a seal forms. Move from tightening one to the other repeatedly to keep the tank level.
- Remember to alternately tighten the nuts from side to side so the tank is even.
Test the Toilet

Reconnect the hose and turn on the water supply. Flush the toilet to test if the leaking persists. If it does not, put the tank lid back on and clean up the drop cloths.
Now that you know how to fix a leaky toilet tank, you can save yourself money and frustration. You can do this repair without the help of a professional. However, if a professional is still needed, check out our Pro Referral Toilet Repair.
Toilet leaks come in all types. If your tank is leaking under the toilet, you may need to replace the wax ring or replace the toilet itself. Need help identifying a tool or material to use to fix a toilet tank? Use The Home Depot Mobile App to locate products and check inventory. We'll take you to the exact aisle and bay.