How to Fix Sink Strainers
Published September 5, 2023
A leak under your sink can lead to water damage and mold growth, and it could ruin the items stored under the skin. As soon as you notice a leak, fix it right away to prevent it from getting worse or causing problems. Typically, under-sink leaks are caused by a bad seal between the sink and the sink strainer, but fixing it is a project most homeowners can take on with the right tools and materials. This guide offers step-by-step instructions for the best way to fix your sink strainer.
Difficulty:
Intermediate
Duration:
Under 2 hours
Table of Contents
Things to Consider Before Working Under Your Sink
Disconnect the Slip Nuts
Remove the Locking Nut
Scrape off Old Putty
Apply Putty to the Drain Flange
Reassemble the Strainer
Things to Consider Before Working Under Your Sink

Depending on the lighting in the room where your sink is located, you may need a flashlight or utility lamp to properly see what you’re doing. If you’re working on this project alone, pick one with a stand, since you’ll need two hands to perform the fix.
As you work to remove the nuts, washers and gaskets on your strainer, keep parts in order as you remove them. A muffin tin or other divided container can help. Keep notes or take pictures to help you reassemble the strainer properly when you’re done fixing it. You may also need an extra pair of hands to hold the strainer in place with needle-nose pliers when it’s time to reassemble.
Disconnect the Slip Nuts
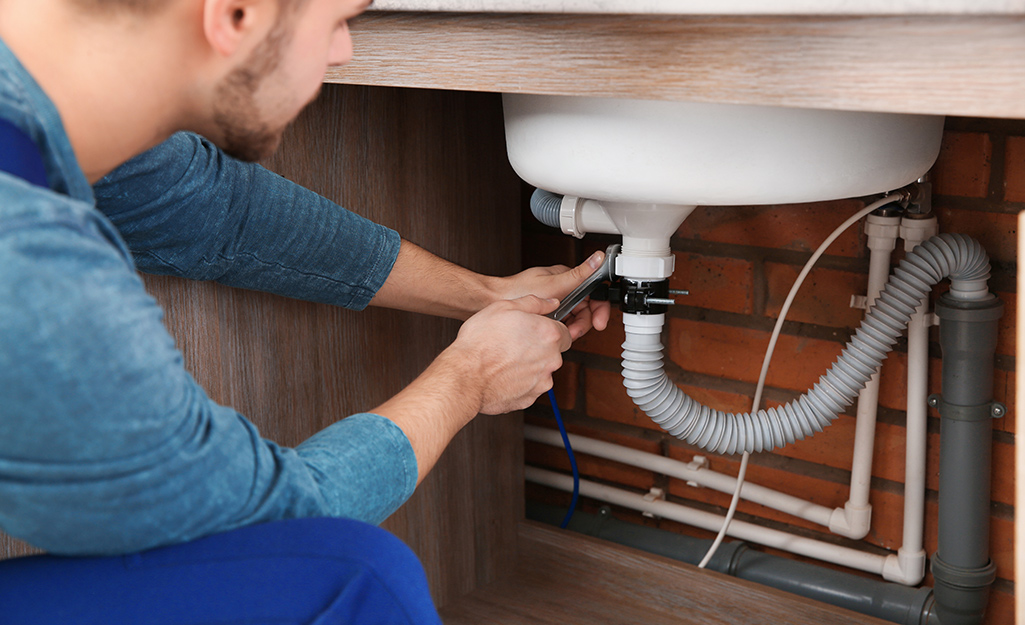
Before you can fix the leak problem, you first have to disassemble the sink strainer, starting with the slip nuts. Loosen the slip nuts from both ends of the tailpiece with water-pump pliers. Next, remove the tailpiece.
Note: The sink strainer assembly has quite a few nuts, washers and gaskets. Keep the parts in order as you remove them, and keeping notes or take a picture to help with putting everything back together. You may also need an extra pair of hands to hold the strainer in place with needle-nose pliers when you reattach the locknut.
Safety Tip: Depending on the angle at which you’re working on the sink strainer assembly, you might want to wear protective eyewearto avoid the risk of getting rusty particles and other contaminants in your eyes.
Remove the Locking Nut

Use a basket strainer wrench to remove the large drain locking ring under the strainer. If it won’t budge, place a screwdriver on the lugs, and tap the top of the screwdriver with a hammer to loosen it. Unscrew the locknut, then remove the strainer assembly.
Scrape off Old Putty
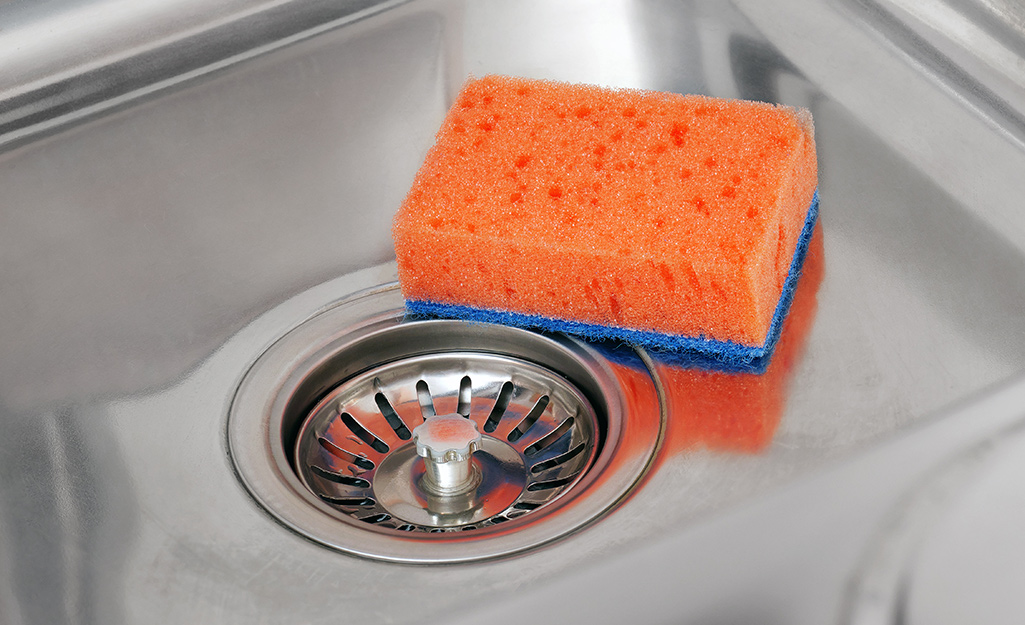
Plumber’s putty creates a waterproof seal around the strainer and holds it in place. When it dries out, it cracks and degrades over time. Old putty is the biggest culprit for under-the-sink leaks as it loses its ability to form a proper seal. And when the seal fails, your sink will leak.
Use a plastic putty knife to scrape off the old putty around the drain opening. If you’re reusing the old strainer body, scrape off the old putty from under the rim of the strainer, too.
Tip: Once all of the old putty is removed, use a paper towel dipped in rubbing alcohol to thoroughly clean both sides of the exposed drain opening. This will ensure a clean surface for the new plumber’s putty to adhere to, which will help reduce the risk of a bad seal.
Apply Putty to the Drain Flange
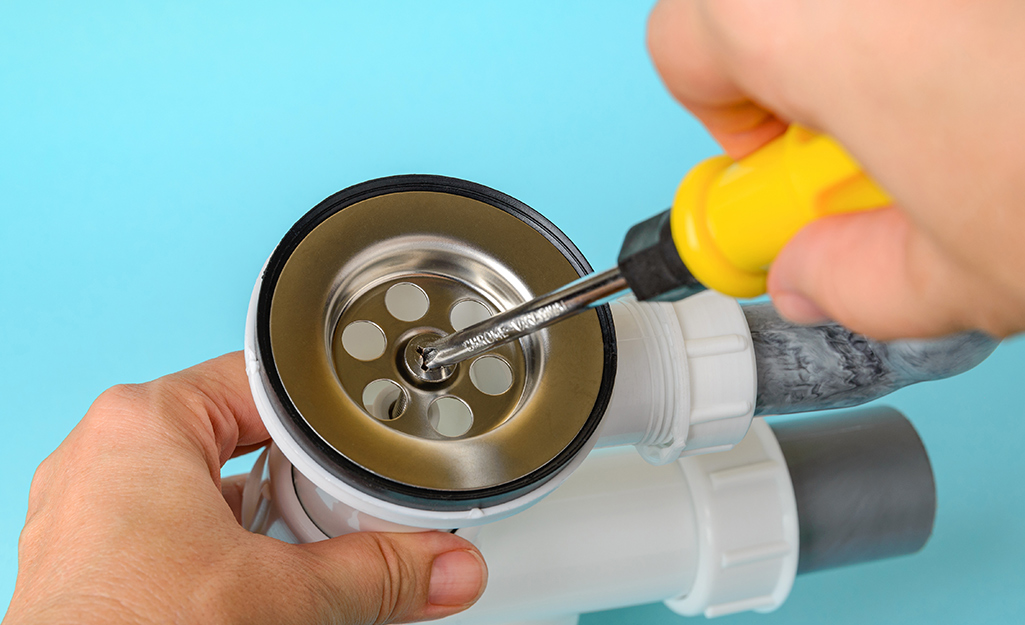
Apply a continuous bead of new plumber’s putty about the diameter of thick yarn to the underside of the drain flange. Too much putty will create a loose seal and hot water will quickly wash it out.
Insert the piece back into the drain hole, then press down firmly so the putty adheres to both sides. It’s normal to see a little excess putty oozing out when you tighten things up—wipe it away with a paper towel or old rag. With just the right amount of putty and a good, tight seal, the putty should last for another decade or two.
Tip: Plumber’s putty doesn’t have a dry time, so you can test the seal right away. Turn on the water to see if the sink still leaks. If not, you’re all set and can move on to the next step. If it leaks, remove the strainer, clean it off again, and make sure it and the drain opening are completely dry. Try again using more or less putty. Remove putty from the sink with a screwdriver or putty knife.
Reassemble the Strainer

From beneath the sink, place the rubber gasket and metal or fiber friction ring over the strainer. Screw on the drain locking ring to secure the gasket and friction ring. Refer to your notes or photographs to make sure the drain compression seal is seated properly in the drain locknut, then reinstall and tighten the drain locknut.
Test For Leaks

Finally, turn on the water to test once more for leaks. If your sink is now leak-free, it should stay that way for years to come.
Fixing your sink strainer is a task that most homeowners can take on to stop water leaks before they worsen or cause damage. With just a few inexpensive tools and materials, fixing a leaky strainer is a fairly quick and easy task. Use The Home Depot Mobile App to locate products and check inventory. We’ll take you to the exact aisle and bay.


