How to Install a Ceiling Fan

Last updated December 13, 2024
Installing a ceiling fan is a great way to upgrade your home's look, improve air circulation and lower your energy bill. Whether you're adding a ceiling fan to your living room or outdoor space, our step-by-step guide will show you how to install a ceiling fan, as well as offer tips and safety considerations to keep in mind.
Difficulty:
Intermediate
Duration:
Under 2 hours
Table of Contents
Before Installing a Ceiling Fan
Turn Off Power to Outlet
Mount the Junction Box
Mount the Bracket
Set the Downrod
Wire the Ceiling Fan
Before Installing a Ceiling Fan

Before you begin your project, here are a few tips to keep in mind when hanging a ceiling fan.
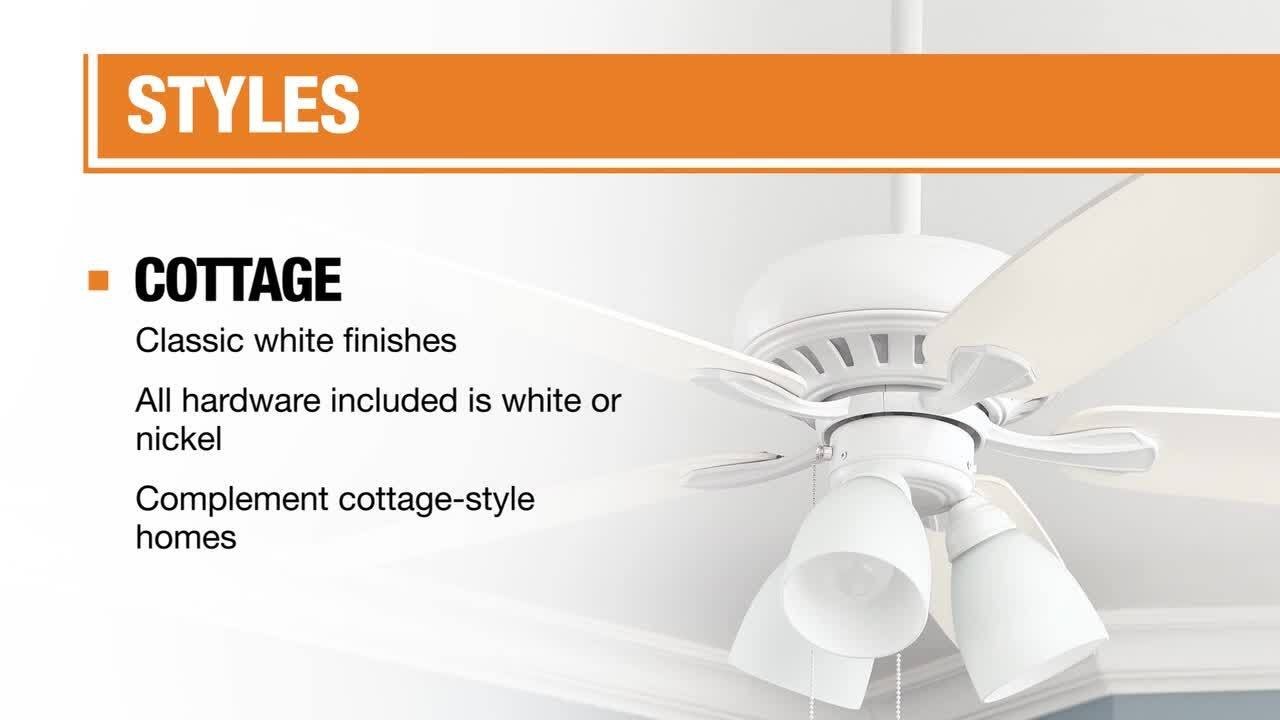
- One of the most important things to know when learning how to install a ceiling fan is that the fan you choose needs to match up to the size of your room. Always measure your room before shopping.
- Ceiling fans need to be properly anchored to an electric ceiling box that's designed to hold a heavy fixture. It will not only hold the wiring, but also support the full weight of the fan.
- If you plan to control the ceiling fan from a light switch, make sure the switch is wired appropriately for the fan. If the room has a dual-switch, make sure to label the correct wire before beginning your installation.
- For an easier installation, consider a quick-install ceiling fan, which installs in just three easy steps. The parts that require assembly simply click into place.
- Check the joists for any wiring or plumbing pipes that might be in the way before installing your ceiling fan.
- Make sure the electrical box that holds the ceiling fan in place is fan-rated. Ceiling fans are heavy and cannot be installed without the right electrical box. Inspect your current electrical box to ensure your project won’t involve installing a ceiling fan box.
- Turn off electrical power to the fan at the electrical panel and use an appropriate testing device to ensure no power is present at the light fixture before you begin work. Do not rely on a wall switch to protect you from electrical shock.
- Tools needed for a ceiling fan installation: ladder, wire cutters/strippers, circuit tester/voltage detector, adjustable wrench, pliers. You'll also need the ceiling fan, a ceiling fan light kit (if using), downrod, mounting hardware and wire connectors.
Turn Off Power to Outlet

- Inspect the existing junction box to make sure it's rated for ceiling fans. There should be an inscription on the ceiling fan box to indicate this. The box is usually metal. If not, replace it with a fan-rated junction box and a fan brace between the ceiling joist to help support the fan's weight.
- Next, turn off power at the circuit breaker and place any wall switches to the off position.
- After turning off the power, place a piece of electrical tape across the switches at the wall and the breaker box to prevent anyone from coming by and turning the power back on while you are working.
Mount the Junction Box

If you are replacing a ceiling fan, now is the time to remove the existing fan or fixture. Disconnect any wires and enlist a helper to assist you in taking down the fan or fixture.
- Now, it's time to mount the junction box. Insert the fan brace through the hole in the drywall and onto the ceiling. The square tube of the brace should be centered with the hole.
- Rotate the square tube with your hand until the teeth are firmly locked into the joist. Feel around to gauge your results.
- Attach the U-bolt bracket to the fan brace. It should be centered in the hole with the bolts facing downward.
- Thread the cable wire into the junction box. Slip the box up so that the bolts slide through it and tighten the nuts to secure the box into place.
Mount the Bracket

- Next, secure the mounting bracket to the box. Always be sure to follow the manufacturer's instructions.
- Thread the main wires through the center of the mounting bracket.
- If the fan has a slide-on bracket, you can leave the mounting bolts on the junction box and simply slide the fan bracket over the mounting screws. Tighten them securely.
- If your fan doesn't have the slide-on fan bracket, place the fan bracket over the mounting bolts that poke through the bracket and fasten it with the nuts provided.
Set the Downrod

Always check the ceiling height and angle before installing a downrod. Ceilings with steep angles or a sloped ceiling will need a special downrod.
- Using a flat surface, such as a table or floor, slip the canopy onto the downrod and run the main wires through. Insert the clevis and cotter pins to the downrod, so that it connects to the fan's base.
- Attach the bulb-shape fitting at the top of the downrod to the mounting bracket on the ceiling.
- If you're installing a flush mount fan, thread the electrical wiring through the canopy ring.
Wire the Ceiling Fan

If your fan's mounting bracket has a hook, use it to hang the fan on while you begin to wire or enlist the help of a friend to hold the fan while you begin working on ceiling fan wiring.
- Connect the fan wires to your household wiring. Some fans come with additional wires, so be sure to follow your owner's manual for specific instructions. Use the wire nuts supplied with your fan kit to secure the wires.
- Match up the wires: Meaning black wire with black wire, white with white and so on. In many cases, the fan's copper or green insulated wire connects with the ground wire. The fan's black motor wire connects with the black supply wire. The fan's light kit wires, blue or striped, also connect with the black supply wires. The fan's white motor wire connects with the white, or neutral, supply wire.
- Once these wires are securely connected, push them into the junction box.
- Use wire cutters to cut the wires if they can't fit into the box. This will keep them from vibrating against the canopy when the fan is running.
- Clip the canopy onto the mounting bracket and tighten the screws.
Attach the Blades & Bulb

- Using the included hardware, attach each blade bracket to a fan blade.
- Start each screw in each ceiling fan blade before tightening any of them.
- Next, attach each blade to the fan.
- Some fans have quick-install blades that can make the installation faster. Simply align the blade arm posts through the blade keyhole slots and slide them outward until they click and lock into place.
- For fans without quick-install blades, screw the fan blades onto the blade arms. The side of the blade that you want shown should face downward.
- Ceiling fans with accu-arm blade brackets can also speed up installation. These brackets come with the blade screws attached. Also, there's an alignment post on the bracket that will help in mounting the blade arm without stripping the mounting hole.
- For fans without the accu-arm feature, fasten the blade assembly to the motor with two screws. Drive the screws in slowly to avoid stripping and bending the blades.
- Install the globe and light bulb that may be included in your kit.
Now head back to the circuit breaker and restore power to the outlet. Turn on the fan using the light switch or other power source and enjoy the breeze.
In just a short time, you can learn how to install a ceiling fan and add to your decor while improving your air quality at home with better air circulation. Looking for a product to complete your project? We have options to deliver online orders when and where you need them.