How to Install a Fire Escape Ladder

Last updated September 7, 2023
Every second counts in an emergency. Ideally, each room in a home should have more than one escape route. A fire escape ladder is a good option for multi-story homes. This guide will show you how to install a fire escape ladder in a second floor bedroom.
Presented by This Old House.
Difficulty:
Advanced
Duration:
2-4 hours
Table of Contents
Select a Location and Outline the Template
Cut the Opening
Secure the Ladder
Check the Installation
Finishing Touches
Select a Location and Outline the Template

The ideal window for a fire escape ladder is one that is easily accessible at all times. Keep it clear from heavy furniture like bookcases or beds. You'll need to open the window and unload the fire escape quickly in case of an emergency.
Assess the outside of the house under the window. It should be free of obstacles from the window to the ground. Trim any branches or hedges that obstruct the path.
Once you've chosen a location, it's time to outline the template.
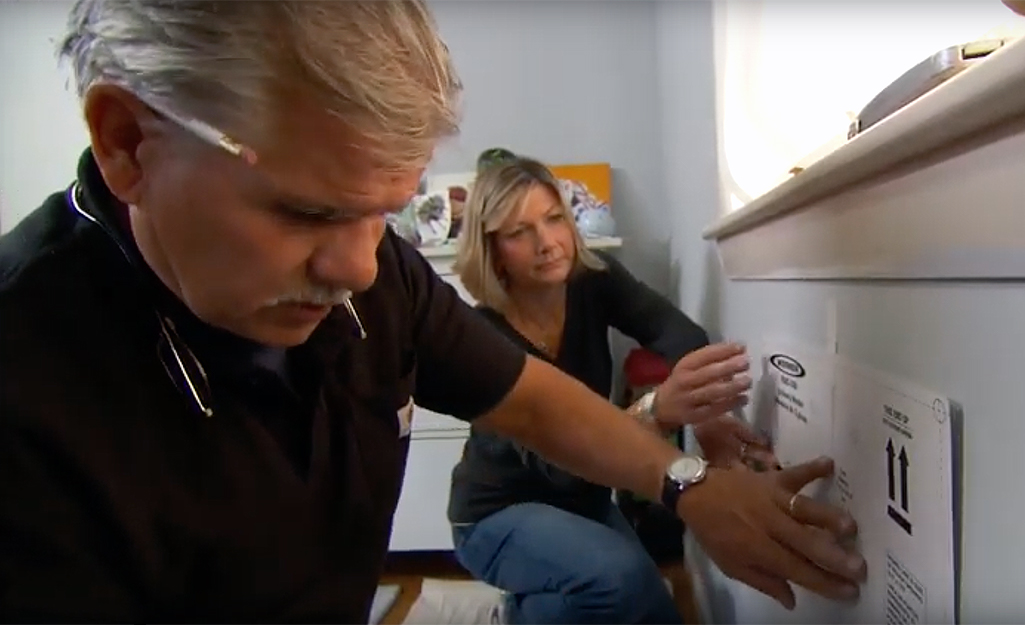
- Take the template that comes with the fire escape ladder and tape it to the wall centered beneath the window and 6 inches below the window stool.
- Use a level to ensure the top of the template is perfectly level.
- Cut along the dotted lines on the template with a utility knife.
- Remove the template and finish cutting through the drywall along the scored lines.
- Pull out the severed piece of drywall and cut away any insulation from the rectangular hole.
Cut the Opening

- If there's a stud in the opening, cut it out with a reciprocating saw.
- Make the first cut through the stud 3-inches below the bottom of the opening.
- Cut the top of the stud flush with the top of the opening.
- If the rough sill protrudes into the opening, make a series of closely spaced cuts into the underside of the sill, then chop out the waste with a hammer and chisel.
- Cut short pieces of 2x4 to fit inside the wall to provide solid nailing for the fire escape ladder.
- Secure the pieces with 3-inch screws.
Secure the Ladder

- Press a thin piece of foil-faced insulation into the opening to act as an insulating thermal break.
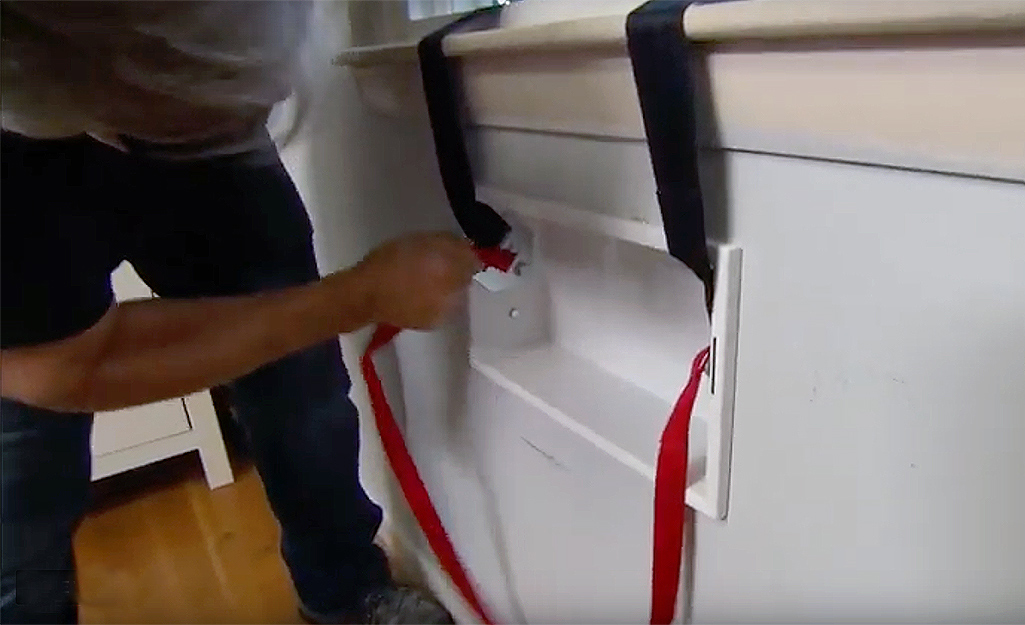
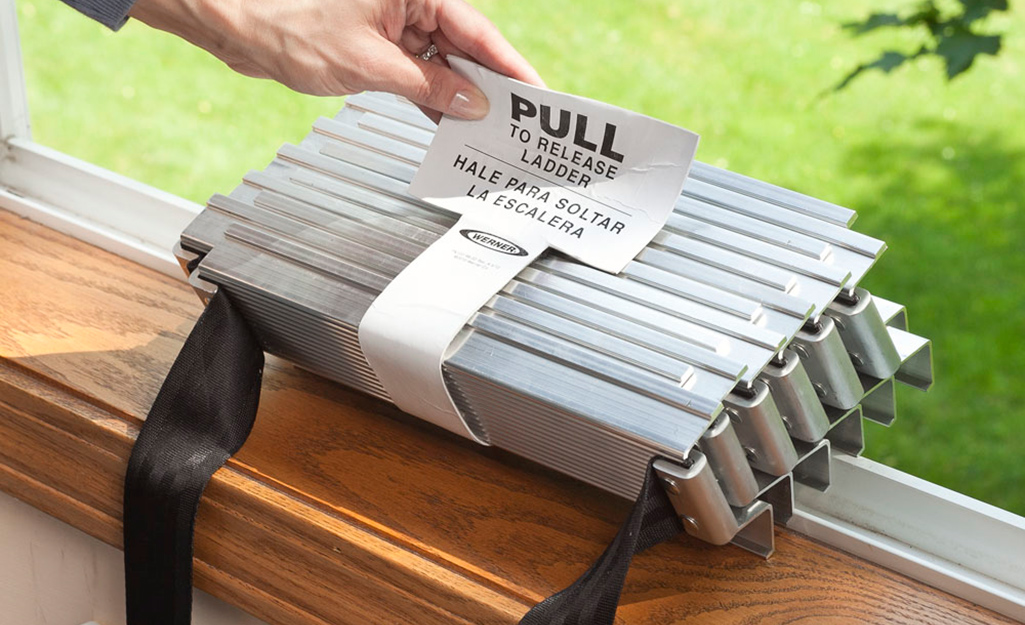
- Remove the fire escape ladder from its metal box, then set the box into the opening.
- Bore a 1/8-inch-diameter pilot hole through each of the four mounting holes.
- Attach the box to the opening with four 1/4-inch x 2 1/2-inch lag screws. Secure the fire escape ladder with the two top screws.
Check the Installation

- Drop the ladder out the window, and then have someone outside climb up two or three rungs of the ladder.
- While the person remains standing on the ladder, check the lag screws inside the metal box to ensure the ladder is being held securely in place.
- Retrieve the ladder, fold it up, and tuck it inside the box.
- Snap the protective cover onto the box to conceal the ladder.
- Patch the wall with spackling compound, then prime and paint.
Finishing Touches

With the ladder installed and tucked away, you can put the finishing touches on your project. Patch any holes in the wall with a spackling compound. When it's dry, use a fine sanding block to smooth out the spackle to a flush finish.
Using a roller or paint brush, touch up the wall with a two-in-one paint and primer to match the existing wall color.
Feel better knowing that each room in your home has a second exit route in case of emergencies. The steps in this guide give you the know-how to install yours today. The Home Depot is your DIY headquarters. Looking for a product to complete your project? We have options to deliver online orders when and where you need them.


