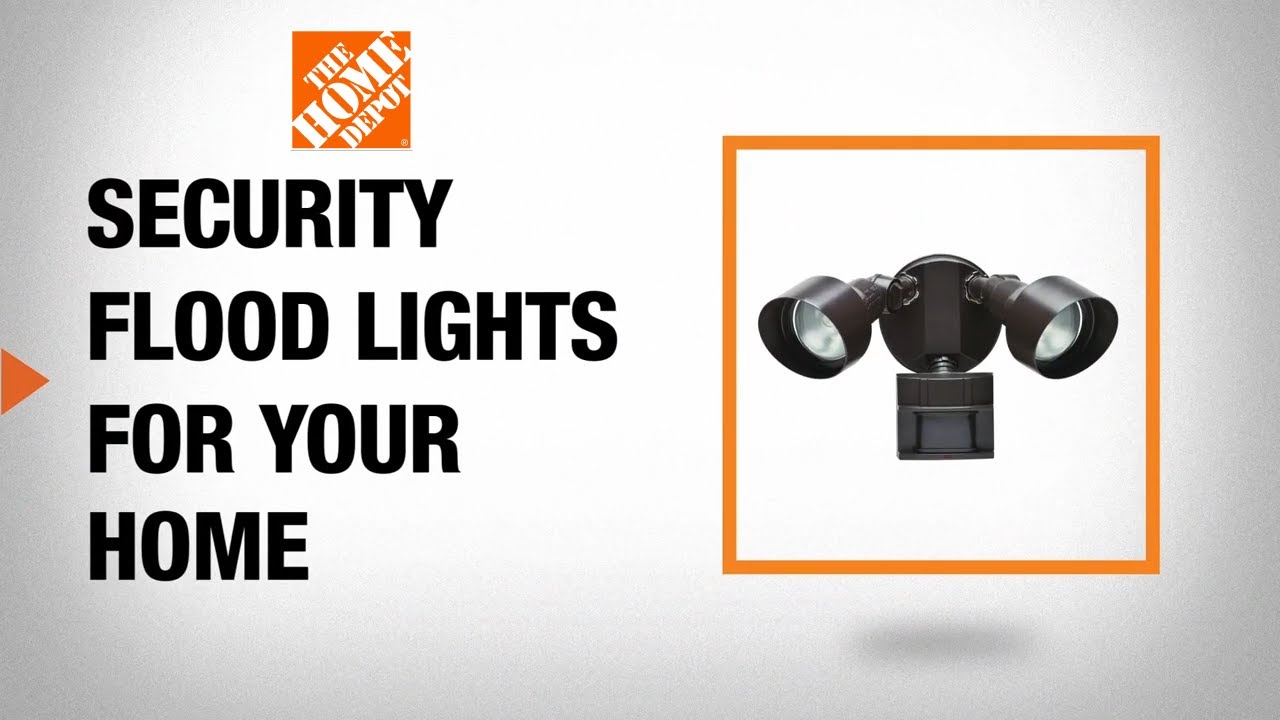
How to Install a Flood Light
Last updated September 7, 2023
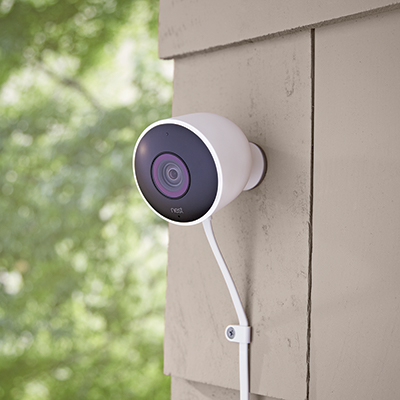
Installing a flood light is a great way to enhance the nighttime safety and security of your home. A flood light is activated by motion on your property and floods the area with light. It illuminates your way when you come home after dark and acts as a deterrent to unwanted visitors. Some are even available with smart controls that send alerts right to your mobile device.
If you’re using a regular fixture to light the exterior of your home, or if you don't have lights installed outside at all, then follow this step-by-step guide on how to install a flood light.
Difficulty:
Intermediate
Duration:
2-4 hours
Table of Contents
Choose a Location for the Flood Light
Turn Off the Power
Remove Existing Light Fixtures
Wire and Install the Replacement Flood Light
Installing a Flood Light in a New Area
Seal the Junction Box
Choose a Location for the Flood Light

If your flood light will be replacing an old light fixture, the location of the new light is already conveniently decided for you. However, it should be at least a minimum of nine feet off the ground to allow for the most efficient illumination.
If you’re installing new lights where there weren't any before, you have a little more flexibility to choose an ideal spot. Think about where you need light the most, such as near your front door, garage or even a shed in a dark corner of the yard. Or, maybe you want to light up a walkway that gets too dark to safely navigate after the sun goes down.
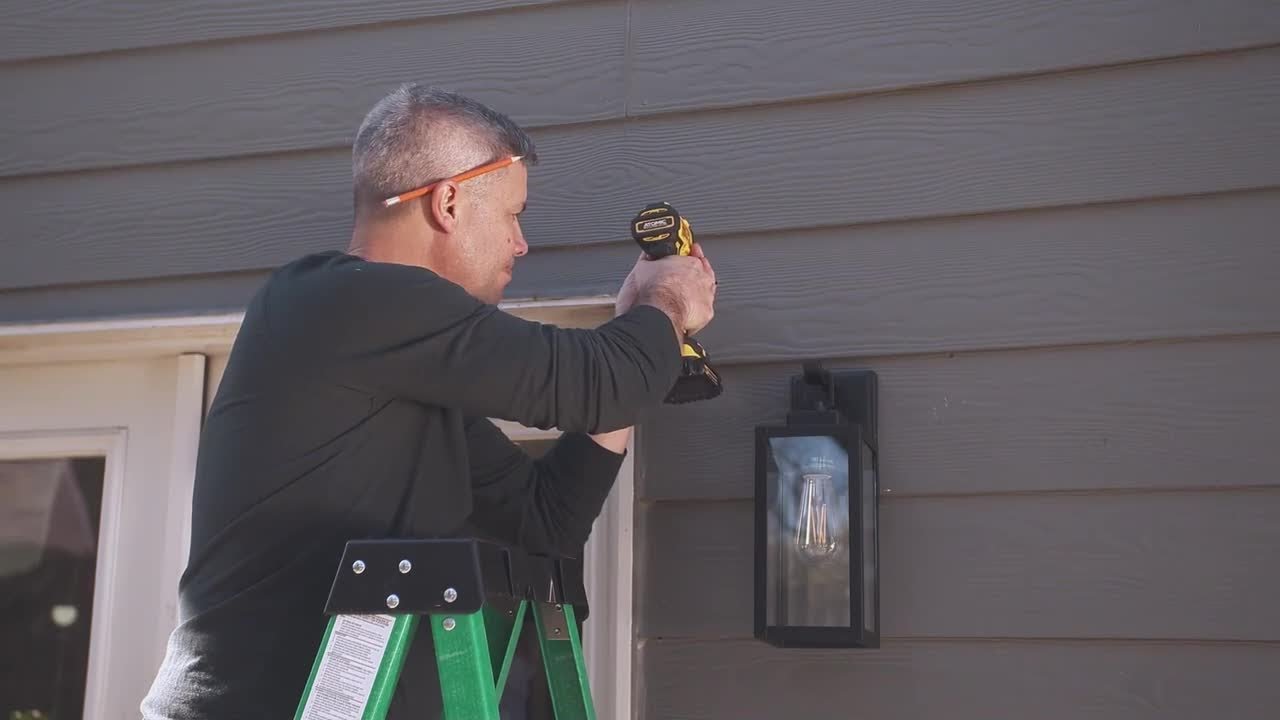
When you've chosen a location, use a ladder
to reach the spot and mark it with a pen or a piece of tape.
Tip: For this project, your electrical wiring needs to be up to code. If you have any concerns about your home wiring, consult an electrician first. Check with your local permit office to see whether you need an electrical installation permit for this project.
Turn Off the Power

Safety is the number one priority for any DIY project. Before you start working on a project involving electrical wiring in your home, turn off the electricity to the area.
- Head to your circuit breaker box, locate the switch for your outdoor power sources, and flip it to the OFF position.
- Before you touch any wires, check them with a voltage tester to ensure they don't have any power running through them.
Remove Existing Light Fixtures

If you’re replacing an existing light fixture with the new flood light, remove the old fixture.
- First, unscrew the light bulbs and set them safely aside.
- Unscrew the fixture from the wall plate.
- Gently pull everything away from the wall.
- Use your voltage tester to check the exposed wiring before you touch it.
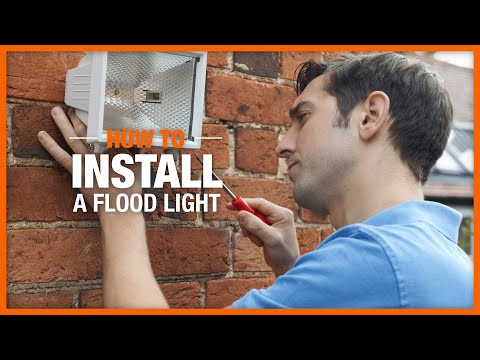
Wire and Install the Replacement Flood Light

Keep your manufacturer’s instruction manual handy to consult about specific details. To wire and install the replacement light:
- Attach the mounting strap for the new fixture where the old one was affixed. Make sure you have access to all of the electrical wires.
- Match the wires of the new light fixture to your home’s existing wiring according to color: white to white, black to black and bare wire to bare wire.
- Connect the wires with wire connectors and electrical tape.
- Use a screwdriver to screw the flood light to the mounting strip.
- Twist the light bulbs into their fixtures.
- Turn the power back on and test the lights.
Installing a Flood Light in a New Area

Installing a flood light where you didn't have a light fixture before is a little trickier but will only take a little longer.
- Use a drill to make holes in the exterior of your home where you want the light fixture to go.
- Locate a junction box near the installation area, and use fish tape to feed the electrical cable through to the junction box to make the connection.
- Wire the fixture as described in the step above.
Tip: Check the circuit for your new light to ensure it can handle the additional wattage without exceeding 80 percent of its total load capacity.
Seal the Junction Box

It’s important to keep water out of your flood light's junction box. Seal around its perimeter, where the wall plate meets the wall, with silicone caulk. The easiest way to apply caulk is with a caulk gun.
- Insert the caulk cartridge securely into the gun.
- Place the nozzle at a 45-degree angle along the joint between the box and the wall.
- Apply steady pressure to the trigger to expel an even bead of caulk and move the gun along the seam.
- Smooth the bead with a finishing tool or the tip of your finger. Wipe away excess caulk with a damp cloth.
- Allow the caulk to fully dry.
Test and Troubleshoot the Flood Light

When you’re done with the installation, check that your new flood light is working properly. Turn the power back on at the circuit box and flip on the new lights. If they’re properly installed and working correctly, they’ll turn on automatically when they detect motion within the sensor’s reach.
If the light doesn’t respond, turn the power off again at the circuit breaker box, then double-check the installation for issues such as crossed or loose wires.
Once the light is functional, consider the best angle for the light bulbs to provide maximum illumination where you want it. With the basic functions covered, look at your owner's manual for further instructions about additional features like a timer, sensitivity level adjustments and smart features. Set your light up to your exact preferences to get the most out of it.
A flood light is a great safety and security feature for your home’s exterior. Installing a motion sensor flood light is a fairly simple task, but take all necessary safety precautions to protect yourself from electrical currents.
Whether you’re installing a flood light over the garage door or on an outbuilding, we have all of the tools and materials you need to get the job done right. The Home Depot delivers online orders when and where you need them.