How to Install a Hand-Held Shower Unit

Last updated September 7, 2023
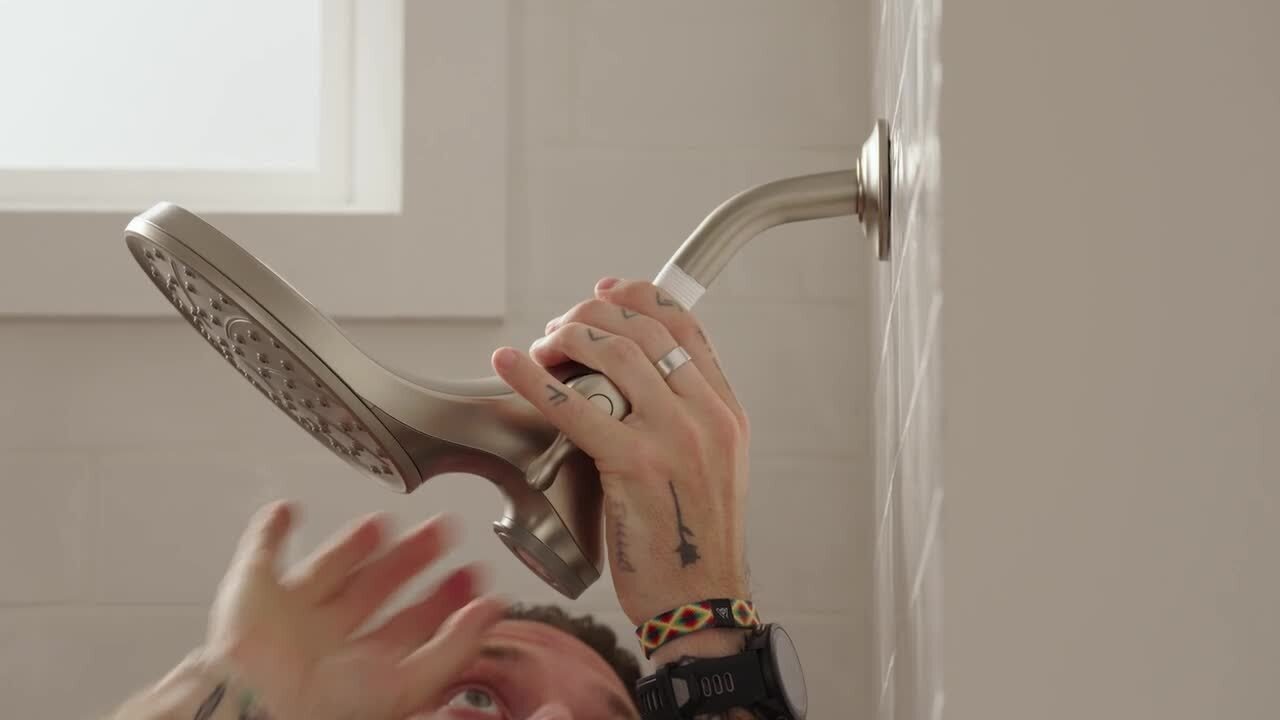
If your bathroom only has plumbing set up to accommodate a bathtub, but you long for the convenience of a shower, learning how to install a hand-held shower unit is a great way to update your bathroom. A hand-held shower unit features a flexible hose that allows you to hold the head in your hand. This guide teaches you how to install one in three easy steps.
Difficulty:
Intermediate
Duration:
Under 2 hours
Table of Contents
Screw on the Diverter Spout
Drill Holes for the Mounting Bracket
Attach the Bracket & Shower Line
Screw on the Diverter Spout

Begin by installing the tub or diverter spout. Wrap the pipe threads with Teflon tape and screw on the spout.
Tip: You may need to remove the pipe from the wall and replace it with a shorter pipe before attaching the spout.
Drill Holes for the Mounting Bracket

Next, drill holes for the mounting bracket:
- Hold the shower bracket where you want it to go and mark it for the screw locations
- Drill holes for the plastic anchors
Tip: If you're drilling through ceramic tile, first nick the surface with a hammer and nail. Then drill using a masonry bit.
Attach the Bracket & Shower Line

To complete the installation:
- Tap plastic anchors into the holes
- Attach the mounting bracket with screws
- Snap on the bracket cover
- Screw the flex line to the top of the spout
- Attach the shower head to the flex line
Tip: Once you've installed your unit, turn the water on to test it. If there are any leaks, use an adjustable wrench or pliers to tighten the connection points..
Now that you know how to install a hand-held shower unit, you can revamp your showering experience. With minimal tools and time requirements, you'll have a new shower head installed in no time.
The Home Depot delivers online orders when and where you need them.