How to Install a Light Fixture

Last updated May 21, 2024
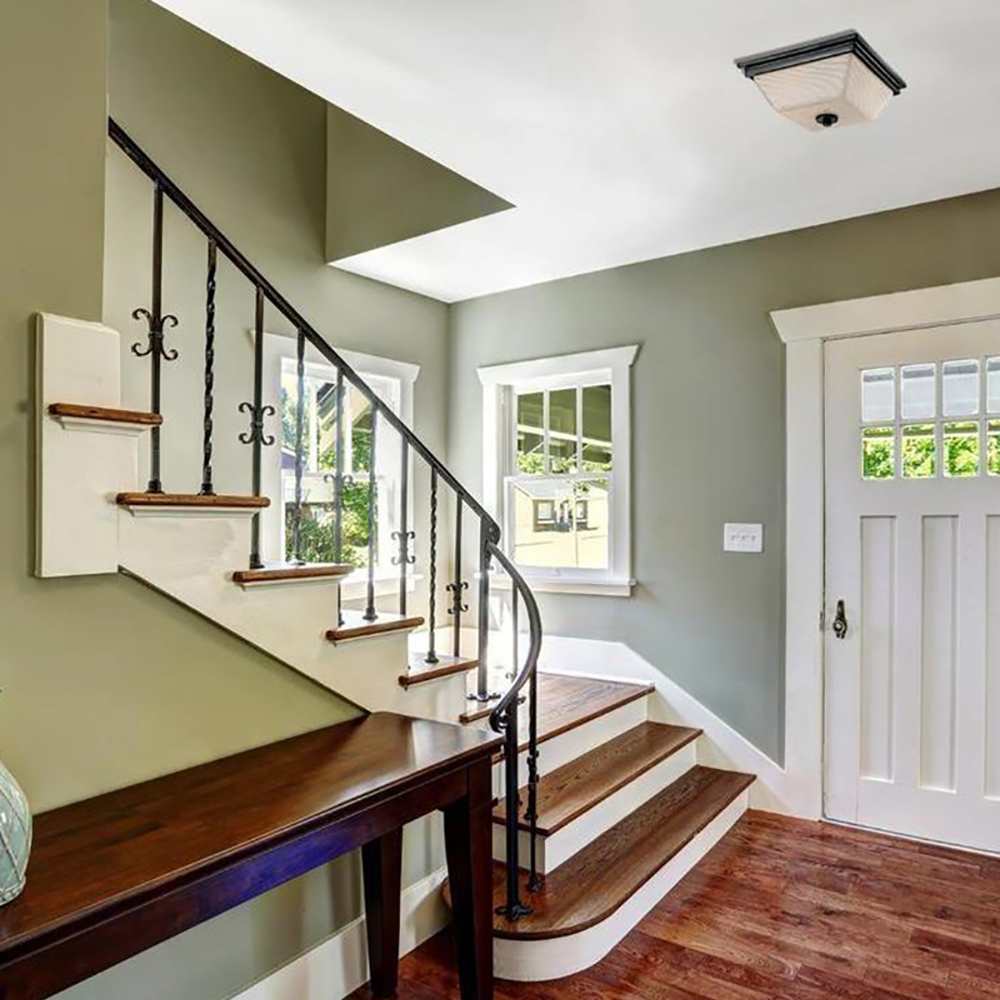
Light fixtures, such as pendants and chandeliers, can instantly brighten up a room. Learning how to install a light fixture is a simple DIY project. The steps are basically the same as they are for all ceiling-mounted fixtures. The key thing to consider is whether the electric junction box can support the lighting fixture. A junction box houses the wiring connections in the ceiling support. Use this guide to get tips on wiring a light fixture and find out how to replace a light fixture.
Difficulty:
Intermediate
Duration:
Under 2 hours
Table of Contents
Prep the Project
Remove the Existing Fixture and Wires
Assemble the Light Fixture
Wiring a Light Fixture
Changing a Light Fixture
Add Canopy & Bulbs
Prep the Project

The first steps in how to change a light fixture involve preparing the panel and gathering the tools and materials.
- Turn off electrical power to the fixture at the electrical panel. Use the appropriate voltage tester to ensure no power is present at the fixture before you begin work. Do not rely on a wall switch to protect you from electrical shock.
- Set aside anything that can be attached after the fixture is hanging. Place globes, glass panels, light bulbs and other components in a safe place.
- When hanging a light fixture, consider its weight. Junction boxes typically hold up to 50 pounds. If a fixture has about the same weight as the original fixture, use the existing electric box. If the replacement light fixture is heavier than the old one, use a box designed to hold more weight.
- You may need to support the weight of the fixture so you can safely hang it. Create a good work surface by screwing a platform to the top of a stepladder using drywall screws. This puts the fixture close enough to the ceiling so you can do wiring easier.
- Use a second ladder and another person to help you. However, keep in mind that coordinating your movements can be difficult with a very heavy fixture.
Remove the Existing Fixture and Wires

The tools and materials are gathered, and you've set up the project. Now it's time to learn how to replace a light fixture when one already exists and how to install a light fixture in a box that only has wires.
If you are removing an existing fixture:
- Have one person support the weight of the existing fixture while the other unbolts any screws and lock nuts that attach the fixture to the ceiling.
- Disconnect the light fixture’s wires from the house wires by twisting off the wire connectors and untwisting the connections. Make note of how these wires are connected because you’ll reconnect the wires of the new fixture the same way.
- A standard box will have three sets of electrical wires connected. There may be the black or red current wires, the white neutral wires and the silver or copper ground wires. Disconnect these last.
- When you have fully disconnected the wires and light fixture, remove the fixture from your work area. Leave the house wires exposed so that you can connect them to the wires of the new fixture.
If there is no previously installed fixture:
- Use a non-contact voltage tester or a circuit tester to ensure there are no live wires in the junction box. Simply touch each wire to the tester. If the light turns red, the wire is live.
Assemble the Light Fixture

Putting together the new fixture is the next step in how to change a light fixture unless it was already built beforehand. Follow the specific instructions provided with the fixture when assembling its parts.
- Spread the components of your new light fixture on a flat, clean surface.
- Assemble the parts that should be connected to the fixture.
- If your light fixture includes a chain, adjust the chain to your desired length.
- Use chain pliers or pliers with a screwdriver to open the link on the end of the chain. Attach the chain to the screw collar, then hold the light fixture up against it. Adjust the length of the chain to the link that best matches your desired length.
- On a flat surface, attach the adjusted chain to the light fixture. Thread the light fixture’s electric wires through every other link in the chain.
Tip: Remember to slide any necessary parts over the wiring and hanging chain.
Wiring a Light Fixture

When learning how to replace a light fixture, refer to the manufacturer’s instructions for specifics. Here are some general instructions:
- Newer fixtures may have a black wire and a white wire. Twist the bare end of the black ceiling wire together with the bare end of the black fixture wire and then twist on a wire nut. Repeat with the white wires. Carefully tuck the wires into the junction box.
- If you are replacing an older fixture, the fixture wires may not be color coded. If so, choose one fixture wire and connect it to the black supply wire. Connect the other fixture wire to the white ceiling wire.
- Connect the silver or copper ground wires.
- Carefully tuck all wires into the box.
Changing a Light Fixture

Light fixtures often include their own mounting strap. The mounting strap is a strip of metal that screws into the junction box in the ceiling. If you’re replacing your fixture, you can just re-use the existing strap. If that mounting strap is broken, unscrew it and screw the new strap in place.
Here’s the general instructions on how to install a light fixture:
- Thread the fixture's mounting stem into the mounting strap on the ceiling junction box.
- Check the ceiling supply wires for fraying or damage. Using a wire cutter, cut the wires and strip off about 3/4-inch of wire insulation. If necessary, use wire strippers to remove the insulation from the light fixture’s electric wires.
- Connect the house wires and the wires of the new light fixture in the reverse way you disconnected the old light fixture in Step 2.
- Thread the light fixture’s electric wires through the screw collar loop.
- Connect the light fixture to the junction box. Screw in the crossbar, the nipple, the lock nut and the screw collar loop that supports the fixture.
Tip: Be safe. Have someone stabilize your ladder while installing the fixture.
Add Canopy & Bulbs

Although the fixture is now securely attached to the ceiling, the box and mounting hardware may still be visible. If so, slide the canopy up against the ceiling to cover the mounting hardware. Tighten the locknut against the canopy.
- Screw in the light bulbs. Most brands include them with new fixtures. If not, make sure you buy the right size based on the manufacturer’s recommendations.
- Restore power to the fixture at the main source.
- Turn on the light to make sure all connections are working.
How to Change a Light Fixture Outdoors

Outdoor hanging lights can create an inviting spot on a porch, covered deck or sunroom. Mounting an outside light is very much like adding one indoors. Follow the manufacturer's instructions. Here are a few additional precautions to take.
- Choose a light fixture that is UL-rated for using outdoors. The internal electrical components of this rating's fixtures should be sealed to prevent damage from moisture.
- Outdoor light fixtures are made with weather-resistant material. However, keep them away from direct rain or water.
- Match the finishes of lights and hardware for a seamless look.
Safety Tip: Avoid the possibility of electrical shock when working outdoors. Make sure all electrical power to the outdoor space is turned off. Work in a dry, moisture-free area.
Changing a light fixture is a simple way to update a space. Replace an old chandelier with a new pendant. Add additional overhead lighting and instantly transform a room. Just make sure you turn off any power first. Need help identifying a tool or material for changing a light fixture? Use The Home Depot Mobile App to locate products and check inventory. We'll take you to the exact aisle and bay.