How to Install a Medicine Cabinet

Last updated September 7, 2023
Learn how to install a recessed medicine cabinet or a surface mount cabinet. Either option can provide storage space for your bathroom. Most have mirrors, so they visually open and brighten the space as well.
This guide will show you how to install a medicine cabinet. It’ll cover both recessed and surface mount medicine cabinet installation. A recessed medicine cabinet is installed inside a wall. A surface mount cabinet is attached to the wall studs. Read on to find out which cabinet type works for your bathroom.
Difficulty:
Intermediate
Duration:
2-4 hours
Table of Contents
What to Consider Before Installing a Medicine Cabinet
How to Install a Recessed Medicine Cabinet
Find Studs, Outline the Cabinet and Check Inside the Wall
Cut Along Outline and Through Old Drywall Screws
Install Blocking for Recessed Medicine Cabinet
Finish the Recessed Medicine Cabinet Installation
What to Consider Before Installing a Medicine Cabinet
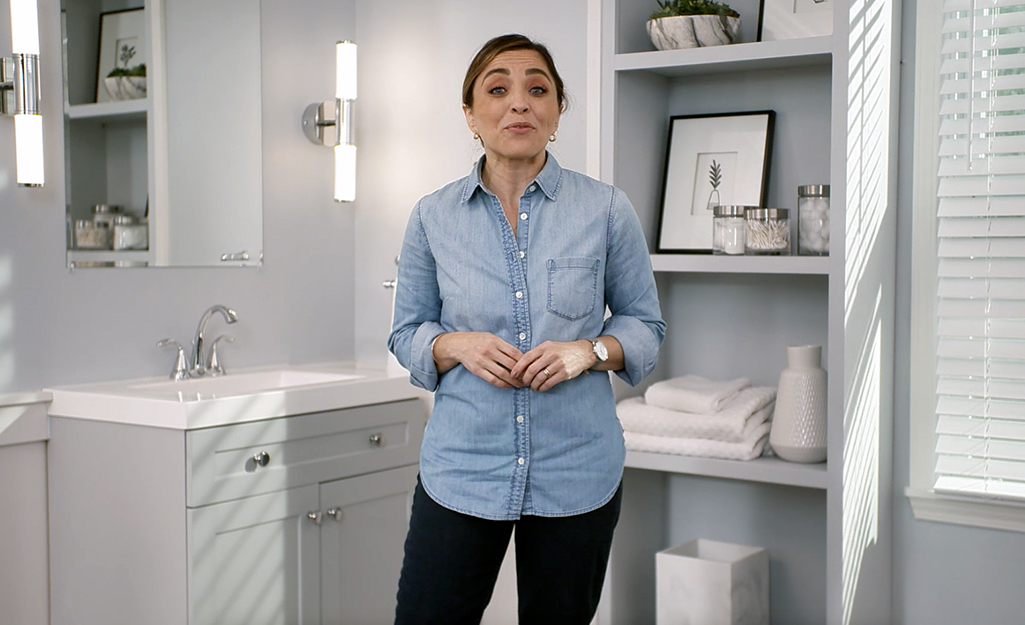
There
are two primary types of medicine cabinets:
- A surface mount medicine cabinet attaches directly to a wall. You can avoid moving any plumbing or electrical lines that may be in the wall behind it.
- A recessed mount medicine cabinet is installed in a wall. It has a built-in look and looks sleeker. It usually has deeper shelves than a surface mount model.
Recessed medicine cabinets require cutting into a wall. When installing a recessed medicine cabinet, try to choose a wall without electrical or plumbing lines behind it. Otherwise, the lines will have to be moved. If you have an outlet on that wall, it might be easier to choose a surface mount cabinet instead.
Moving plumbing or electric lines is a job for a pro. Be safe and contact a professional plumber or electrician. To save that expense, you could simply choose a surface mount medicine cabinet instead.
In general, medicine cabinets are available in sizes up to 60 inches wide and in various heights. Choose a size that’s proportional to your sink and vanity. Consider space for the door to open as well.
How to Install a Recessed Medicine Cabinet
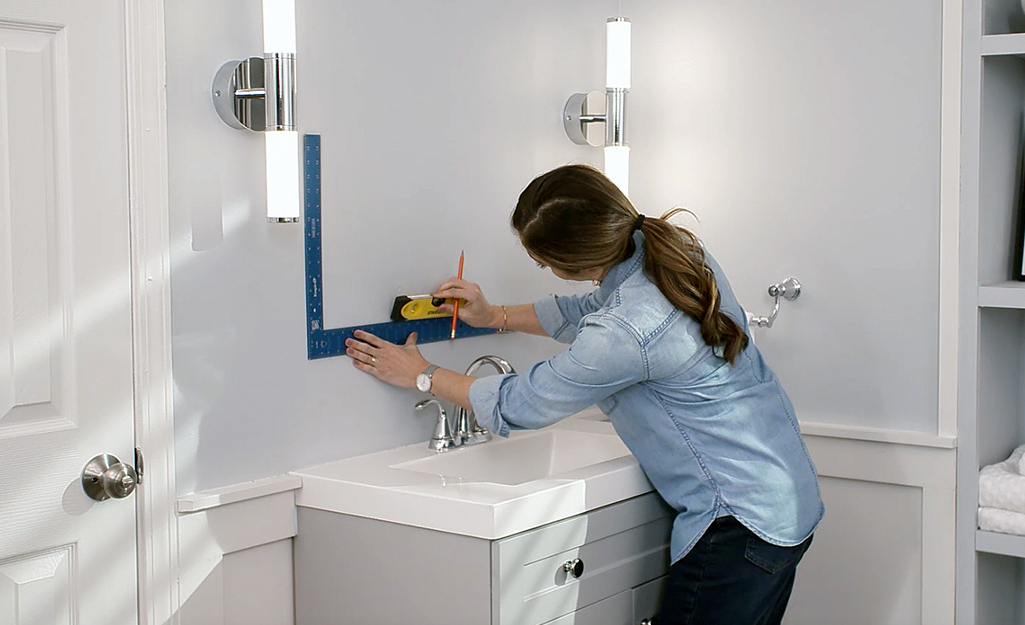
Before you begin, read the manual that came with your medicine cabinet. It’ll point out any additional quirks or considerations for that specific cabinet model.
A recessed medicine cabinet is generally centered on a stud. If your vanity and sink don’t have a stud centered above it, a surface mount cabinet may work better.
Tip: If the wall is load bearing or if it’s an exterior wall, reach out to a professional. Let them offer an opinion and further instructions. There may be more preparations to keep in mind.
In general, the top of a recessed cabinet should be around 72 inches above the floor. Adjust it to fit your needs and height.
Leave at least 3 inches of space above and below the cabinet. Assure that it clears the faucet and the vanity lighting. If you have tall faucets, soap dispensers or large light fixtures, plan your cabinet placement around those.
Make sure you can see your face and some of your body in the mirror. Mounting it too high means you’ll see mostly ceiling.
Find Studs, Outline the Cabinet and Check Inside the Wall
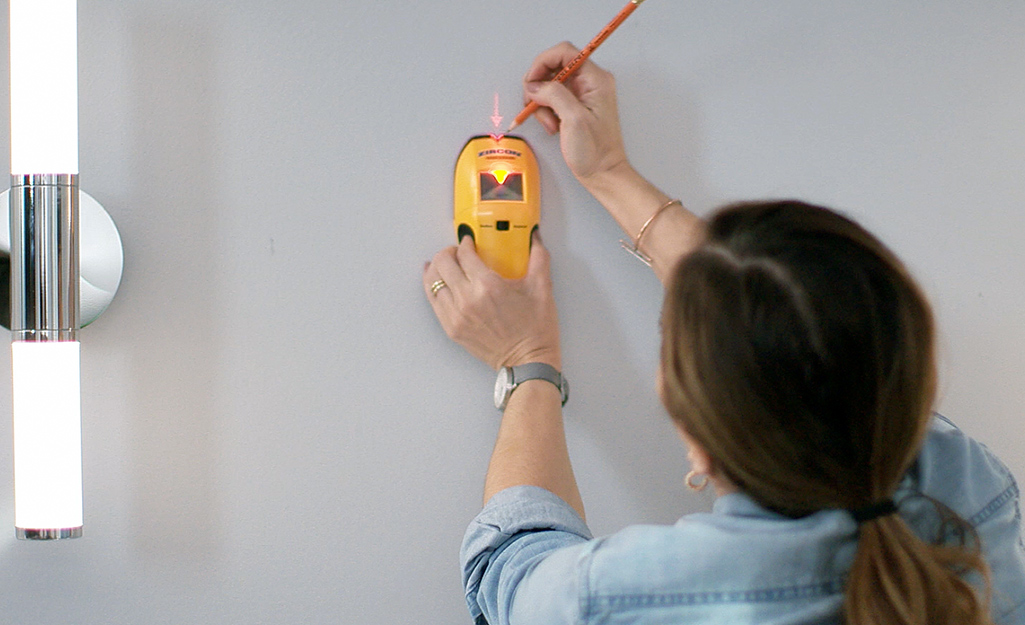
To begin installing a recessed medicine cabinet, start planning. Use a stud finder to locate any studs in the area you’d like your cabinet. Mark each stud location lightly with a pencil.
Your manual may give cut-out dimensions for your cabinet. If possible, center your cabinet outline so the stud is in the middle. Once you have the dimensions, measure them out and mark them on the wall. You should have a rectangular outline of your cabinet marked exactly where you want it.
Tip: For a strong visual, make a cardboard template that’s the exact size of your cabinet.
If your manual doesn’t give dimensions, find a partner for this next step:
- Have someone help you hold the medicine cabinet against the wall.
- Try to center the cabinet on the stud.
- Use a level to make sure the cabinet is level and straight up and down, or plumb.
- Outline the cabinet with a pencil.
- Set the cabinet down afterward.
Before you begin cutting drywall, cut the power:
- Turn off the electricity to the bathroom at the breaker box.
- Flip off the light switch.
- Bring in a work lamp from an adjacent room that has power.
- Mark a 4-inch square on each side of the stud.
- Start to drill a 4- or 5-inch screw right in the middle of each square.
- Screw it in only half an inch. It’ll stick out of the wall.
- Use a keyhole saw or other drywall cutting tool to cut each square marked within the outline.
- Make the cuts shallow, so they’re no deeper than the drywall. This is to avoid hitting any electrical or plumbing lines.
- Grab the long screw and carefully pull the drywall out. Remove the cut-out drywall and any insulation.
- Use a flashlight to look around inside the wall.
Stop what you’re doing if you see any of these in the way:
- Electrical lines
- Plumbing pipes
- Vents or vent pipes
- Drain pipes
Call a professional electrician or plumber to move them before you proceed. Those items will need to be rerouted.
Cut Along Outline and Through Old Drywall Screws
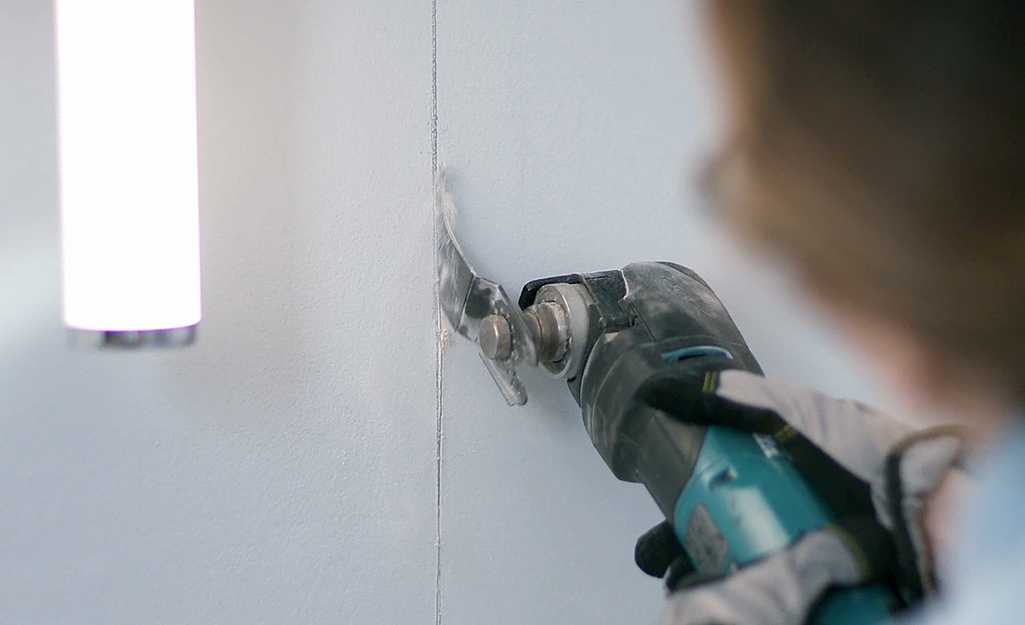
After any electrical lines or pipes have been moved, you can continue with the installation:
- Double-check your outline to make sure it's level.
- Make sure the vertical lines are plumb.
- Use a keyhole saw to cut along the cabinet outline.
- Remove the drywall and any insulation or other debris.
- You should see a wooden stud in the middle and clear space inside the wall.
- Use a drywall saw to cut the part of the stud that’s within your outline.
- Make sure to just cut the stud. Your saw shouldn’t go all the way through the wall.
- Reach behind the studs to find any old connecting pieces.
- Cut through any drywall screws fastening the wallboard to the backing. A hacksaw works well for this.
- Test the cabinet fit before framing the hole.
- With a partner, lift the cabinet into the opening. If it doesn’t fit snugly, trim the drywall with a utility knife.
Install Blocking for Recessed Medicine Cabinet
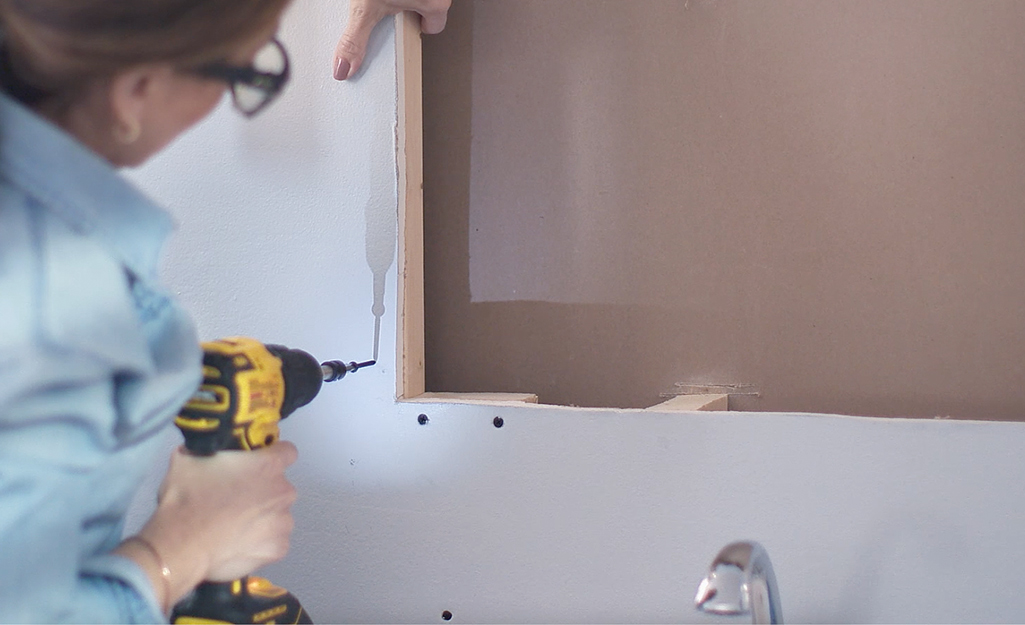
Now you’ll install blocking to secure the cabinet to the wall. The wood will support the weight of the cabinet. These wood pieces are sometimes called nailers.
Build the blocking for your recessed cabinet by following these steps:
- Measure the top and bottom length of the opening. They should be the same.
- Cut two 2- x 4-inch boards to match the top and bottom lengths.
- Slide a 2- x 4-inch framing stud into the opening horizontally.
- Hold it level along the top of the opening.
- Butt one end up against an intact wall stud.
- Mark the spot where the 2- x 4-inch board meets the stud.
- Saw it to that length.
- Repeat this step with the other board along the bottom.
You’ll now have four cut 2- x 4-inch boards. Two are for the top and two for the bottom.
Secure the blocking by following these steps:
- Apply construction adhesive to the ends of the boards. Do one at a time.
- Place a board between the studs, flush with the drywall opening.
- Drill pilot holes first.
- Drive 2-1/2-inch drywall screws through the drywall and the blocking.
- Repeat with the other three boards.
- All four boards should be securely screwed into the studs now.
- Let the adhesive dry per the manufacturer’s instructions before moving to the next step.
Finish the Recessed Medicine Cabinet Installation
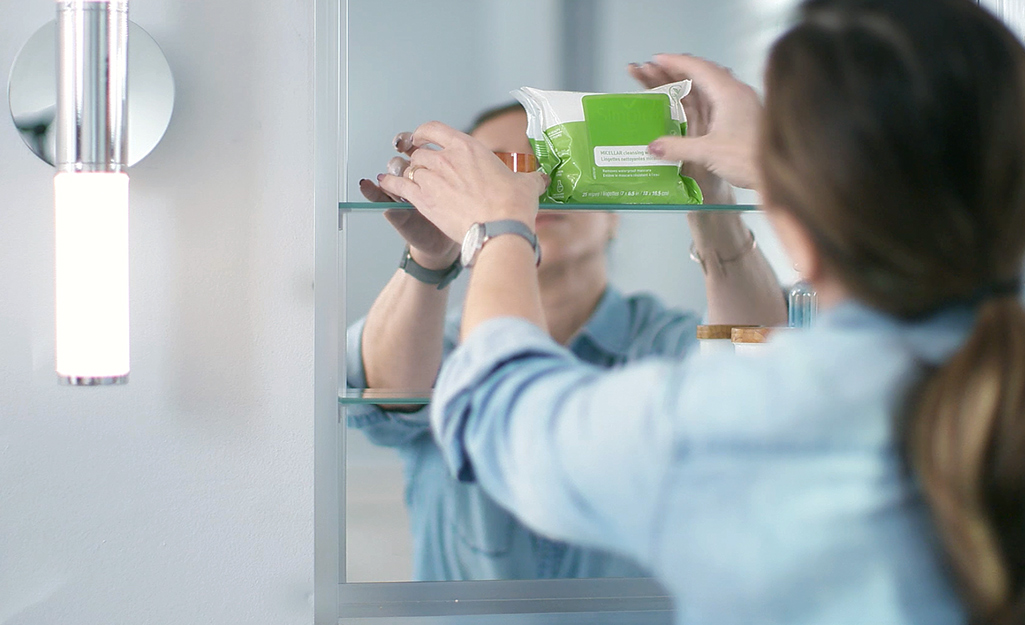
You’ll now have a framed opening in the wall. The hole you cut should have wood all the way around it. It’ll look a bit like a window.
- Put the cabinet into the blocking to make sure it fits. Set it down when you’re done.
- Along the outside of the opening, insert drywall screws. Drill through the drywall into the wood.
- Fasten all along the perimeter to hold the wooden frame to the wall.
- Patch any marred drywall or holes with spackle.
- If the cabinet is a perfect fit and won’t need caulk around the edges, repaint the spackled drywall.
Get your partner again for the final cabinet install:
- Insert the cabinet into the framed opening.
- Push it gently but firmly, so the face frame is flush with the wall.
- Have your partner hold the cabinet in place.
- Use a level to assure the cabinet is still level. If it’s not, adjust the fit with shims.
- Find the four mounting holes inside the open cabinet. There’s one in each corner.
- Screw in the cabinet per the manufacturer’s instructions.
- Caulk around the edges of the opening, if needed, to cover any small gaps.
- Repaint the patched drywall and caulk to match the rest of the wall.
- If you took the door off, put it back on.
- Add any hardware.
- Following your manual, insert the shelves.
How to Install a Surface Mount Medicine Cabinet
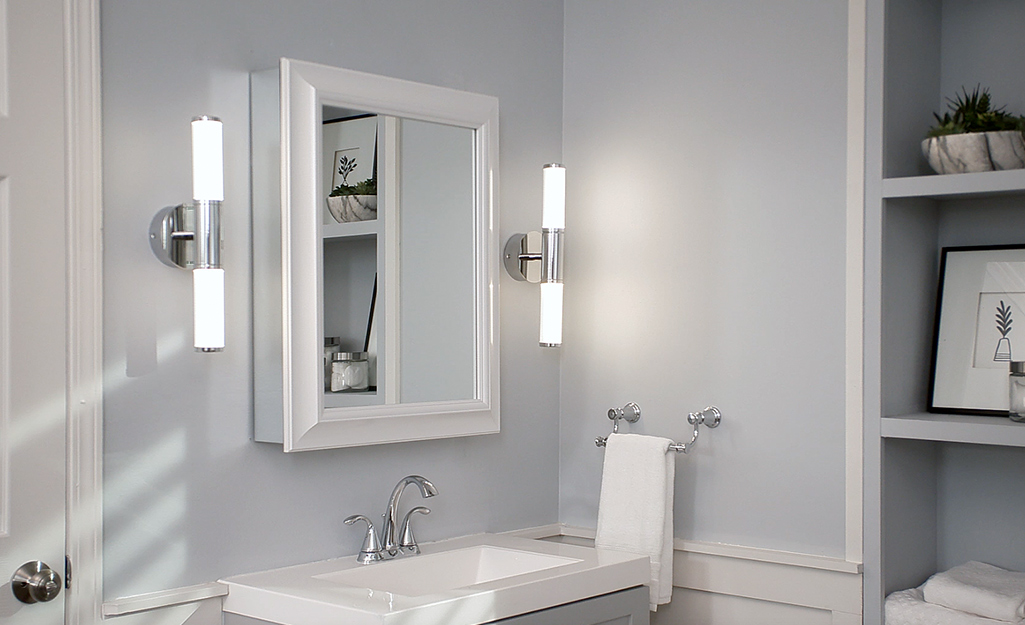
A surface mount cabinet is a good option if your walls are tough to cut through. This includes concrete, poured plaster and brick walls.
It’s also a workaround when you have plumbing or electrical lines behind the wall you want to use. You can install a surface mount cabinet without calling a professional to move those pipes or wires.
To get started, use a stud finder to locate studs in the wall. Mark them with a pencil. If you don't have a stud finder, knock on the wall. When you're over a stud, the noise won't sound hollow.
Next, check out your new cabinet. Most wall-mounted medicine cabinets come with pre-drilled strips. They’re attached to the top and bottom interior of the cabinet:
- Find the pre-drilled strips on the back of your cabinet.
- Measure the distance between them. It’s usually 16 inches. Note if it isn’t.
- Most wall studs are spaced 16 inches apart.
- If the distance between the strips and two studs match, you’re ready to get started.
- If it’s not, you’ll have to add reinforcements to hang the cabinet. We’ll address that in Step 9.
Mark the Wall and Measure
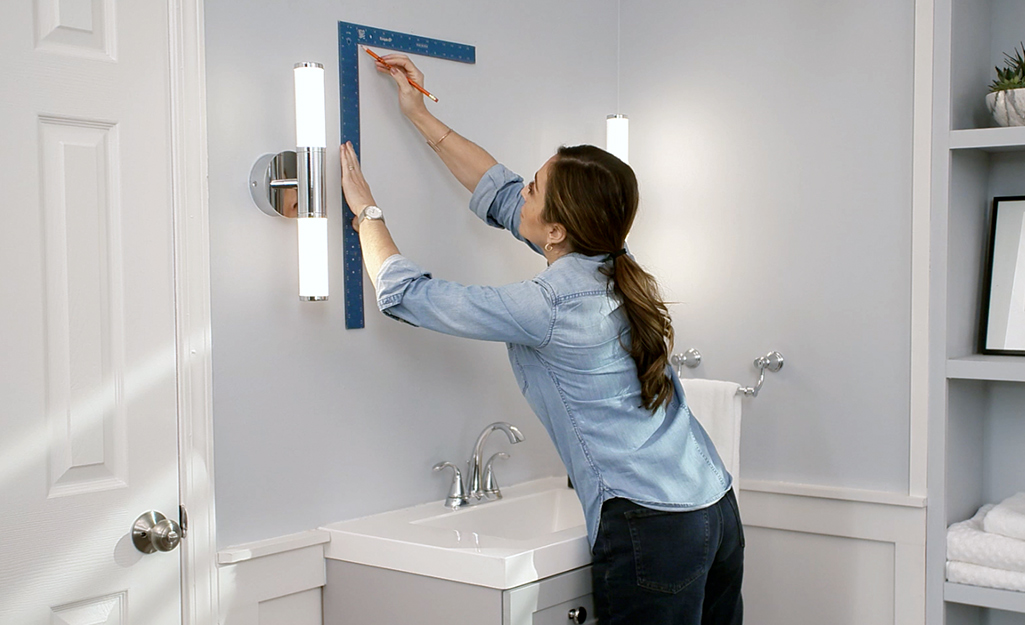
You might want to remove the cabinet door or tape it securely shut. This makes the cabinet easier to handle. Take out any shelves so you have room to work.
Now it’s time to figure out your medicine cabinet’s placement and height:
- Get a partner to hold the cabinet against the wall.
- Line up the cabinet strips with the wall studs, if possible.
- One wall stud should be on the left side of the cabinet. The other should be on the right.
- Choose your height. If you need a starting point, 72 inches is standard.
- Adjust the cabinet height so you can see at least your face and shoulders. Consider the height of others in your household too.
- Make sure the cabinet is level and plumb against the wall studs.
- Use a pencil to mark along the top and bottom of the cabinet.
You’ve got your cabinet partially planned. Next, mark where to drill holes:
- Remove the cabinet from the wall. Set it down where it’s not in the way.
- Find those pre-drilled holes again.
- Use a tape measure to measure from the top to the first pre-drilled hole. Let’s say it’s four inches, for example.
- From the top cabinet line, measure down that same distance. In our example, that’s four inches.
- Mark that measurement on the wall.
- For the next pre-drilled hole, measure from the top to that hole. Transfer the measurement as before.
- Keep measuring and marking until you’ve transferred all the holes on the cabinet to the wall.
Drill Pilot Holes and Drive Screws
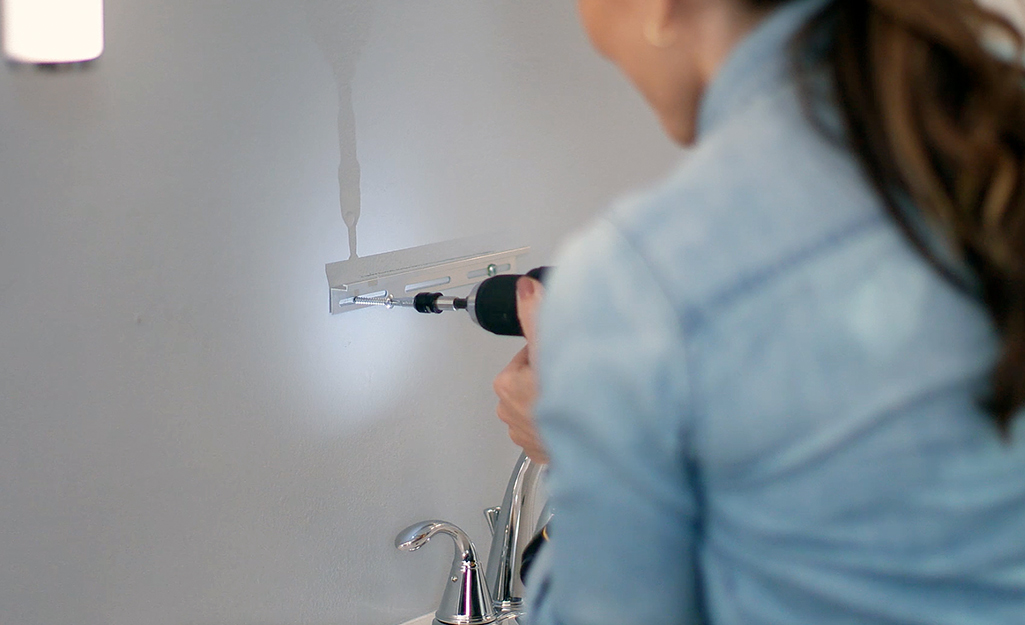
Make sure your holes are on a stud. If they’re not, follow the second or third set of steps. Choose according to your anchor type.
When installing a medicine cabinet that’s on both studs, follow these steps:
- Measure across to make sure your holes are level.
- Measure down to make sure they’re in a straight line. Adjust if needed.
- With a partner, hold the cabinet so it’s within the lines.
- Make sure the cabinet holes align with your pilot hole markings.
- Check to see that the cabinet is still level and plumb.
- Set down the cabinet when all the measurements are verified.
- At each mark, drill a pilot hole. Keep the pilot holes on the small side so the screws fit snugly.
- Have your partner align the cabinet and hold it to the wall. It should be in the exact place you want it.
- Reaching inside the cabinet, drive screws through the predrilled holes and into the studs.
- This secures the cabinet to the wall.
To install a surface mount cabinet that isn’t on studs, use drywall anchors, toggle bolts or expanding bolts. If you can’t find strong enough drywall anchors for your cabinet, use toggle bolts.
Follow these steps to use drywall anchors for a wall-mount cabinet:
- Put drywall anchors in the pilot holes. Make sure the drywall anchors are rated for the weight of your cabinet.
- Have your partner pick up the cabinet and hold it in place. The medicine cabinet should be lined up exactly how you want it.
- Reach inside the cabinet to find the pre-drilled holes.
- Insert the screws into the pilot holes.
- The drywall anchors will expand when you drive in the screws.
To use toggle bolts for your surface mount cabinet, follow these steps:
- Get your partner to hold the cabinet in place.
- Insert toggle bolts into the pre-drilled holes in the cabinet.
- The toggle should go through the cabinet and the drywall. It it’s not going into the drywall, gently tap the head of the bolt with a hammer.
- The wings of the toggle spring open inside the drywall. This gives your cabinet the support it needs without being screwed to a stud.
- Use a screwdriver to tighten the bolt. Secure the washer and the head of the bolt inside the cabinet.
Finish the Surface Mount Medicine Cabinet Installation
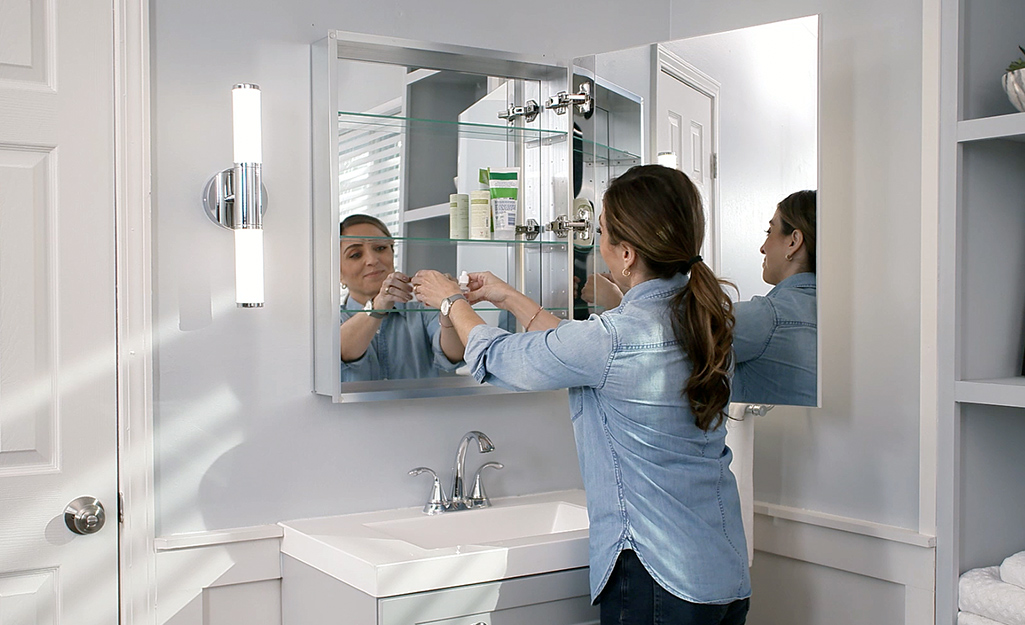
Assure your cabinet is firmly attached to the wall. Finish the job by adding the shelves. Check to see that they’re level and secure.
If you removed the door, re-attach it per manufacturer’s instructions. If it was only taped shut, untape it and remove any adhesive residue.
Once you know how to install a recessed medicine cabinet, you can look forward to more bathroom storage. A surface mount medicine cabinet can also give you the extra space you need.
Looking for supplies to install one yourself? We’ve got you covered. Use The Home Depot Mobile App to locate products and check inventory. We'll take you to the exact aisle and bay. If you prefer to call in the pros, try our bathroom installation services.


