How to Install a Pocket Door

Last updated April 30, 2025
A pocket door is the name used to describe a type of sliding door that recedes into the wall frame when it’s fully open. These doors are great for smaller spaces and tight areas when there isn’t enough room for a standard hinged door that swings open.
Pantries, closets, laundry rooms and utility spaces are all ideal places for pocket door installation in your home. Read on for step-by-step instructions on how to install a pocket door in your room.
Difficulty:
Intermediate
Duration:
2-4 hours
Table of Contents
Measure the Space
Determine Wall Type
Remove the Old Door
Remove the Drywall
Cut the Studs
Install a New Header
Measure the Space

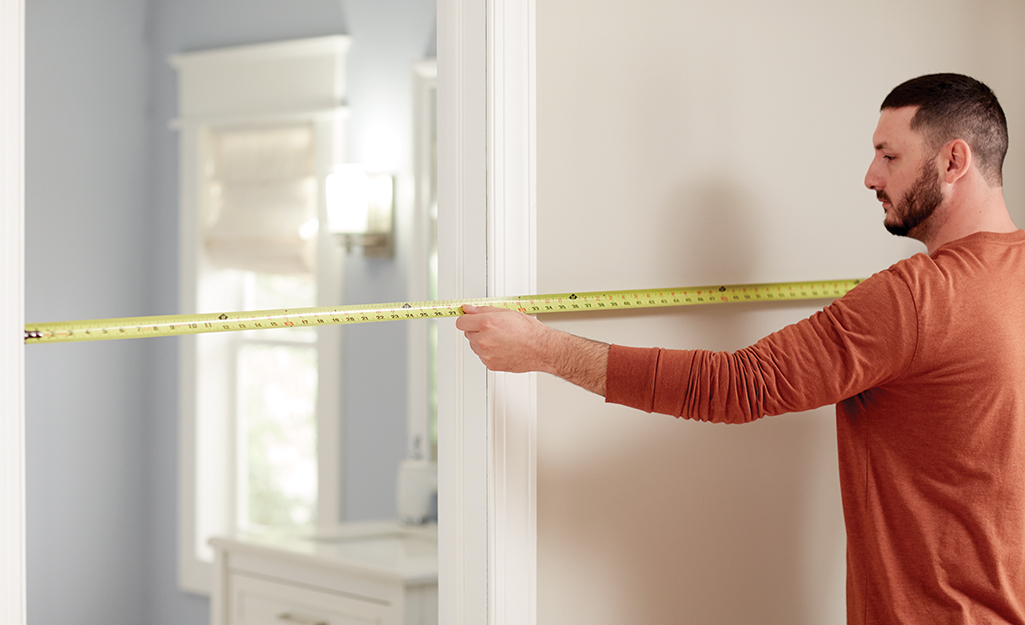
Once you've chosen your interior door style, you're ready to get started installing your pocket door. Use a tape measure and measure the space for the door.
Tip: Twice the width of the door is needed to hide the door in the pocket.
Determine Wall Type

One of the most important steps when learning how to install a pocket door is to determine your wall type. Walls with plumbing or electrical wires cannot house a pocket door.
- Use a stud finder to determine if the wall is load bearing or a partition.
Remove the Old Door

Before drilling or removing the old door, be sure to lay a drop cloth on the ground to protect your floors.
- Once you've determined the wall is a partition, you can start removing the old door and frame.
- To begin building a pocket door in an existing wall, take the old door off the door frame and remove the moulding.
- Cut away the shims and nails using your reciprocating saw.
Tip: Remember to wear safety goggles when working with power equipment.
Remove the Drywall

Next, you'll need to remove the drywall from both sides of the wall.
- Double check that you don't have any hidden wires.
- All wires will need to be relocated to a new junction box. Call an electrician if you need help relocating any hidden wires.
Cut the Studs

- Using a circular or reciprocating saw, cut away exposed studs to make room for the new door and header.
- Trim the nails and pry away the studs with either a hammer or a crow bar.
Install a New Header

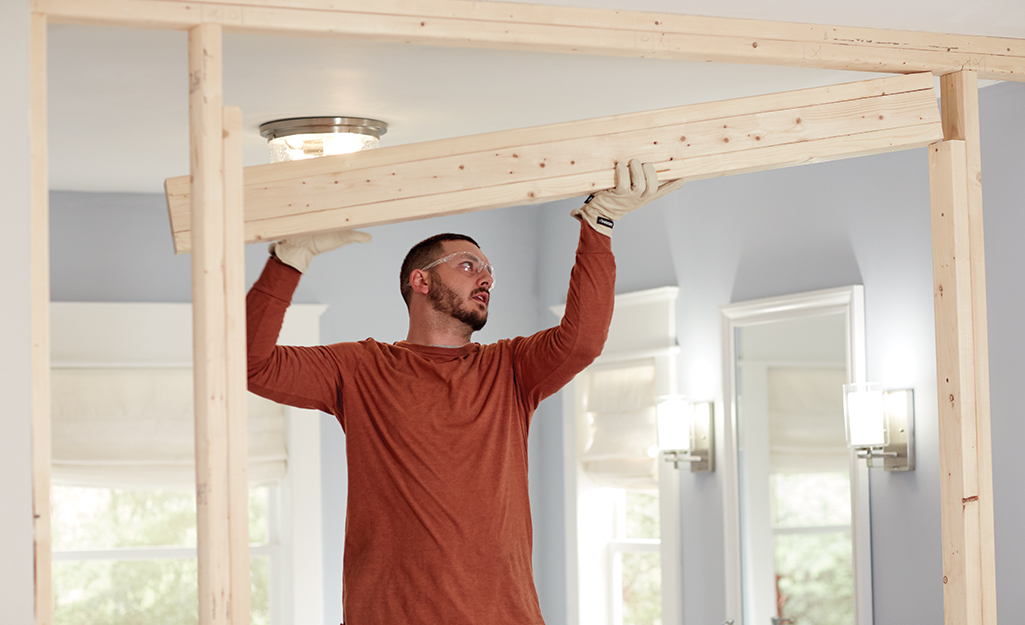
Now, it's time to begin installing the pocket door. Begin with your header.:
- Read the assembly instructions carefully to determine the new header size.
- Build the new header using your lumber, hammer and nails.
- Most doors are 80 inches, so your new stud should be placed at 84 1/2 inches.
- Most door jambs are 4 1/2 inches above the door frame.
Install Pocket Door Slider Kit

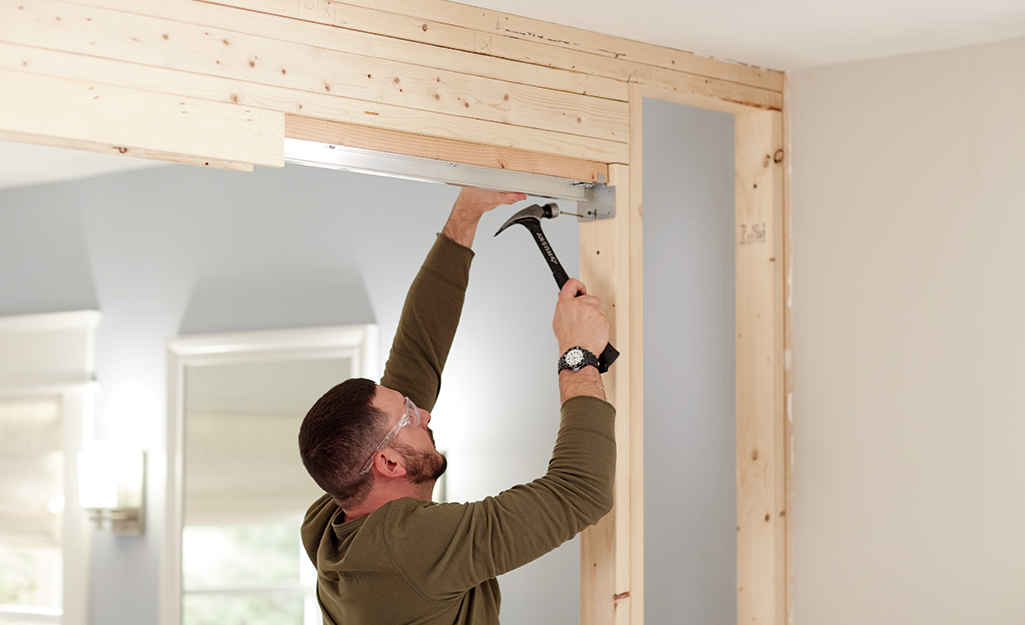
Follow the manufacturer's instructions to install your specific kit. Use a level to make sure the door slides evenly and easily to and from the pocket.
Install Door on Track

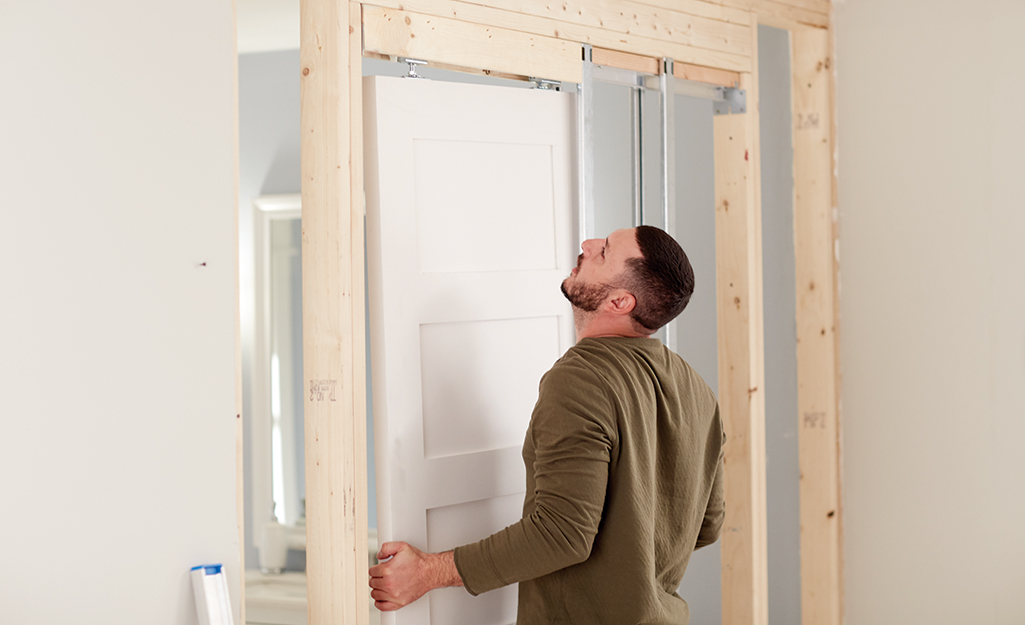
- Add the metal studs into the track, using your drill.
- Mount the hangers on top of the door.
- Slide the wheeled carriages into the track.
- Hook the hangers onto the carriages and make sure the door hangs plumb.
Repair the Drywall

- Patch the hole with new drywall, using your drill and screws.
- Touch up any holes with joint compound and sand prior to painting.
Install Latch

Install the pocket door hardware to both the wall and the new door, using your drill.
Install Door Trim

- Use a finish nailer to attach the trim to the jamb and door studs.
- Paint to match.
Learning how to install a pocket door is fairly simple with the right supplies. Looking for a product to complete your project? The Home Depot delivers online orders when and where you need them. For free design, purchase and installation help with windows and doors, call us any time between 9 a.m. - 9 p.m. EST at 1-833-HDAPRON (432-7766).


