How to Install a Pop-Up Drain
Last updated September 7, 2023
The pop-up drain is common in bathroom sinks. With this type of drain, you pull a lift rod to lower the drain and then push on it to raise it. Replace an existing pop-up drain or install a new one with a few basic tools. This step-by-step guide will teach you how to install a pop-up drain.
Difficulty:
Intermediate
Duration:
2-4 hours
Table of Contents
Remove the P-Trap
Remove the Drain & Flange
Replace the Drain Tailpiece
Insert the Drain Stopper
Reattach the Pop-Up Assembly
Reattach the Pipes
Remove the P-Trap
Before you get to work, get to know the parts of a pop-up drain. They include:
- Tailpiece: Long cylindrical base of the drain assembly.
- Pivot rod: Horizontal rod that extends from above the tailpiece.
- Pivot seal and gasket: Point where the pivot rod meets the drain assembly.
- Lift rod: Vertical rod that rises from the pivot rod
- Trevis strap: Thin metal strip with holes for the pivot rod.
- Flange and gasket: Part of the drain assembly that meets the tailpiece. The flange will cover the hole in the sink drain once installed.
- Stopper: The upper part of the drain assembly that raises and lowers.
- When you pull the lift rod, it moves the pivot rod and the stopper lowers.
Cover the floor or the inside of the vanity with newspaper or plastic bags. Put a cleaning bucket under the sink to catch water.
- Locate the water supply valve under the sink. Designs vary, but most have twisting knobs. Turn this knob to shut off the water supply.
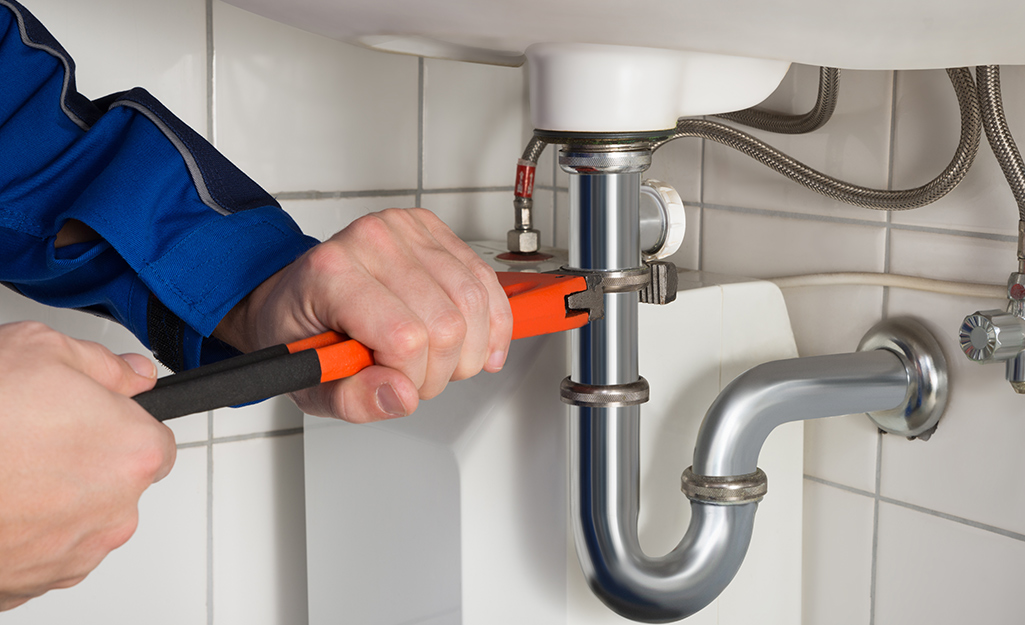
- To access the existing drain, you need to first remove the P-trap. The P-trap is the U-shaped pipe that connects the sink tailpiece to the drain pipe.
- Grip the nut at the top of the P-trap with a pipe wrench. Place one hand at the end of the handle and the other just below the head, then twist to the left. Remove the nut at the bottom of the P-trap the same way.
- Slowly pull out the P-trap. Set it out of the way until later.
Tip: Take this chance to give the P-trap a deep clean. Use a flexible pipe brush and a bucket filled with warm water and dish soap to scrub it out.
Remove the Drain & Flange
- Take out the existing drain assembly. Remove the clevis strap and the spring clip attached to it. Hold the pivot rod while you unscrew its gasket. Once the gasket is off, slide the pivot rod from the tailpiece and lift the stopper out of the sink.
- Use the pipe wrench to completely loosen the nut on the drain tailpiece. Push the tailpiece upward to free the drain flange. If the flange won't budge, wiggle the tailpiece until the seal breaks. Finally, lift the entire tailpiece clear of the sink.
- Use a bathroom cleaning product and a sponge to clean the sink bowl. Dry the sink with a towel. Now, you're ready to install the new flange.
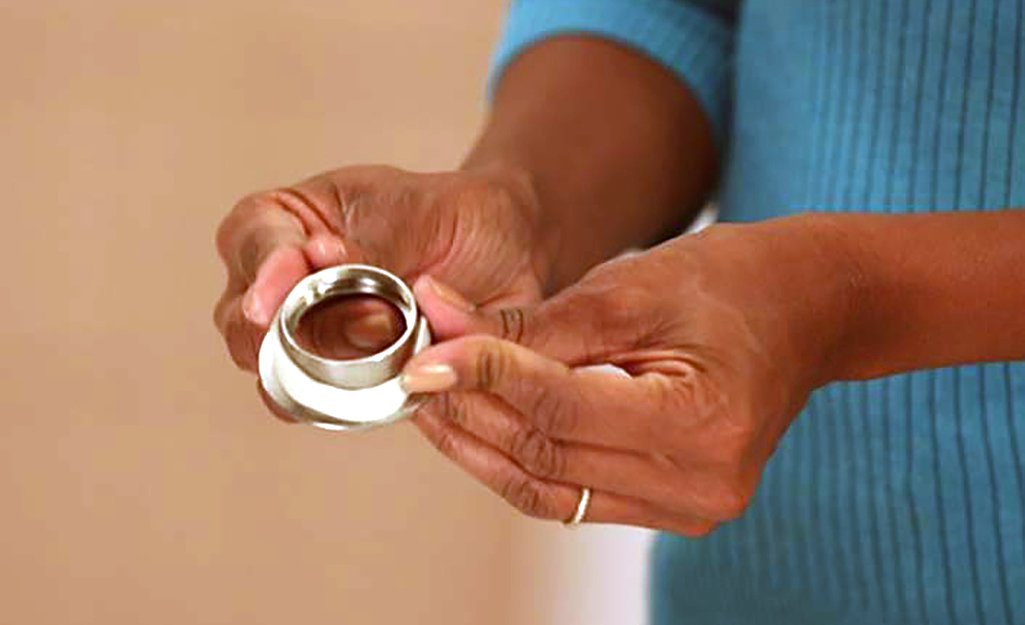
- Take a small piece of pipe putty and roll it between your fingers. Pipe putty is a flexible substance that will seal the sink drain. Continue to work the putty until it gets warm and softens.
Tip: Apply the plumber's putty to the narrow bottom of the new drain flange. Substitute silicone caulk for pipe putty if necessary.
Replace the Drain Tailpiece
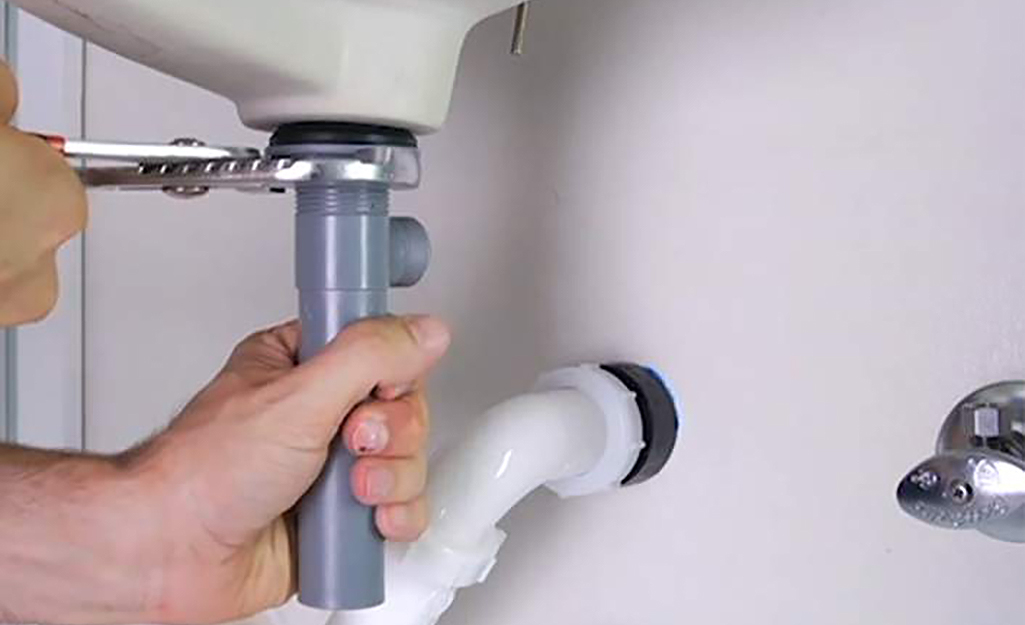
The next step is to replace the drain tailpiece.
- Insert the washer and gasket onto the top of the tailpiece. Apply pipe joint compound to the side of the gasket that fits against the sink. Pipe joint compound is a type of adhesive made for plumbing projects. The compound creates a tight seal with the drain.
- Slide the drain tailpiece through the drain hole from under the sink. Slip the flange into the drain opening and screw it onto the tailpiece.
- Grip the tailpiece with one hand while you hand tighten the nut. Continue until it no longer moves easily, then use pliers to tighten it the rest of the way. Turn the drain tailpiece to line it up with the pop-up assembly behind it.
Insert the Drain Stopper
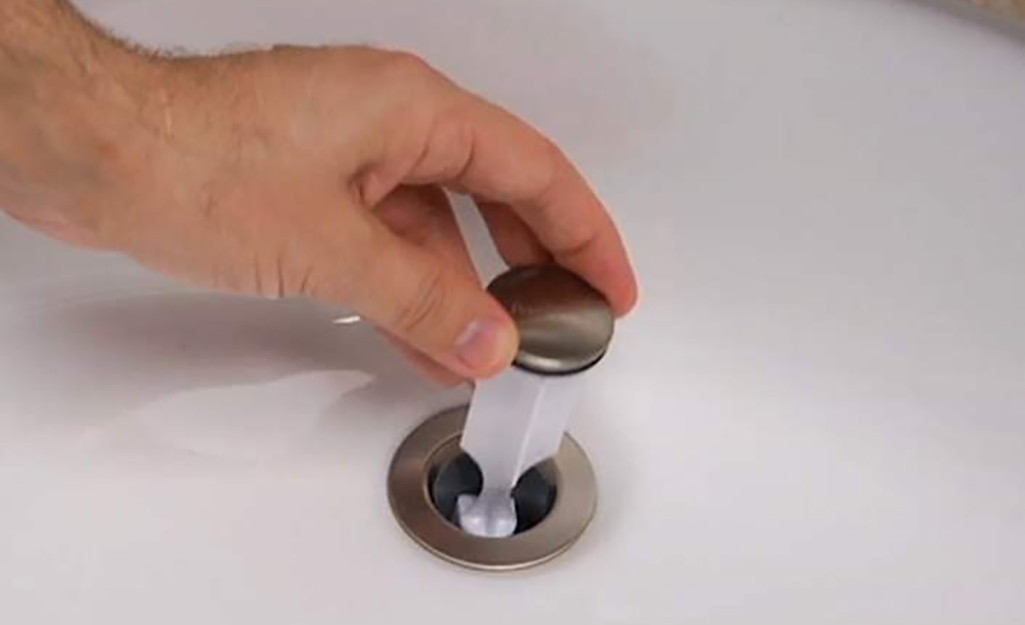
Check the sink bowl to see if any putty pushed past the flange. Use a putty knife to gently lift it away. Slide the stopper of the pop-up drain into the flange through the sink. The hole at the end of the stopper should face the back of the sink.
Reattach the Pop-Up Assembly
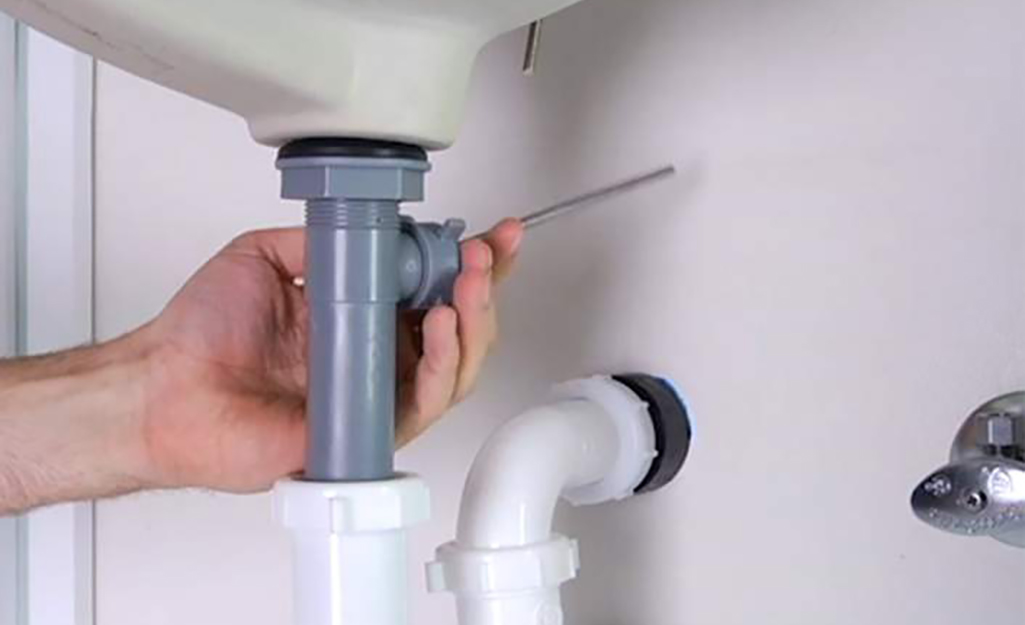
Now, it's time to put the pop-up assembly drain parts together.
- Slide the pivot rod and ball into the opening of the tailpiece. The ball should fit snugly into the opening. Slip the ball nut over the pivot rod and screw it onto the threads of the drain tailpiece.
- Push the pivot rod through one end of the spring clip and then through the closest hole in the clevis strap. Then, move the other end of the spring clip through the rod to hold it in place.
- Before the final step, stop to check that the drain assembly works. Watch the drain stopper while you pull and push on the rod.
- If everything is right, the stopper should open and close fully. It should move smoothly. If it doesn’t, check if the pivot rod nut is too tight and needs loosening. If the stopper doesn’t close fully, adjust the pivot rod by pinching and moving the spring clip.
- Test the stopper again and continue adjusting the pivot rod until the stopper lowers and raises correctly.
Reattach the Pipes
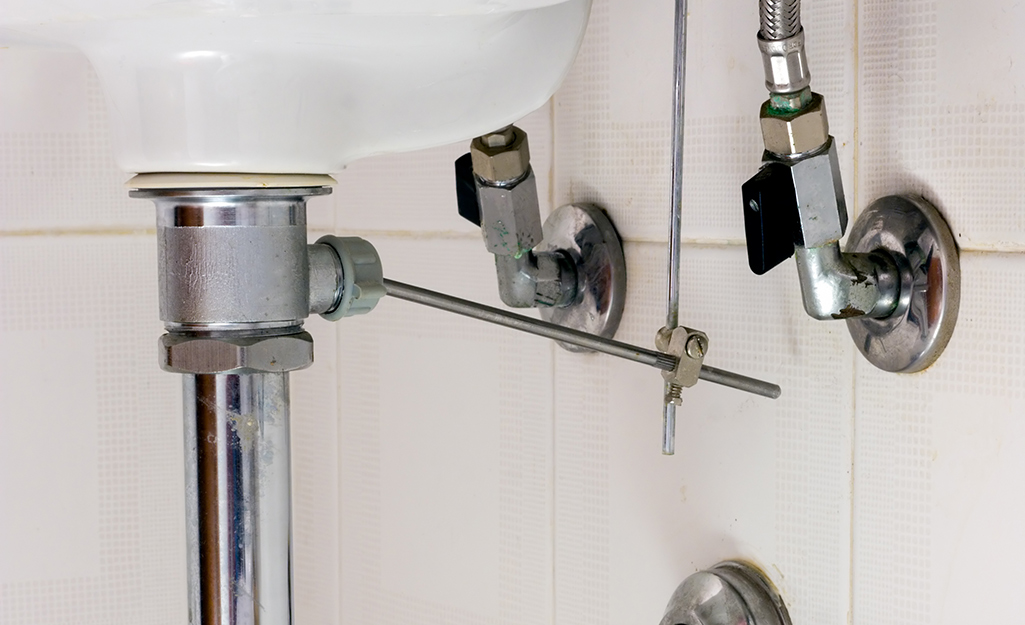
Finish up by reattaching the pipes. Apply plumbers tape to the tailpiece threads and branch drain pipe to ensure the pipes do not leak. Reconnect the P-trap to the drain tailpiece and the drain pipe. Turn the water supply back on.
To check the results of your work, close the sink stopper and fill the sink with water. The pop-up assembly works if the water doesn't drain out. Drain the sink and look underneath for any leaks.
Installing a drain assembly is a DIY job that you can complete in just a few hours with a few tools and some basic plumbing supplies. Now that you know how the pop-up drain works, you'll also be ready to troubleshoot problems. Getthe parts and materials you need to get the job done. Home Depot delivers online orders when and where you need them.

