How to Install a Range Hood
Last updated February 7, 2025
Range hoods draw smoke, steam and cooking aromas from your stovetop and vent them out of the house, helping to refresh the air in your kitchen. Some range hoods have internal blowers that recirculate the air in the kitchen without external venting.
Range hood installation can involve drilling a new vent hole through a wall, which can require new wiring and ductwork, while replacing old ones can be a simpler process. This guide reviews how to install a range hood and remove an old one.
Tip: Before you purchase a range hood, check the CFM rating of its fan. The CFM indicates the number of cubic feet of air the fan pulls per minute. Choose a fan with a CFM rating that is double the square footage of your kitchen.
Difficulty:
Advanced
Duration:
Over 1 day
Table of Contents
Gather Tools and Materials
Choose the Right Range Hood
Considerations Before Venting a Range Hood
Remove the Old Hood, If Necessary
Locate and Mark the Vent Holes
Check for Obstructions
Gather Tools and Materials

Before you start your DIY stove hood vent installation, you’ll need the proper tools and materials. The items will depend on the type of range hood you choose.
Tools:
- Hole saw
- Oscillating saw
- Eye protection
- Dust mask
- Ear protection
- Caulk gun
- Drill
- Hammer and screwdriver
- Reciprocating saw, saber saw with an extra-long blade or keyhole saw
- Cold chisel
- Pencil
Materials:
- Exterior duct
- Caulk
- Screws
- Mounting block
- Foil tape
- Cable connector
Choose the Right Range Hood

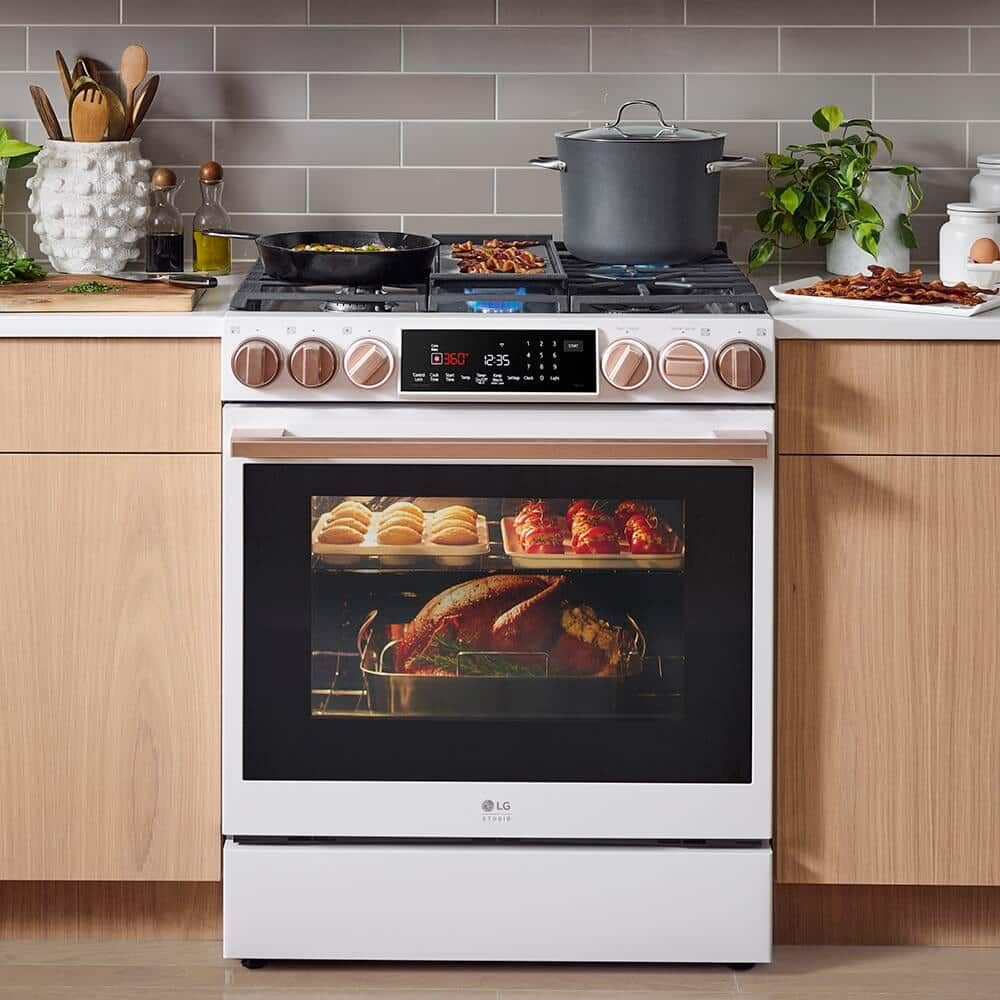
Range hoods provide ventilation over kitchen stoves, either venting outside or recirculating air. Either way, smoke, odors and heat are cleared from your kitchen.
Range Hood Sizes: The most effective size for your range hood one that’s the same width as your stovetop. It’s also okay for it to be wider, but the width should never be smaller than your cooking area. You can find a variety of range hood sizes – anywhere from 24 inches to 60 inches. However, the standard sizes are usually 24 inches, 30 inches or 36 inches wide.
CFM Rating: Before you purchase a range hood, check the CFM rating of its fan. The CFM indicates the number of cubic feet of air the fan pulls per minute. Choose a fan with a CFM rating that is double the square footage of your kitchen.
Types: The three types of range hoods are ducted, ductless and convertible.
- Ducted hoods vent to the house’s exterior, and they’re more complicated to install as a result.
- Ductless hoods use a filter to clean and recirculate air, but they don’t vent outside. This makes them easier to install than hoods that need to be connected to the exterior.
- Convertible range hoods can be used with either external ducts or interior recirculation.
Choose the type of hood that fits your plans for a DIY stove hood vent installation. Homes that already have ducted hoods work well with a new ducted hood or a convertible one. Ductless hoods will require filter changing and cleaning, so keep this in mind.
Considerations Before Venting a Range Hood

It’s important to consider several factors before beginning installation. If you’re going to use a ducted range hood, check to see if you’re able to vent through the wall. If you can’t, venting a range hood can be done through the roof instead. If so, insulation may be needed to help regulate heat in the attic You will likely need to consult a professional to do the job in this case.
If you’re doing the work yourself, try to use shorter ductwork with fewer bends. The flow of air should be as unobstructed as possible.
Make sure you know the local building codes regarding ductwork and venting for range hoods. You may be required to vent at a certain location or use specific duct sizes, for instance.
Remove the Old Hood, If Necessary

When replacing a range hood, you’ll need to begin by removing the old one.
- Shut off the power to the range hood at the breaker box.
- Unplug the hood and disconnect all electrical wires and wiring connectors.
- Have a helper support the weight of the hood cover as you remove the support screws.
- Lift away the old range hood and set aside.
Locate and Mark the Vent Holes

Installing a range hood in the kitchen for the first time involves drilling a hole in the wall, attaching new duct work for ducted ranges, and adding new wiring if necessary.
- Begin by unpacking the unit and removing the filter, exhaust fan and electrical housing cover. Ideally, the new hood should be large enough to extend one inch past the stovetop on all four sides.
- Use a hammer and screwdriver to remove the knockouts for the electrical cable and the duct.
Insert a cable connector into the cable knockout. - Hold the hood in place against the chosen wall. For ducted hoods, use a pencil to mark the locations for the holes for the duct and the cable. You may need a helper for this.
Some models provide a template for marking the vent holes.
Tip: Determine the height of the range hood based on its capacity. Standard models should be installed about 18 to 24 inches above the cooktop surface, while high-capacity hoods are installed 24 to 30 inches above the cooktop.
Check for Obstructions

Take all precautions to avoid studs, pipes or wires while cutting and drilling. If you need to relocate pipes or wires, you may need to consult with a plumber or electrician.
Remove insulation or debris that could interfere with installing a duct for ducted hoods.
You also want to make sure there are no obstructions on the exterior where the duct will exit the house.
Cut Interior Hole and Drill Locator Holes

- When venting a range hood that is ducted, choose the direction of the vent that will lead from indoors to outdoors most directly.
A rule of thumb suggests, "Take the shortest path to daylight." If your stove is not built in an exterior wall, consider consulting with a home improvement specialist, as you may need to extend a vent through the roof. - Cut a vent hole through the interior drywall or plaster with a reciprocating saw or hole saw. Wear a dust mask and eye protection.
- Use a long bit to drill locator holes at each corner of the vent hole all the way through the exterior wall.
Cut the Siding

Ducted range hood installation will require that the exterior siding be cut.
- Find the locater holes outside the house.
- Use a pencil or marker to connect the dots between the locater holes to outline the vent hole.
- Cut the vent hole in the siding using a reciprocating saw, saber saw with an extra-long blade or keyhole saw to follow the outline. Remove the siding.
- Remove any insulation or debris that makes it difficult to install the duct.
Prepare the Damper and Attach the Duct

If you aren’t using a wall cap, which usually has a damper installed, you will have to install your own interior damper for a ducted range hood. The instructions vary depending on the location of the damper, but there are general steps to prepare:
- Measure the opening of the ductwork. This will give you the diameter measurement.
- Using that measurement, buy a damper with the same diameter.
If you’re using a wall cap instead of installing your own damper:
- From the outside, push the duct’s wall cap into the opening to see if the duct is long enough to reach the range hood.
- If not, purchase a duct extension and attach it with sheet metal screws and duct tape.
- Apply caulk to the siding where the cap flange will rest.
- Push the cap into place and fasten it with screws.
- Caulk the perimeter of the flange.
Run Power to the Range Hood

- Shut off power to the circuit and make sure the hood’s power switches are in the “off” position.
- Run cable from a nearby receptacle or junction box through the hole in the wall.
- Strip the sheathing and attach the cable to the range hood with the cable connector.
- Mount the hood securely by driving mounting brackets or screws into studs or adjacent cabinets.
You may need a helper to hold the hood in place while you drive the screws.
Tip: You may need to consult an electrician if you need to extend wiring to the vent hood location.
Connect the Wires

- Before wiring the range hood, confirm that the power is switched off at the breaker box.
- Splice the white wire to the white fixture lead, the black wire to the black lead and the ground wire to the green lead.
- Fold the wires into place and replace the electrical cover.
- Reattach the range hood fan and filter.
- Restore power and test the range vent.
Install the Interior Damper

If you’re not using a wall cap, you will probably need to install an interior damper.
- When you place the damper into the ductwork, make sure the flap opens toward the exterior of the house. That way air flows outside through the damper.
- Use screws designed for sheet metal to attach it.
- Duct tape can be used to secure and seal it more thoroughly.
- Test that the damper flap moves out of the way when the range hood is on. The flap should shut the ductwork closed when the range hood is off.
Venting Through Masonry Wall

When venting a range hood through a masonry wall, use a slightly different method to cut through the wall.
- Use a long masonry bit to drill the locator holes.
- Draw the outline carefully, double-checking that the vent can fit with room to spare.
- Drill holes about every inch along the outline.
- Use a hammer and cold chisel to chip between the holes.
- When the hole is finished, follow the above instructions for attaching the vent.
- Drill holes and drive masonry screws to attach the duct cap.
Tip: After sawing, cutting or drilling through drywall, a masonry wall and other building materials, be sure to vacuum up the dust. Wear eye protection and a respirator mask while drilling or cutting through masonry.
Maintenance and Care for Your Range Hood

Range hoods are designed to clear the air when you’re cooking, so grease, dust and other buildup is unavoidable.
- As you use your appliance, take steps to use it only as much as necessary. Use low settings for cooking foods that don’t produce much smoke or heat, and don’t use it when it isn’t required.
- Regular maintenance will also help keep the parts working properly.
- Ductless range hoods use filters. Wash them in the dishwasher or by hand, according to the manufacturer’s instructions. If they use a charcoal filter insert, replace that every other month or according to the manual.
- If the body of the hood gets too dirty, it can also affect its operation. Once it’s cool, wipe it clean with a cleaning solution recommended by the manufacturer.
- You should take care not to scratch the hood, so wipe with the grain and don’t use rough sponges or abrasive cleaning products.
- Clean the fan blades also according to the instructions.
- If you notice poor operation, you may need to have grease buildup professionally cleaned from the vent.
Hood vent installation for the first time requires drilling and cutting holes in the kitchen wall, while replacing a range hood may allow you to use the existing vent work. Learning how to install a range hood over your oven or stove top will improve ventilation and can help you clear the air.
When shopping for new appliances, remember that homes built before the year 2000 use 3-prong plugs, and those built after 2000 use 4-prong plugs.
When you add professional installation to your new appliance purchase from us, the appliance delivery and installation agent carries both types of cords to make sure your home is covered. If you purchase a new appliance from us without opting for professional installation, we’ll provide a 4-prong cord. If your home is equipped with a 3-prong outlet, you will need to purchase a 3-prong cord or connector adapter separately.
The Home Depot delivers: Just say, when, where and how. Free delivery on over one million online items.