How to Install a Shower Surround

Last updated September 7, 2023
Create a custom update to your bathroom that improves its look and function. A shower surround, which you may know better as the vinyl panel wall of your shower, is a budget-friendly alternative to a full bathroom remodel. Adding a shower surround is a DIY project that takes about a day to complete. Read this guide for the steps of how to install a shower surround.
Difficulty:
Intermediate
Duration:
Over 1 day
Table of Contents
Prepare the Enclosure
Test Fit Corner Panel
Apply Adhesive to Panel
Install the First Corner Panel
Measure the Pipe Outlets
Test Fit the Template
Prepare the Enclosure

Shower surrounds can be installed directly over securely fastened ceramic tile. Loose ceramic tiles and plastic tiles must be removed, and the walls will need to be sanded smooth before installation. In new installations, the enclosure should be applied over waterproof backerboard. Follow these preparation steps for how to install a shower surround.
- First, shut off the main water supply and remove all fittings, including the shower valves and shower head.
- Clean any stuck-on film and dirt from the wall surface and dry thoroughly. You may need a specialty product designed to remove lime, rust and other buildup in your shower enclosure.
- Prep your cement backer board with a stain-blocking primer. Cement board works to create a good, sturdy bond that will last for years.
- Allow the surface to dry completely before moving on to the next step. Follow the manufacturer’s recommendations for drying time.
Test Fit Corner Panel

Test fit your corner panel first before installing it. Once you’re assured of the fit, remove the panel and set it aside to continue the install of the shower surround.
- Mark the side that will go on the wall with painter's tape or lay it down flat so that side is facing up and out.
- Apply 1-inch pieces of double-sided tape along the vertical edges of the wall panel.
Apply Adhesive to Panel

Use a caulk gun to apply dots of adhesive every 12 inches along the vertical length of the panel.
Apply rows of adhesive near the edge of the panel with the caulk gun. This ensures that your adhesive will provide the proper hold.
Install the First Corner Panel

Once all the adhesive is applied, it's time to install your first corner panel of the shower surround.
- Carefully pick up your corner panel and position it on the wall.
- Press the panel firmly onto the wall.
- Pull the panel back from the wall about 6 inches for two to three minutes. This will allow the adhesive to set up. (Some manufacturers may have a slightly different process and time for this step.)
- Push the panel back in place firmly.
- Apply pressure all along the panel, ensuring firm contact with the wall.
- Repeat the adhesive application process with the other corner panel before installing it using the steps above.
Measure the Pipe Outlets

You’ll need to create a pattern or template of your enclosure with all the outlets marked in the right size and position. Take your time making this template and measure all the openings carefully.
- Measure the area where the pipes extend from the wall using a tape measure.
- Determine the height from the bottom of the panel and the distance of each fitting from the inside edge of the panel.
- Transfer these measurements to a large piece of cardboard and make a template.
- Make cutouts in the correct places to allow room for pipes.
Test Fit the Template

Place your cardboard template against the wall, making sure the template openings line up with the pipe outlets. Make any adjustments as necessary. Test fit your template again to make sure it's correct.
Cut Panels and Install

Place your cardboard or paper template on your corresponding shower wall panel.
- Mark the positions of the openings on the back of the panel with the template. Drilling from the back will minimize chipping.
- Take time for another test fit.
- Use a hole saw to cut the openings.
- Work slowly and carefully for the best fit.
Applying expanding foam can improve the rigidity of your wall panels.
- Fill the crevices in the panel with expanding foam. This will make them more rigid and durable.
- Position the panel onto the wall.
- Apply pressure by hand – working side to side – to mount the panel in place.
- Install the remaining panels using the same process.
Install Fixtures and Seal with Caulk

The last task in how to install a shower surround is to replace the fixtures and apply silicone sealant throughout.
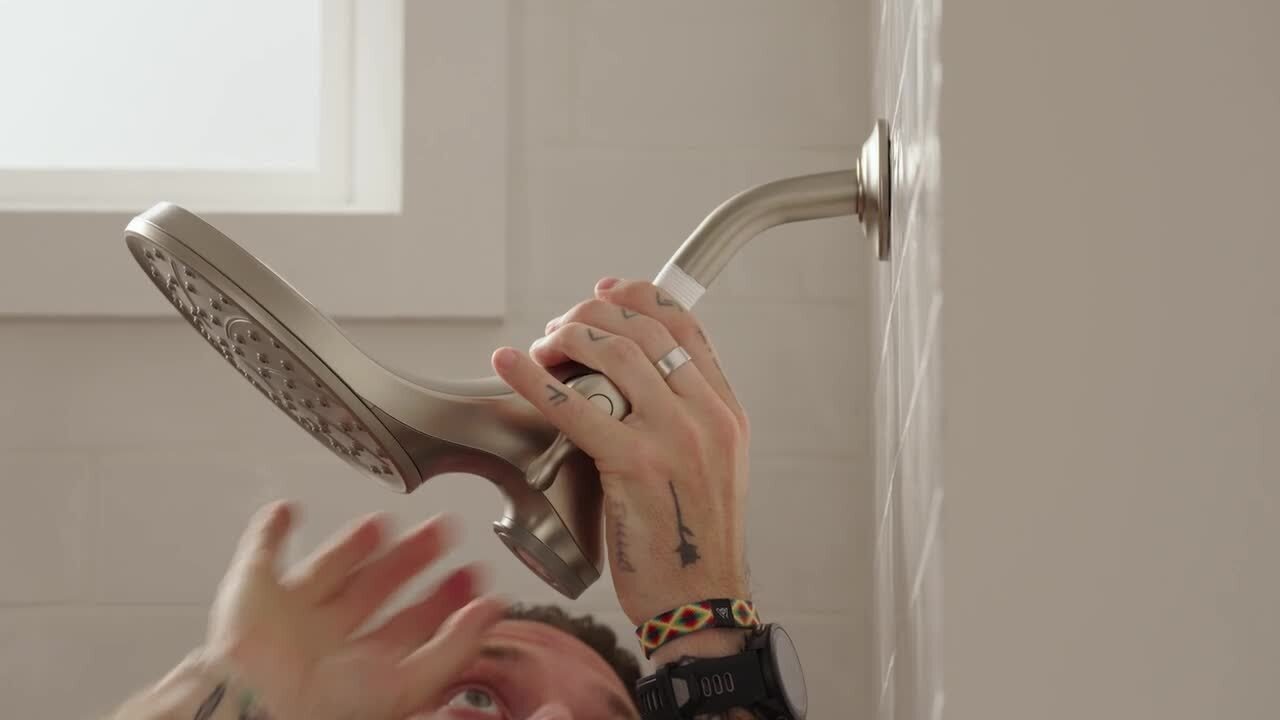
- Put your shower fixtures back in place the same way you took them off.
- Seal along the outside edges of the panels and around fixtures like your tub spout. Use a caulking gun to apply a silicone sealant designed for shower and bathtub use.
- Use a small spoon dipped in soapy water to smooth the caulk line and get the perfect bead.
Allow Time to Dry

Your
new shower surround will be inundated with water on a regular basis, so avoid using the shower for at least 24 hours or according to the manufacturer's instructions. This allows time for the sealant to dry completely. It can take up to 10 days for the silicone sealant to completely cure and for the ultimate strength to be reached.
Replacing an old bathtub surround with new shower wall panels is a project you can do yourself. Make sure to measure your cardboard or paper template carefully. Seal and caulk fixture openings well to keep them waterproof. With the right shower kit, this is a job you can get done in about a day, even if you're not a DIY expert. Ready to enjoy a new shower? Download The Home Depot Mobile App to check out and buy the products you need.