How to Install a Sprinkler System

Last updated September 7, 2023
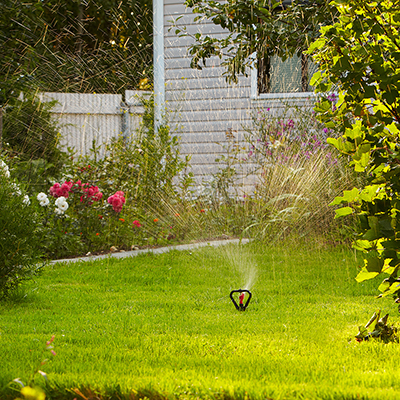
An underground sprinkler system gives your lawn and garden just the right amount of water.
It can save on utility costs and prevent soil erosion. With proper planning, you can do sprinkler installation yourself. All you need is time, some basic tools and a plan. Use this guide for general instructions on how to install a sprinkler system, plus maintenance tips.
Difficulty:
Intermediate
Duration:
Over 1 day
Table of Contents
Evaluate Your Yard
Plan Out Your Sprinkler System
DIY Sprinkler System & Tools
Dig & Line Trenches
Install DIY Irrigation System
Place & Test Sprinkler Heads
Evaluate Your Yard

Before deciding on the type and layout of your watering and irrigation system, evaluate your yard thoroughly.
- Start by measuring out the area you want the sprinkling system to cover.
- Next, sketch out your property. Note where your home, trees, driveway and gardens are. Plants and flowers require more water than grass. Grass needs more water than most trees and shrubs.
- Mark any areas that are sloped or may have poor drainage. Indicate which parts of your yard get a lot of sun and might need more watering.
- Look at the type of soil in your yard. Different soils respond to water differently. Sandy soils drain well and can require more frequent watering. Clay soils are denser and drain slower. Water them less frequently.
Tip: Before you dig, call 811 and have your utility lines marked.
Plan Out Your Sprinkler System

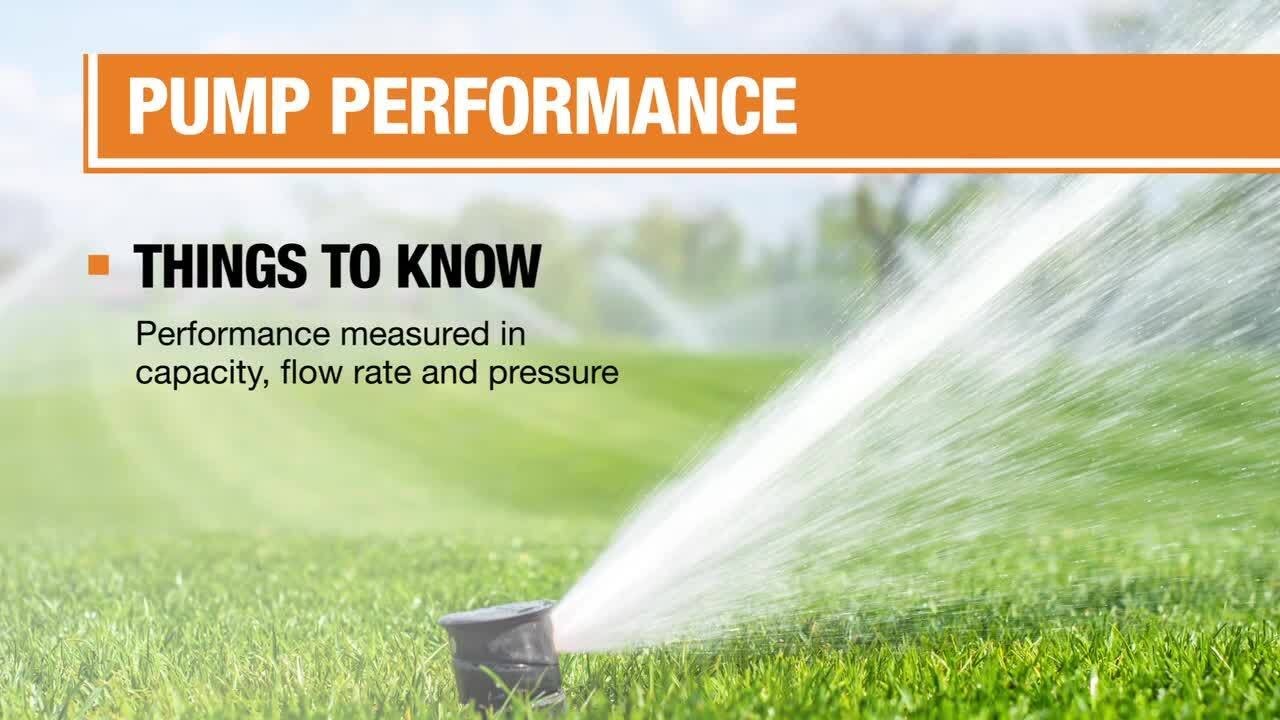
Map out the amount of water coverage you’ll need from your sprinklers. Decide where to place sprinkler heads and how many you’ll need. Make sure to overlap sprinkler head sprays to prevent dry spots. Check your water pressure. Water pressure determines how far a sprinkler can reach.
Measure your water pressure by using a pressure gauge on an outdoor water faucet. Check that number against the recommended pressure requirements of your DIY sprinkler system. Most homes have a water pressure between 40 PSI and 70 PSI (or pounds per square inch).
Tip:
Consider adding a drip irrigation system in flower beds and gardens to give the water time to soak in.
DIY Sprinkler System & Tools

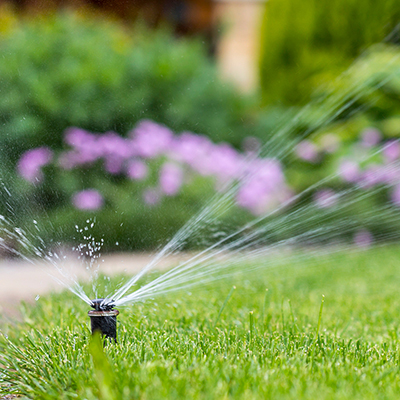
You can install a ready-made automatic sprinkler system. Or you can build your own with PVC pipe, connectors, fittings, T-joints, elbows, a timing system and sprinkler heads. Here are popular types of sprinkler heads:
- Impact sprinkler heads have a powerful spray that can reach 15 to 30 feet. They are installed 2 to 3 feet apart and are ideal for larger yards.
- Pop-up head sprinklers spray water in circular motions. They’re ideal for big lawns and open areas. Fixed pop-up head sprinklers spray about 10 feet and are installed about 18 feet apart. Adjustable pop-up sprinklers let you change the head rotation and nozzle size for more control.
- Rotary nozzles send a stream of water at one angle from the nozzle head. They spray about 25 to 30 feet in diameter in arcs or circles. They are installed about 14 feet apart and are great for small areas.
Dig & Line Trenches

Installing a DIY sprinkler system requires digging trenches to lay the PVC pipes in.
- Use a trench shovel to outline in your yard for where the trench will go. Make sure to leave at least a foot of space between the sprinkler heads and any obstacles or plants in your yard.
- Mark your trench outline with a string line or stakes.
- Dig
6 to 8 inches deep. If your yard slopes at any point, dig a little deeper to make sure the water doesn’t pool at the highest point. - Line the trench with landscape fabric to prevent soil from clogging the sprinkler system.
Install DIY Irrigation System

Assemble and install your sprinkler system into the trench. If you're building your own system:
- Measure and mark the PVC pipe according to the layout you created.
- Cut the pipe using a hacksaw or PVC cutter.
- Lay the pipes out in the trench first to make sure you have a complete system.
- Firmly connect the pipes together using fittings like a T-joint or elbow, depending on the angle you need.
- Make sure to lay the pipes in a flat pattern with no kinks or bends.
Tip: Use thread tape for extra security where the pipe connects together.
Place & Test Sprinkler Heads

- Place your sprinkler heads securely into the ground where the pipes meet, spaced appropriately apart.
- Connect your sprinklers to your outside water source. If you don’t have experience with plumbing, consider getting a professional to help with this step.
- Turn the water on and check for any leaks or problems in the system.
- Backfill the irrigation trench with dirt. Keep the pipes level so all the water will flow evenly through them.
Set the Timers

Once your sprinkler system is working properly, set your timers. Putting your sprinkler system on a timer lets you water your lawn and garden consistently. Plus, it can save you money and prevent overwatering.
Tip: Install a rain sensor so your sprinkler system does not run during or after a good rain.
Sprinkler Troubleshooting & Maintenance Tips

Make a habit of inspecting your sprinkler heads for clogs, leaks or misalignment.
Keep a sprinkler repair kit on hand.
- If some sprinkler zones work while others don't, it's probably a clog. To unclog your sprinkler system, turn off the water and use a plumbing snake to clear it out the pipe.
Flush with water. - Sprinkler heads that have weak or no spray may be broken and need to be replaced.
- Water damage near the timer or valves can indicate a leaky system. Check your yard for dry spots or oversaturated areas to see where the leaks are. Repair any cracked or split pipes.
- Check the sprinkler’s pressure regulator and valve box for signs of water damage or corrosion. Replace parts if necessary.
- Check your water bill regularly. A sudden increase often indicates leaks you might not see.
- Check and align sprinkler heads so your yard is watered efficiently.
- Turn off any timers and controls in the off-season. Always drain your sprinkler system before winter to prevent ice damage. Insulate all aboveground pipes and valves to prevent cold damage.
- Schedule an annual inspection by a professional every 2 to 3 years to make sure your sprinkler system keeps performing well.
Doing your own sprinkler installation can be a more budget-friendly way to keep your lawn and garden well-watered. Make sure to plan your project out. Check your water pressure and install enough sprinkler heads to provide the coverage you need. Keep your new sprinklers performing well with regular maintenance. Ready to install your DIY sprinkler system?
The Home Depot delivers online orders when and where you need them.