How to Install a Tankless Water Heater

Last updated September 7, 2023
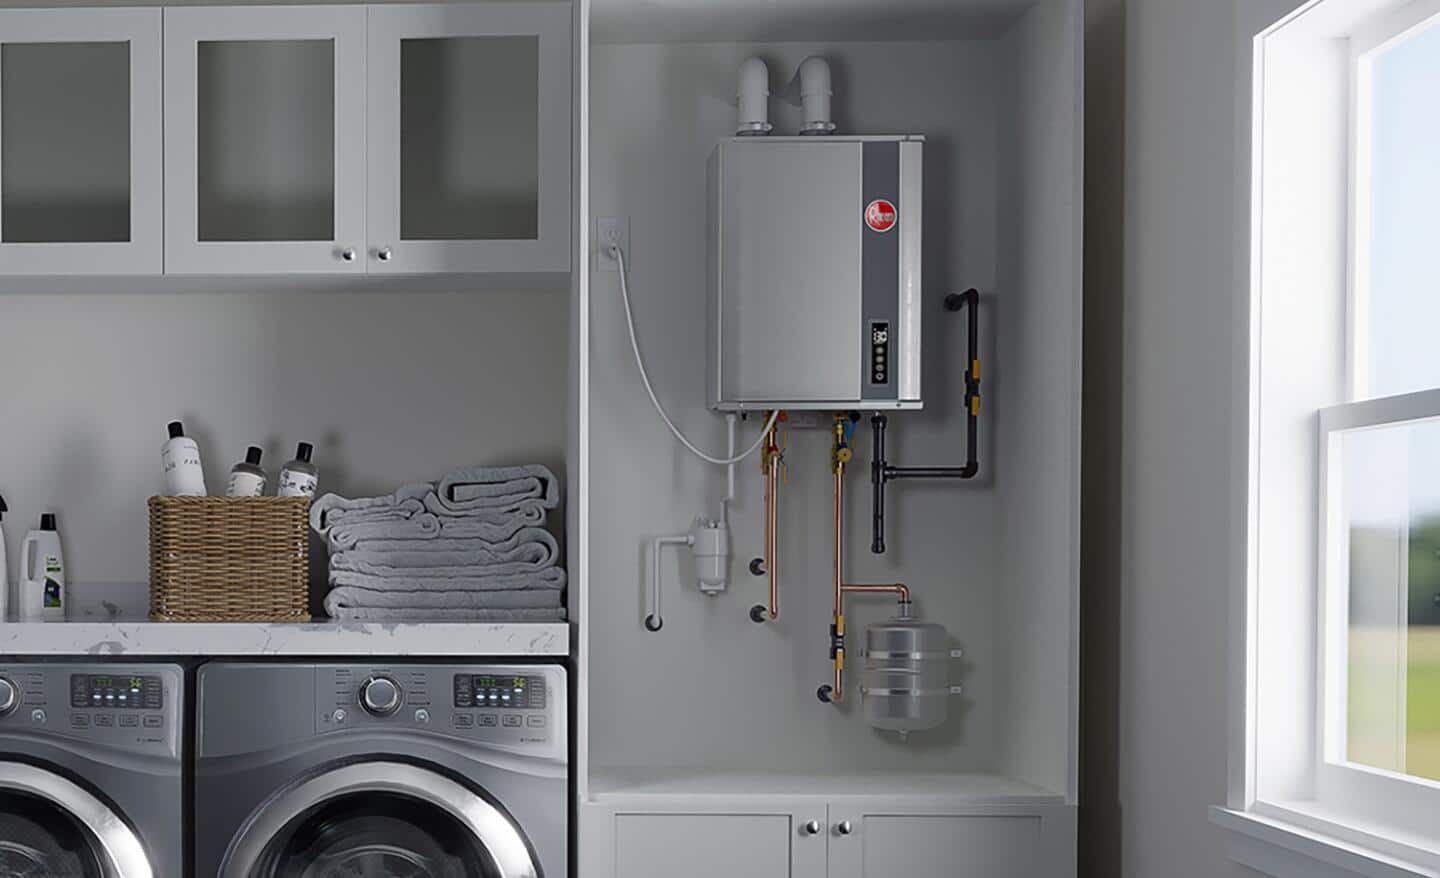
An on-demand water heater, also called a tankless water heater, can easily be mounted under a kitchen sink or off to the side, in places where looks don't matter. When you turn the hot water tap on, the flow turns on a heating element that heats the water as it runs through copper tubes. When the faucet goes off, so does the heat. Because 20 percent of a home's energy use goes into heating water, an on-demand unit can save a lot of money. This guide will walk you through the installation process for a tankless water heater.
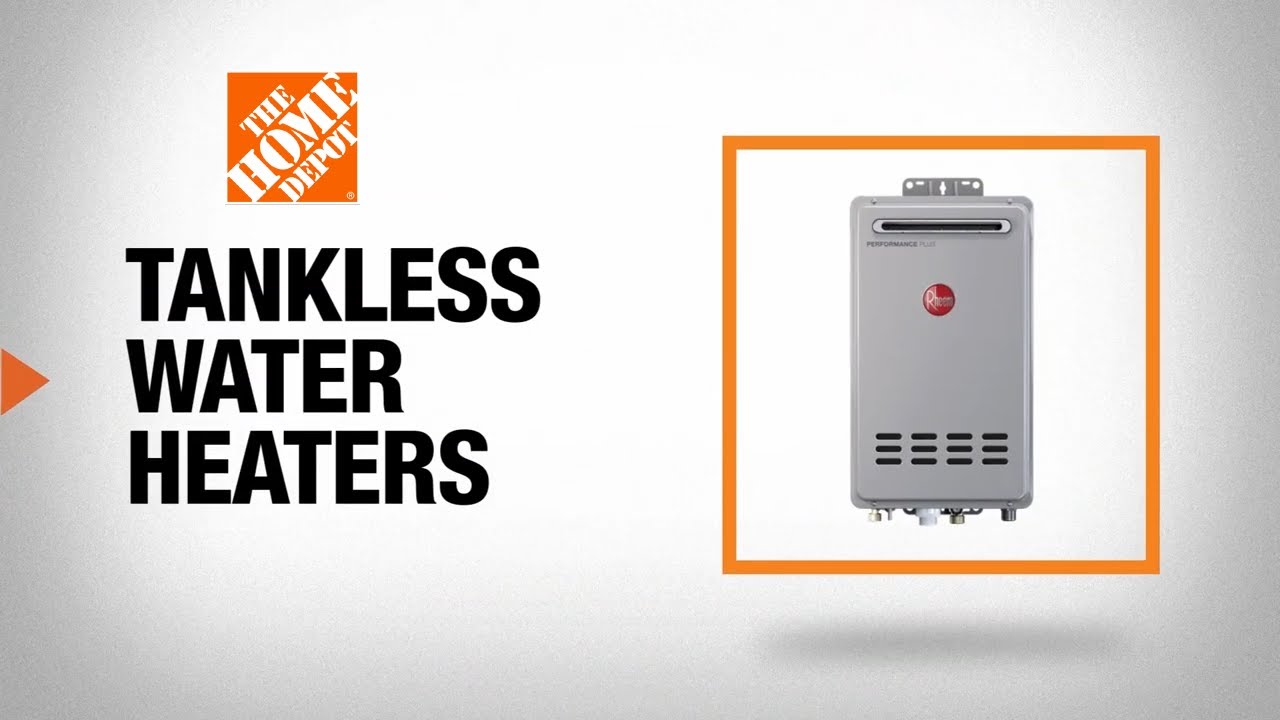
The Home Depot carries a vast selection of water heaters with the latest technologies and offers same-day installation.
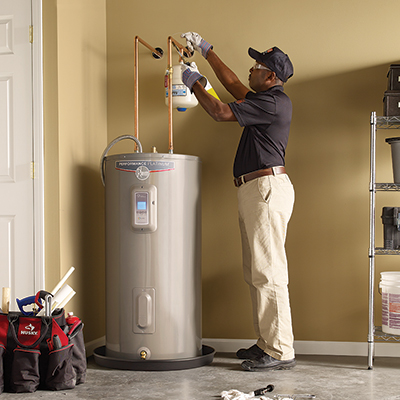
We highly recommend having your water heater installed by a professional as it is a difficult and sometimes dangerous process.
Note: Nationwide energy-efficiency regulations set in 2015 impact people buying new or replacing old hot water heaters. Your old water heater model number may not be the same as your new model number, so make sure to purchase based on capacity size instead of model number. Additionally, the size of all water heater tanks have increased, while the amount of water that they hold has decreased. Measure the space you have available for your water heater carefully so you can accurately judge what size water heater will fit. Learn more through Rheem’s National Appliance Energy Conservation Act guide.
Difficulty:
Intermediate
Duration:
2-4 hours
Table of Contents
Run Power for the Unit
Under-Sink Installation
Screw the Unit to the Wall
Wire the Unit
Run Power for the Unit

- You must utilize either a 120- or 240-volt circuit, wholly devoted to the heater.
- Both voltages require 8-gauge wire, and the section exposed to the area under the sink must be armored cable.
- If the manufacturer's instructions call for a larger cable, the National Electrical Code says you must comply.
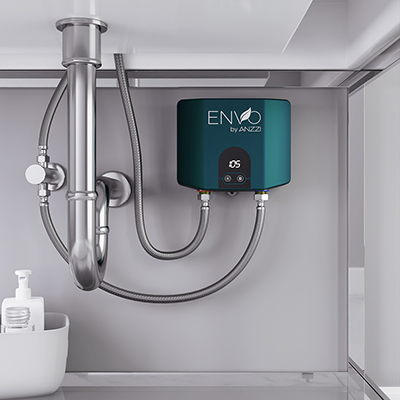
Under-Sink Installation

- If you’re installing the heater under an existing sink, turn off the water line and drain the line by opening a faucet at a lower point somewhere in the house.
- Solder a cutoff valve onto the pipe stub that comes from the floor or wall.
- Solder a second valve onto what's left of the line that runs to the faucet, cutting the line as necessary to allow room for the heater.
Screw the Unit to the Wall

- Connect the water supply line to the cold in-feed fitting with soldered copper pipe or high-pressure flex connections.
- Wrap Teflon tape around the threads before you make the connection and hand-tighten.
- Finish tightening with a wrench.
- Connect the line going to the faucet to the hot water outlet using the same materials.
Wire the Unit

On a 240-volt unit:
- The white wire will attach to one of the hot terminals and the black to the other hot terminal - they're often labeled L1 and L2.
- The ground will go to the grounding screw on the unit.
On a 120-volt unit:
- Twist the white supply wire to the white wire in the unit, and twist the black wire to the black.
- Cover with wire caps, and tape the caps in place.
Ready to find the supplies you need in your local store? Use The Home Depot app to locate products and check inventory. We'll take you to the exact aisle and bay. Need it fast? Order before noon for convenient, scheduled same-day delivery.