How to Install a Toilet Paper Holder

Last updated September 7, 2023
When updating a bathroom, the toilet paper holder may not be something you think about. But when this necessity is out of reach, relocating it will quickly top your to-do list. Installing a toilet paper holder is a simple DIY project. Once your new toilet paper holder is properly mounted, it can make your bath more functional and stylish. Read on to learn how to install a toilet paper holder, plus tips on choosing the best one for you.
Difficulty:
Beginner
Duration:
Under 2 hours
Table of Contents
Prep the Project
Gather Tools
Measure & Mark Bracket Placement
Screw-In Brackets
Attach Toilet Paper Holder
Finish Installing the Toilet Paper Holder
Prep the Project
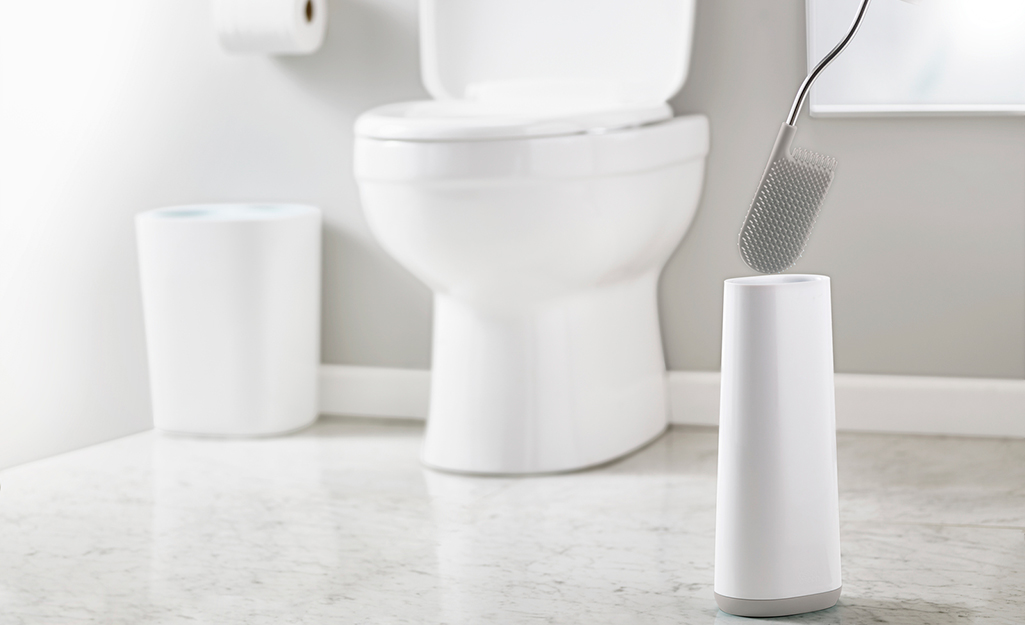
Gather your tools. You’ll need a tape measure, a pencil, painter’s tape, drill, screwdriver and level. The toilet paper holder you choose will include the hardware you need.
There are two types of toilet paper holders to choose from:
- The single-post holder is the easiest to install. It only requires one bracket. You don’t need a level, and there’s minimal drilling. Some single-post holders feature fixed posts, while others offer a swing arm that can push out from the wall to accommodate a larger, double roll.
- Double-post holders require two sets of brackets and come with a spring-loaded rod. Pivot-style toilet paper holders also require two brackets, but instead of a spring-loaded holder, one side has an attached bar that lifts for loading a new roll.
Tip: For an extra quick solution, consider a freestanding or standalone toilet paper holder. They don’t require any tools or installation.
Gather Tools
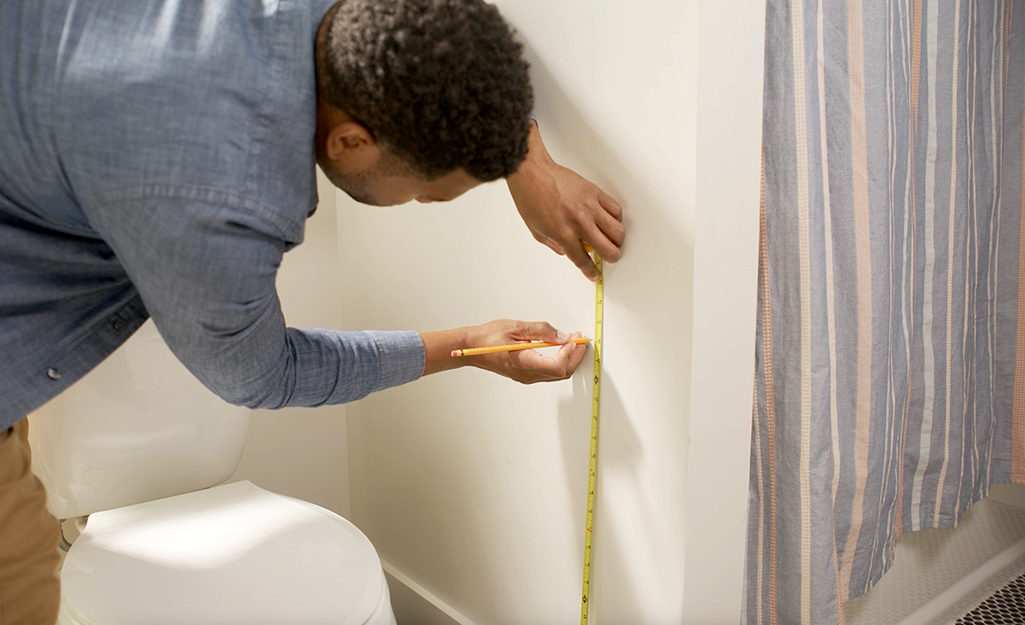
Grab a pencil and a tape measure and have a seat. Measure the distance from the toilet bowl to the wall or cabinet you are installing the holder on. Double check your reach.
- For most users, the toilet paper holder should be a distance of 8 to 12 inches from the toilet bowl.
- For children, or shorter users, 8 to 9 inches is ideal.
- For taller users, 10 to 12 inches is preferred.
Next, measure for height. A toilet paper holder should be positioned 26 inches from the floor to keep it at arm level.
Tip: If installing for users who many need more help, consider using the ADA (Americans with Disabilities Act) guidelines. Install the holder 7 and 9 inches in front of the toilet bowl and a minimum of 15 inches but no higher than 48 inches above the floor.
Measure & Mark Bracket Placement
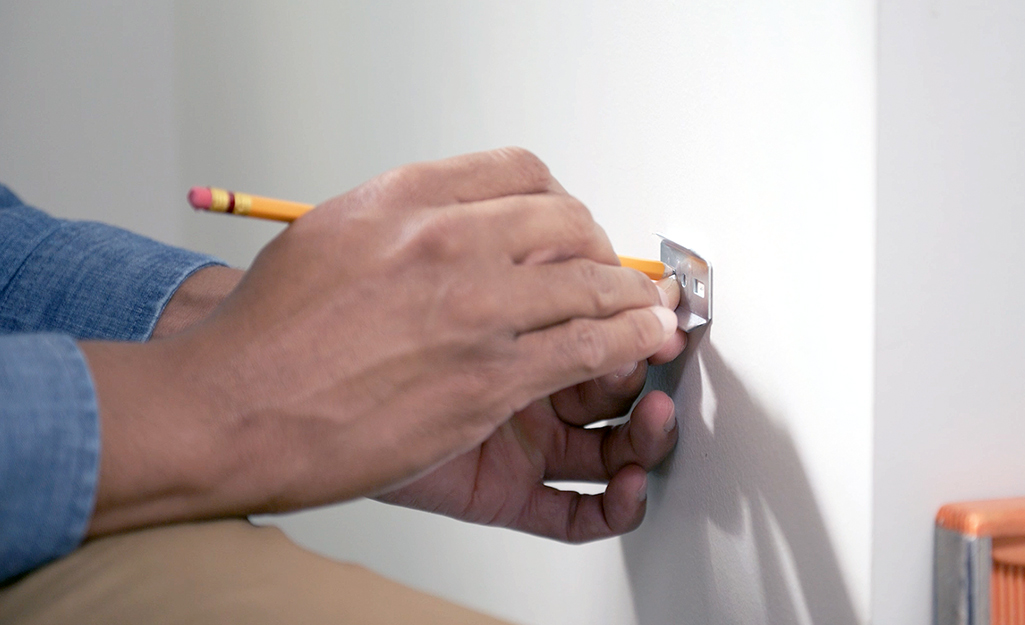
Most holders include an easy-to-follow template that can be taped to the wall with painter’s tape. Once measured and taped in place, the template will show you precisely where to drill.
Following the height and distance marks you made in Step 1, tape the template to the wall.
If your new single-post toilet paper holder doesn't have a template, hold the bracket in place and use a pencil to mark the drill holes.
For double-post holders, mark the left side first and use this mark to find the location for the bracket on the right side. Each bracket requires two drill holes.
Screw-In Brackets
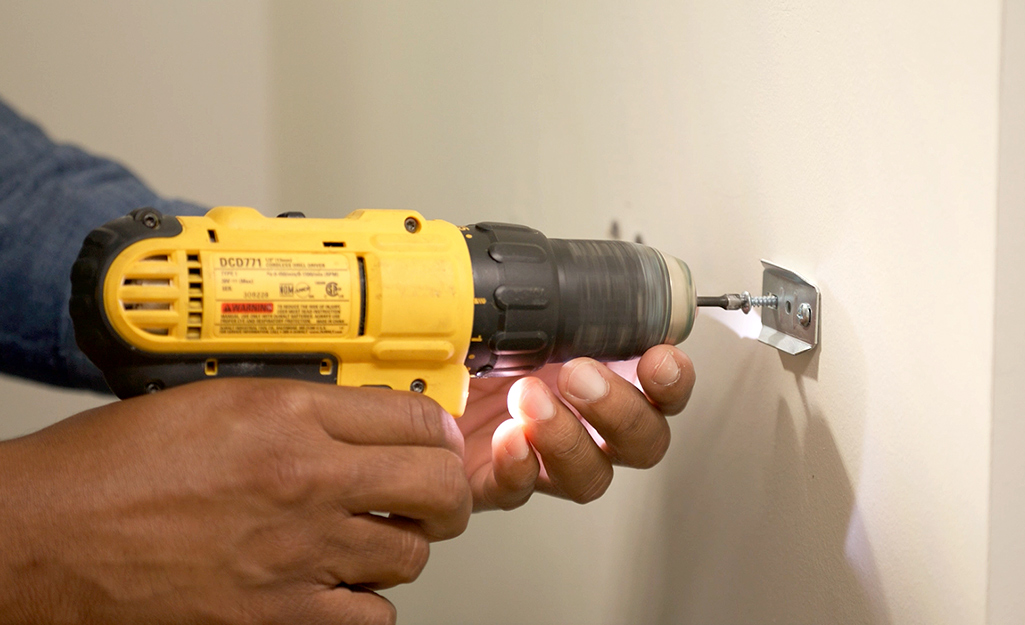
Double check your pencil marks and template with a level. Make sure they are perfectly level and plumb. Then, use a small nail to make an indentation on the pencil marks. The indentation will act as a guide for your drill so that it won’t slip. Make sure your drill bit is the same diameter (or slightly smaller) as the shank of the screw. This will make the screws fit tightly.
Drill into a wall stud if possible. If you’re drilling into sheetrock, tap in the wall anchors before the screws for an extra-secure fit. Drilling into tile is a bit more challenging. Mark your drill holes as directed above. Use a masonry bit in the drill. Drill slowly and carefully to avoid cracking the tile. Tap in wall anchors very gently with a hammer and insert the screws.
Attach Toilet Paper Holder
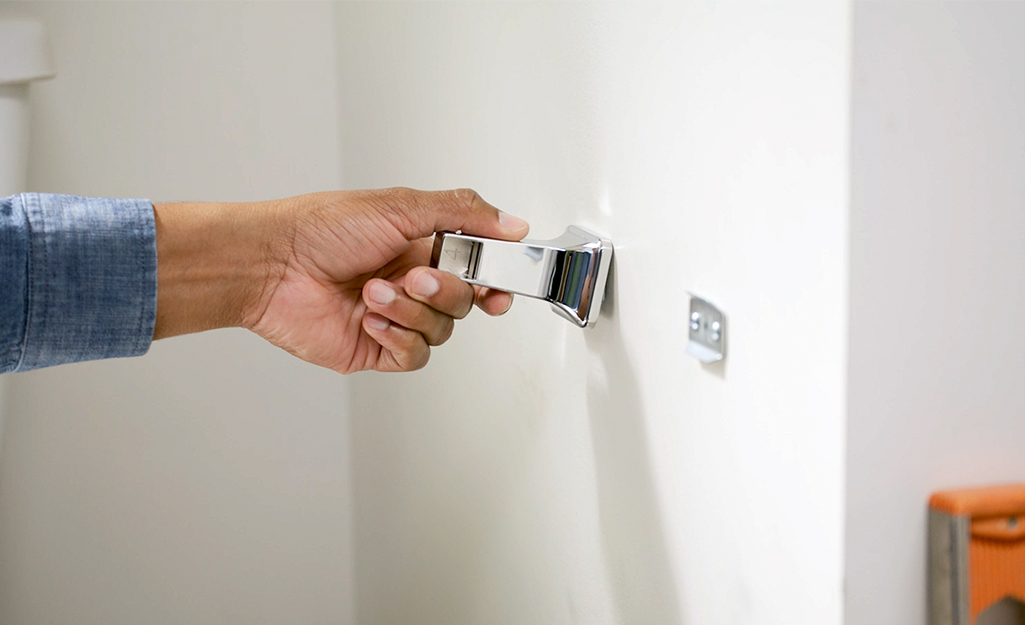
Next, attach the mounting brackets. For a double-post holder, screw in the left-side bracket first, and you’ll be a pro when you screw in the right side. For both types of holders, place the bracket on the wall over the drill marks with the bracket’s arrows pointing up. Using a screwdriver, guide the screws in the holes to secure the bracket. For holders with two brackets, repeat on the right side. Slip the posts over the brackets for a snug fit.
Finish Installing the Toilet Paper Holder
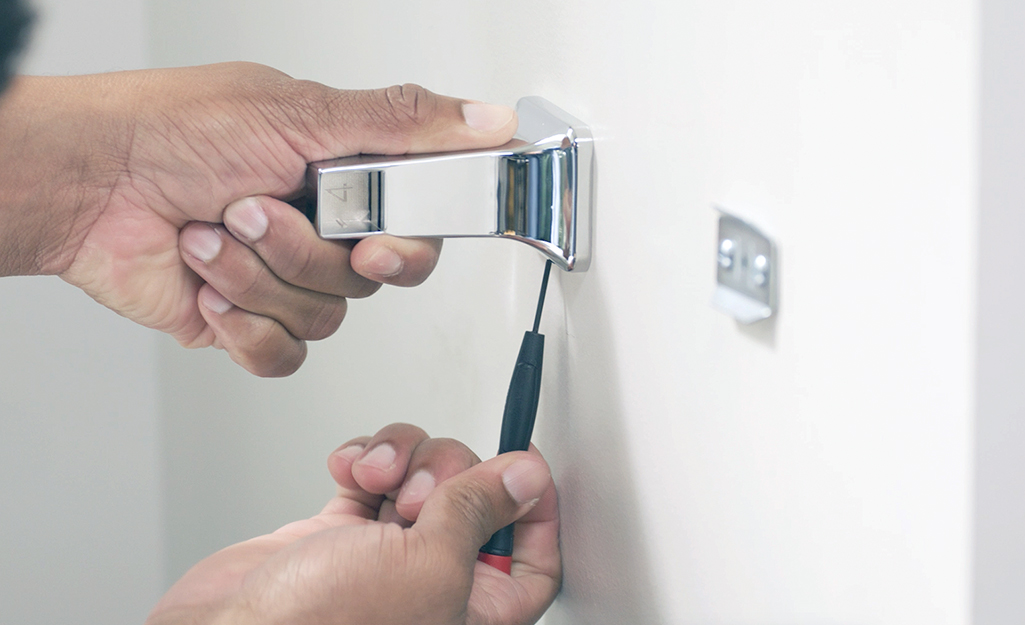
Some holders come with an additional small screw hole in the bottom of each cover. This set screw is designed to prevent the holder from pulling away from the bracket due to frequent use. Tighten the set screw with an Allen wrench or hex key.
Insert the Toilet Paper Roll
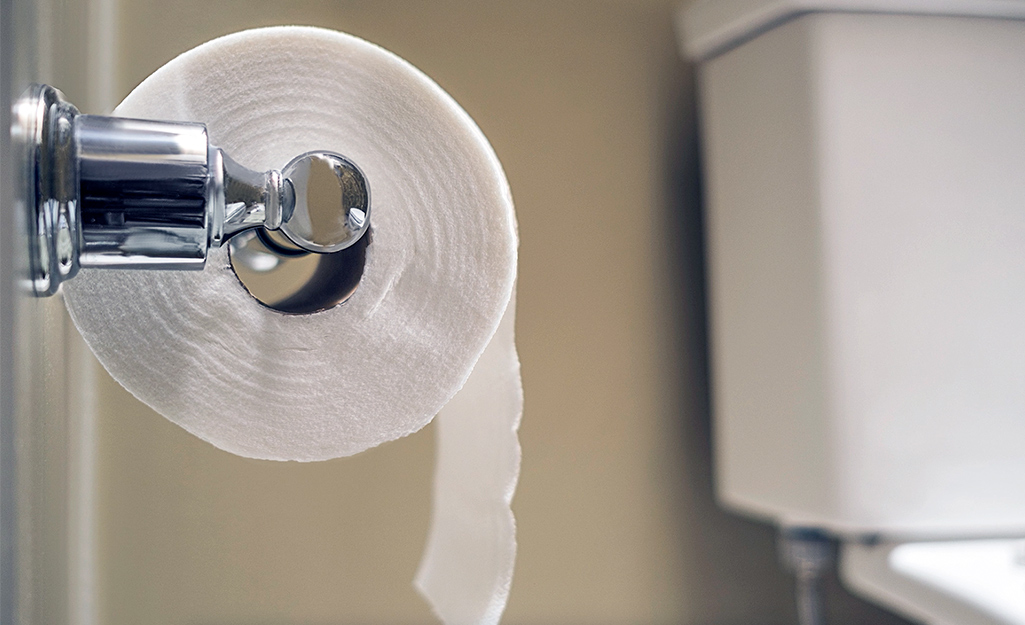
For single-post holders, just slide the roll onto the arm. For spring-loaded holders, place the roll on the roller and pop it in, one side at a time. For pivot-style holders, lift the arm and slide the roll on. Whether the paper hangs over or under is entirely up to you.
This quick-and-easy project is a basic bathroom upgrade you can do yourself. Make sure you install your toilet paper holder at a comfortable distance and height. Take the time to measure twice and use a level to ensure the holder is straight. Ready to switch out your toilet paper holder? The Home Depot delivers online orders when and where you need them.


