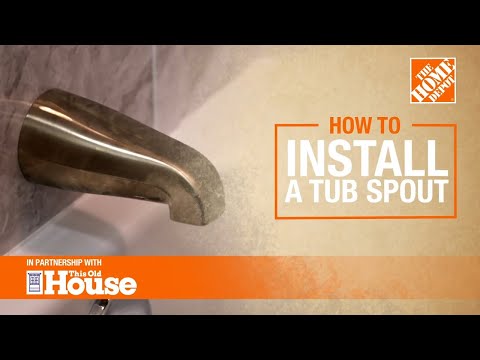
How to Install a Tub Spout
Last updated September 7, 2023
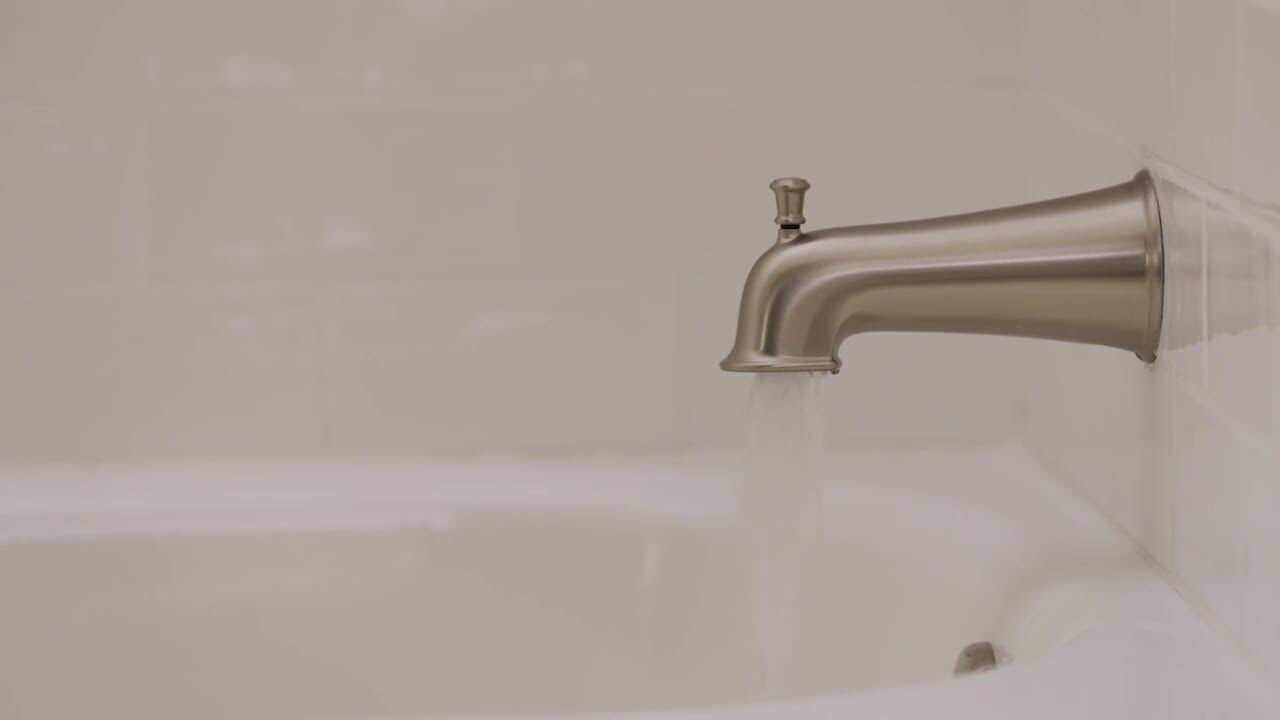
A new bathtub spout is a simple way to give your bath an easy update. Installing a tub spout is a plumbing project you can do yourself. Adding a new bathroom faucet or just replacing an old fixture requires a few tools and materials. Use this guide to see what you need to do to complete this plumbing project in no time.
Whether you’re adding a new tub spout, or just replacing an old one, this is a simple home improvement project that requires only a few tools and materials, and is fairly easy to complete.
Difficulty:
Beginner
Duration:
Under 2 hours
Table of Contents
Determine Spout Type
Remove the Old Spout
Install the New Spout
Installing on a Tile Wall
Determine Spout Type

- Identify whether your bathtub spout has a shower diverter valve (L) or does not (R) and be sure to replace it with the same style.
Tip: Newer shower valves often have a diverter built within the valve itself so a shower diverter spout may not be necessary.
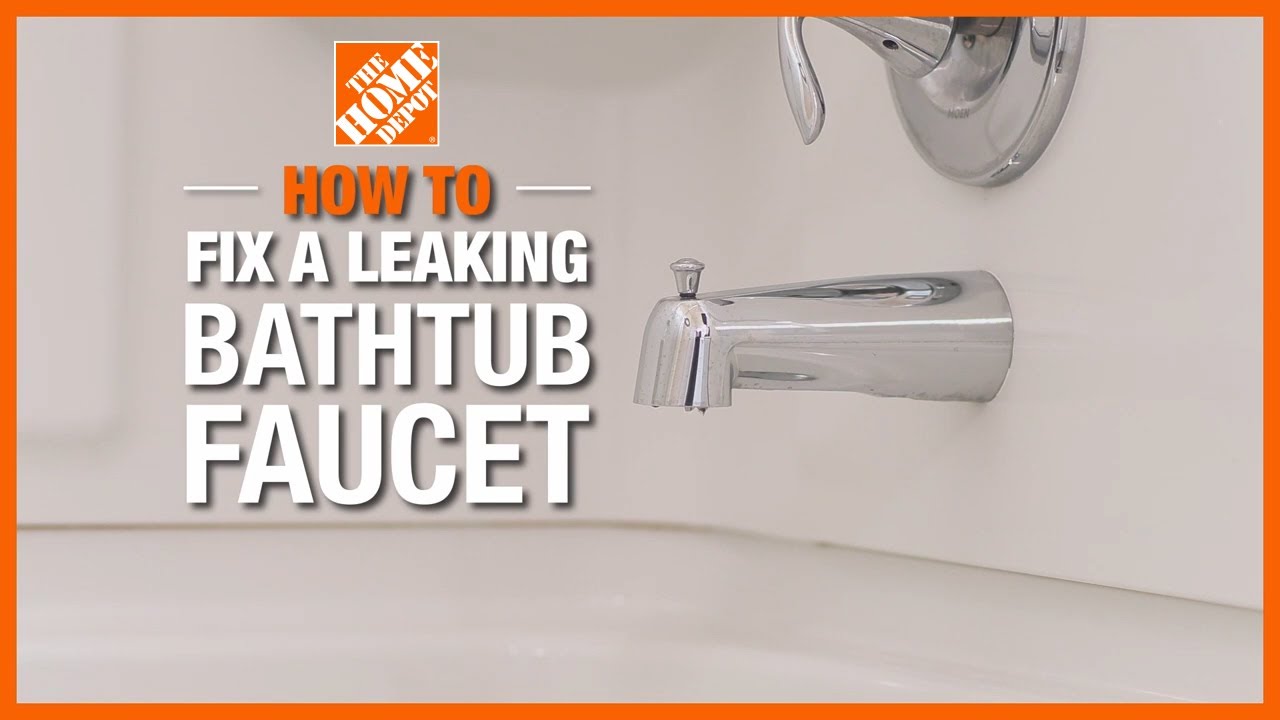
Remove the Old Spout

- The spout is attached to a pipe via friction and a set screw, or by threads.
- Check under the spout where it meets the shower wall to see if there’s a set screw. The set screw will require either a hex key or screwdriver.
- If a screw exists, loosen it and slide the spout off the pipe. This may require twisting the spout as you pull, especially if it is an old fixture.
If there’s no set screw, use pliers to unscrew the spout from the pipe. Turn gently and slowly at first so you do not damage the pipe fitting.
If you want to replace your spout but would prefer a professional to complete the project, use our plumbing services.
Install the New Spout

- If you are replacing a spout with a set screw, apply a thin coat of thread sealant over the pipe (optional).
- Apply a small amount of silicone caulk around the back of the spout where it will meet the shower wall, then slide the spout onto the pipe until it is snug to the wall and the opening is level to the bottom of the bathtub (you can gauge this by eye or use a level).
- Tighten the set screw and ensure the spout won't turn by hand.
- If you have a thread-style spout, apply thread sealant to the pipe threads.
- Then apply a small amount of caulk to the back of the spout where it will meet the wall and slide the spout onto the pipe, tightening it by hand until it is snug against the wall and level to the bottom of the bathtub.
- If you need to tighten it further, tape the teeth of the pliers to protect the spout finish or wrap the spout with a cloth, and snug up the spout. When working against tiled showers be careful not to overtighten the spout or risk cracking the tile.
- Wipe away excess caulk with your finger and a wet rag.
Installing on a Tile Wall

- Installing a similar size and type tub spout can be accomplished using the steps above on both solid surfaces and tile. However, if you’re replacing a tub spout on tile with a different type fixture, you may need to cut the tile.
- Measure and draw a cut line for your new faucet.
- Use a rotating tool or jigsaw with a tile blade to gently cut your tile in 1/4-inch depths until you cut through. Be careful not to crack your surrounding tile. Install your new fixture following the manufacturer's directions.
Replacing your old tub spout is a quick update you can do in just a few hours. All you need to do is remove your old faucet and slide on your new one. Want to install a new style bathroom faucet or upgrade more items in your bathroom? Let our bathroom installation services help.