How to Install a Wireless Light Switch

Last updated September 7, 2023
A wireless switch is a high-tech option to lighting a room in your home. A transmitter embedded in the light switch sends a signal to a receiver installed in the light source that tells it when to turn on and off. Install a wireless light switch to replace the pull chain of an overhead fixture or add a switch to a wall of an older home for increased accessibility.
Read this guide for more on how to install a wireless light switch in your home.
Difficulty:
Intermediate
Duration:
Under 2 hours
Table of Contents
Disconnect the Power
Install the Receiver
Install the Light Switch
Disconnect the Power

Before doing any electrical work, always turn off the power to the room at the circuit breaker. The electrical panel in the basement or closet of your home has circuit breakers with labels or etched markings corresponding to rooms or appliances.
- Switch off the circuit breaker to the room.
- Flip the room’s light switch to ensure the power is off.
Install the Receiver

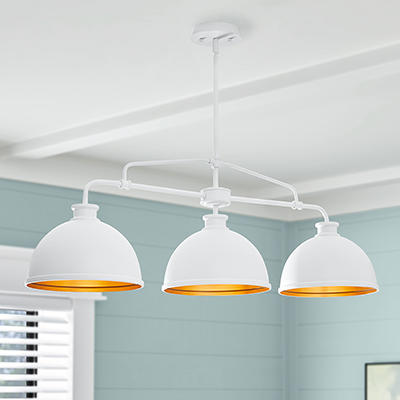
The first task is to install the receiver for the wireless light switch receiver. This goes at the light source, commonly an overhead lamp fixture. Make sure you read all the manufacturer’s information on how the power supply is to be connected before beginning.
- Remove the overhead light housing to reveal the wiring. There will be live wires for the power supply (black) and one that is neutral (white).
- Splice the neutral wires together from the power supply, the white from the fixture, and the white wire from the wireless module. Cover with a wire nut.
- Splice the black wire from the power supply to the black wire from the receiver module and cover with a wire nut.
- Finally, splice the black wire from the fixture to the red wire from the wireless module and cover with a wire nut.
- Replace the overhead light housing.
Install the Light Switch

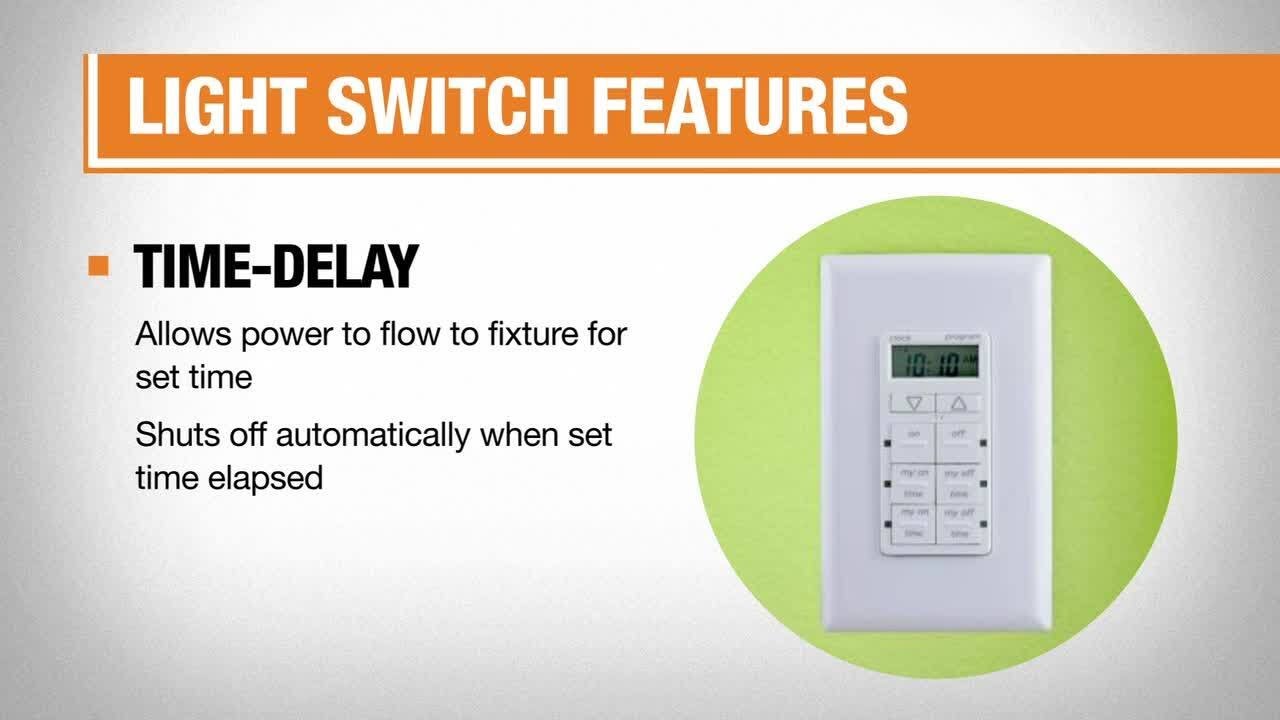
Now that you have the receiver in place, the next step is to install the light switch that serves as the transmitter. The light switch mounts to the wall at 48 inches to center near the entrance to the room on a wall. It does not require any wiring or batteries.
- Disconnect and remove the current light fixture in the wall.
- Attach the ground wire of the new fixture to the incoming ground wire, and if using a metal box, to the ground screw on the electrical box.2
- Attach the light fixture to the electrical box following the manufacturer’s instructions.
- Restore power at the circuit panel and test.
Knowing how to install a wireless light switch allows you to add accessibility to a light source in any room. When you are ready to begin your project, download The Home Depot Mobile App to search for and buy the supplies you need. Plus, if you need to rent a ladder to install your lighting, we can help with that, too. The Home Depot delivers online orders when and where you need them.