How to Install an Over-the-Range Microwave

Last updated February 20, 2025
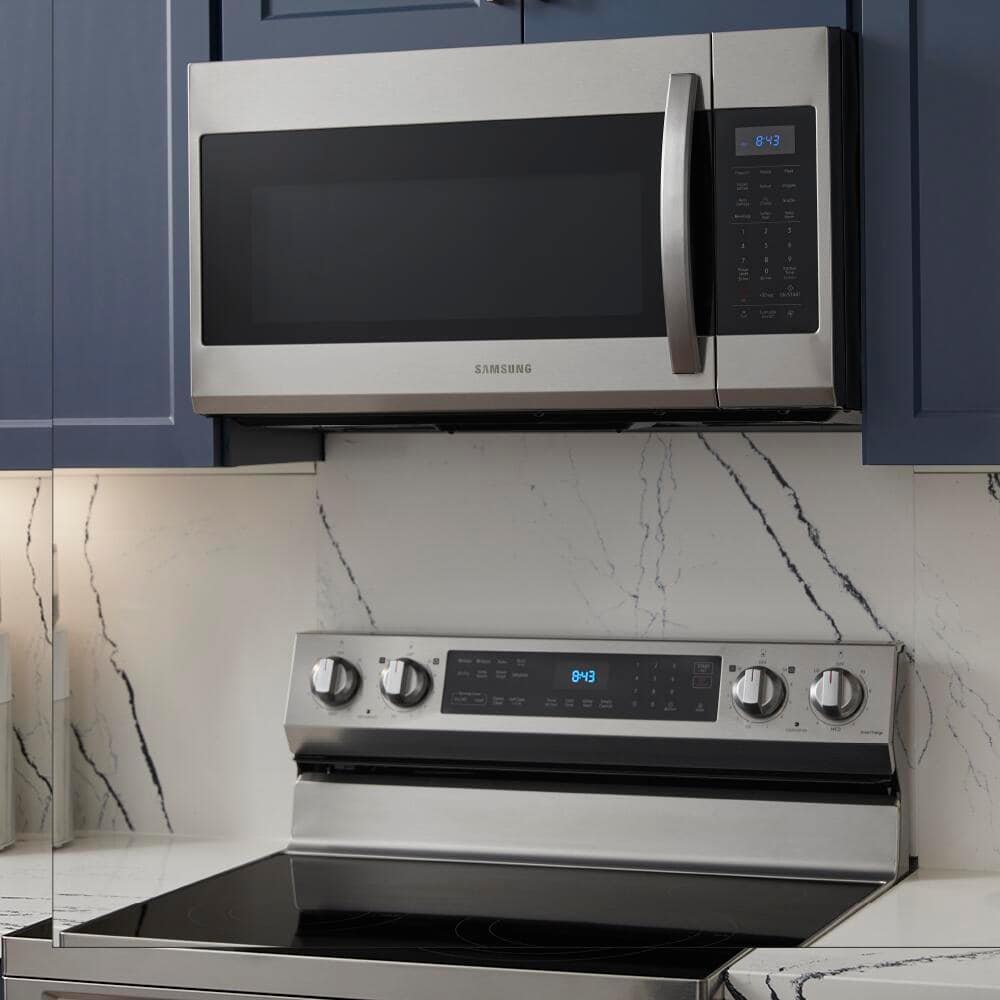
Made to be installed above your cooktop, an over-the-range microwave saves counter space and makes cooking easier. Once you know how to install an over-the-range microwave, you’ll realize you can often do it yourself with the right tools and a little help. Read on for step-by-step instructions on how to install an over-the-range microwave. Plus, get facts on different types of microwave installation, how to remove an over-the-range microwave and troubleshooting tips.
Difficulty:
Intermediate
Duration:
2-4 hours
Table of Contents
Over-the-Range Microwave Standard Sizes
Gather Tools and Materials
Measure and Prepare Space
Mount the Bracket On Back Wall
Install Exhaust System (Optional)
Lift Microwave Into Place
Over-the-Range Microwave Standard Sizes

Before learning how to install an over-the-range microwave, think about the size of your range and cabinet space. Although they can vary by brand, the standard dimensions for most OTR microwaves are 30 inches wide, 15-16 inches deep and 16-18 inches high. Some models are 24 inches or 36 inches wide and designed to fit into smaller or larger kitchen spaces. After you determine your best size, remember to select a model that also has the capacity you need. For example, a microwave with a capacity of 1.5 – 2.0 cubic feet is usually large enough to hold most microwavable cookware.
Gather Tools and Materials

You’ll need the following tools and materials for an over-the-range microwave installation:
- Measuring tape
- Drill
- Screwdriver
- Stud finder
- Level
- Pencil
- Exhaust duct (optional)
- Duct tape (optional)
- Clamps
- Tin snips
Tip: Consult your model's guide for specific tools.
Measure and Prepare Space

Part of knowing how to install an over-the-range microwave is preparing your installation space.
- Check if there’s a dedicated electrical outlet above your range with a minimum of 15 amps. If not, consider having one installed by an electrician.
- Measure the width, height and depth of the space above your range.
- Write down the measurements.
If you have an existing unit, you’ll need to remove it. Below are general directions for how to remove an over-the-range microwave:
- Turn off the main power to your kitchen.
- Locate and unscrew any holding screws.
- Unplug or unwire the microwave and detach any external venting system.
- Set old unit aside and out of the way.
Mount the Bracket On Back Wall

An over-the-range microwave installation requires a mounting bracket that holds the microwave securely above your stovetop.
- Use a stud finder to locate the studs in the wall. The bracket should be attached to at least one stud for proper support.
- Mark a central location on the wall to install the bracket. Make sure the bracket will be level.
- Attach the mounting plate securely in the stud using screws.
Install Exhaust System (Optional)

Before learning how to install an over-the-range microwave decide which type of ventilation you want. There are two common types :
A recirculating over-the-range microwave doesn’t require any ductwork or external venting. It uses a charcoal filter to remove odors and steam. This type of microwave is easier to install, energy-efficient and budget-friendly.
A front-venting over-the-range microwave uses an external exhaust system. They are excellent at getting rid of any odors, steam and smoke but are more complex to install and can require a higher upfront investment. For a front venting over-the-range microwave installation you’ll need to put in an exhaust duct that runs from the appliance to your home's exterior vent. Here are some general instructions:
- Cut an opening for the outside exhaust duct in the wall over the stove. Most manufacturers include a template you can follow.
- Measure and cut an exhaust duct to fit your unit.
- Secure this duct with metal tape or clamps to the exhaust adaptor in the top cabinet.
- Find and extend your house duct to connect with the exhaust adaptor.
- Make sure all duct joints are sealed securely with duct tape.
Tip: Always review your owner’s manual for specific ventilation steps.
Lift Microwave Into Place

- Lift the microwave carefully up to the mounting plate. Get help if you need it.
- Hook the slots on the back of the microwave over the lower tabs of the mounting plate.
- Locate any mounting holes on top of the microwave.
- Secure the microwave using self-aligning screws through the top cabinet holes.
Connect Power Source and Test

- Feed the cord through and plug it into the dedicated power outlet.
- Place a cup of water into your microwave and turn it on.
- Use several different heating settings to make sure the display works.
- Turn on the fan to check that the vents are working.
Tip: For some models, you will need to connect the electrical wiring from the microwave directly into an outlet. If so, consider hiring a professional electrician for this step.
Maintenance and Troubleshooting Tips

Once your over-the-range microwave installation is complete, keep it performing well.
- Clean the microwave regularly with a damp cloth to remove any splatters or stains.
- Don't place any items containing metal or foil into the microwave.
- Use only microwave-safe dishes and containers.
- If necessary, replace any microwave’s charcoal filter every 6 months.
If your microwave isn’t working, here are some troubleshooting tips:
- If it is not heating, make sure the outlet is working and the door is closed completely.
- If it has sparks, make sure there is no metal in the appliance.
- If it makes a loud noise, make sure the turntable is working properly.
- If the display panel's not working, unplug and plug it back in to reset the computer.
If none of these troubleshooting tips work or if you notice any instability after your over-the-range microwave installation, consult us about professional over-the-range microwave installation services.
Few kitchen appliances match the convenience and space-saving advantages of an OTR microwave. Now that you know how to install an over-the-range microwave, make sure to always get help to lift and position the appliance. Ready to install your own appliance? The Home Depot delivers online orders when and where you need them. Or ask us about our appliance delivery and installation services.