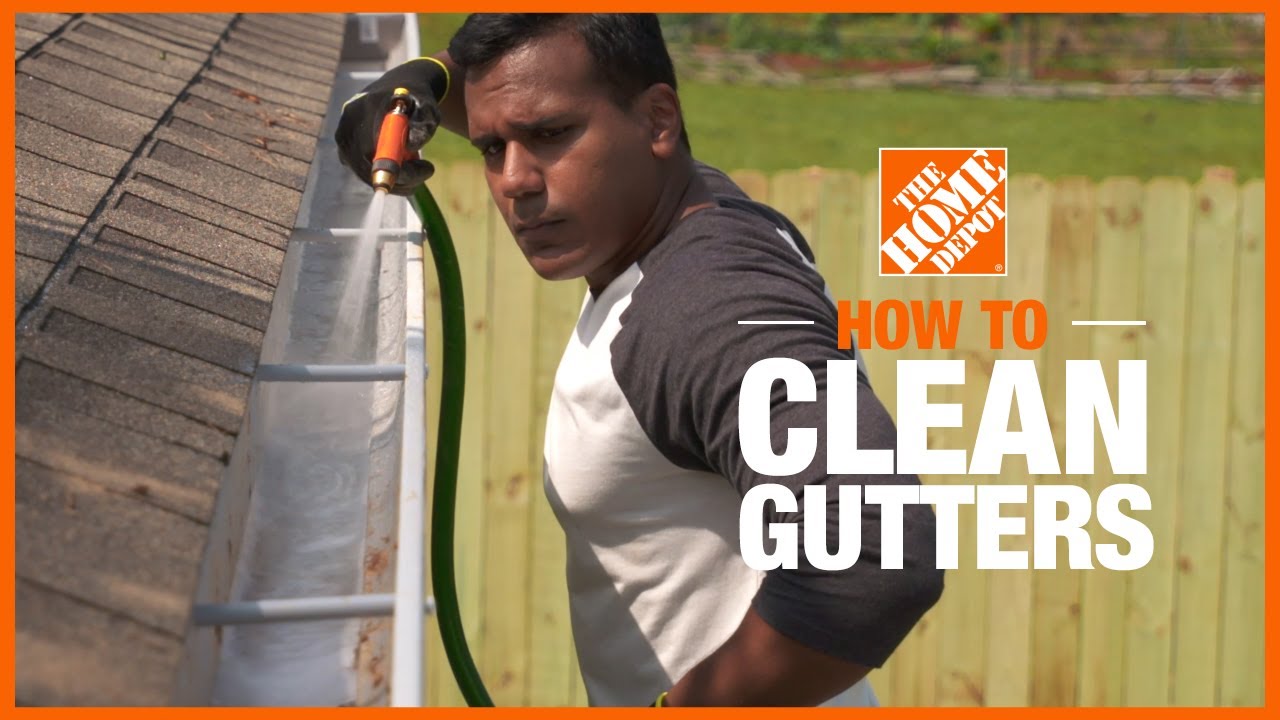
How to Install and Replace Rain Gutters

Last updated February 6, 2024
Gutters are a necessary part of a rain and stormwater management system for a house. They can also be used to collect rainwater for gardens and landscapes.
This guide will introduce you to the reasons for installing gutters on your home and outbuildings, and the process for installing, replacing and repairing them.
Difficulty:
Advanced
Duration:
Over 1 day
Table of Contents
The Purpose of Gutters
The Basics of Gutters
Common Problems to Look For
Repair or Replace
Planning for Installation
Measuring
The Purpose of Gutters

An important part of home maintenance is protecting the structure from water and dampness.
While sealants and paints can protect from water, moving water away is the best way to keep water from causing wood rot, cracking concrete and growing mold.
A major source of water against the foundation is the roof. Rainwater runs off of the roof and straight down to the soil around the foundation. This water can erode the soil or seep into the soil and push its way into the foundation. Dampness in the foundation will then find its way into the house. A rain gutter system will collect this water and move it away from the house, improving its overall health.
The Basics of Gutters

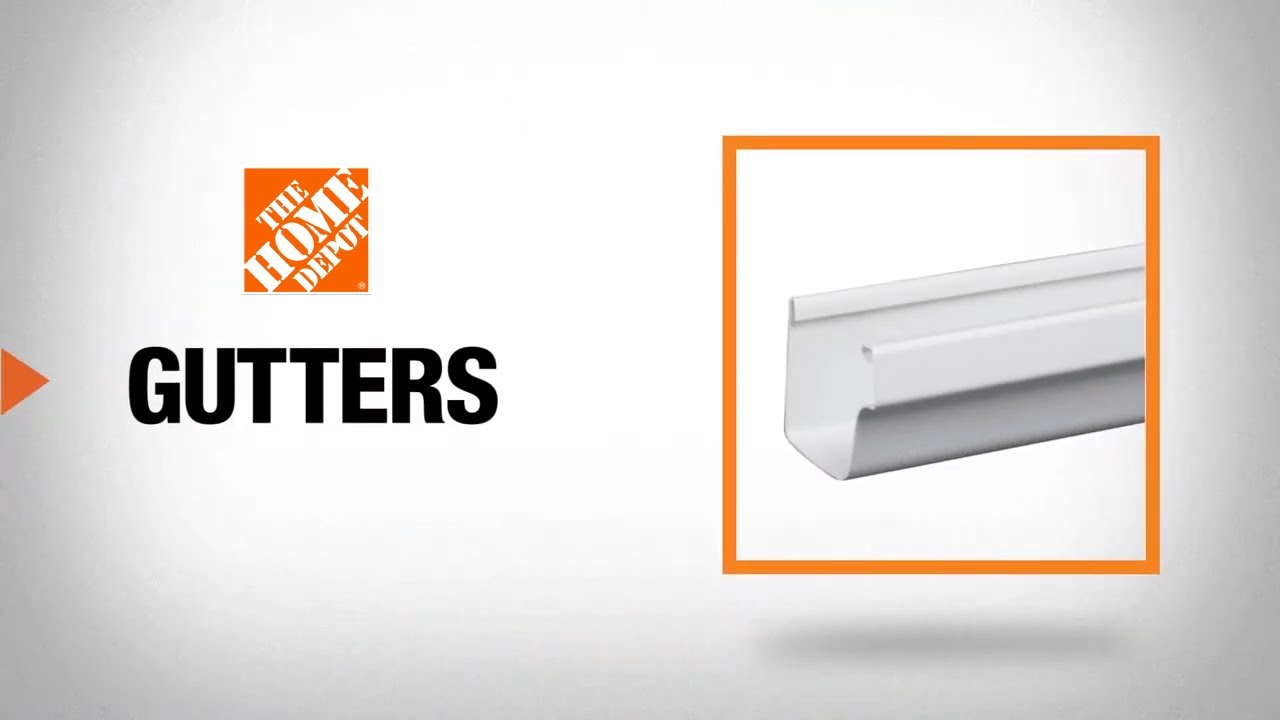
- Gutters are made of a material that isn’t affected by water, like aluminum or vinyl.
- They are attached to the facia board or rafter tails with a bracket that fits into the rim of the gutter. It's screwed to the house or a long screw with a ferrule to help the gutter retain its shape.
- Fasteners should be used every 18 to 24 inches, depending on snow load.
- Each section of gutter should be slightly higher on the closed end, slowly angling towards the end with the downspout. 1/4 inch over 10 feet is common. This slope is necessary so gravity will cause the water to flow out rather than pool.
- Gutter sections come in various lengths but most are 10 feet long. For runs greater than 10 feet, they can be joined together by overlapping or by using connectors and sealant.
- Downspouts are placed at the low point by means of a downspout adapter and sealant. They carry the water to the ground.
- Various attachments, ranging from a simple elbow to a flexible connection for an underground piping system, move water from the end of the downspout and away from the house.
- When joining pieces, be mindful of the direction of water flow. Most joints will have an overlap of some kind. That overlap should be made so that water flows from the high piece to the low piece. Sealant will not prevent a leak if the overlap is made in the wrong direction.
- Gutters are sized by width, usually 5 or 6 inches. The pitch of your roof and average rainfall amounts will determine the size. A roof with a steep pitch will need a wider gutter, because the water will be moving faster. An area with a high rainfall amount will need larger downspouts to handle the volume of water.
- Gutters, adapters, downspouts and dispersal work together as a gutter system that moves water from the roof to the ground in a controlled manner.
Common Problems to Look For

- Gutters should be cleaned on a regular basis. A clogged gutter can cause water to damage the roof.
- When cleaning, inspect the gutter system.
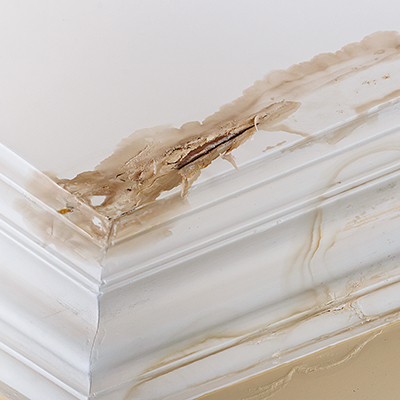
- Look for evidence of leaks and overflows, which could be rotten wood behind or below the gutter, or staining on the fascia, soffit or walls. Give closer attention to any seams or connections.
- Determine if any leaks are from water that is pooling rather than moving through the system.
- Check the brackets or fasteners for sturdiness.
- Look for any portion of the gutter that is sagging, pulling away from the house, or not in line with the rest of the gutter.
- Observe all seams, connections and exterior brackets for signs of becoming loose.
Repair or Replace

Gutters can be damaged by the weight of ice and snow, falling limbs or neglect. If leaves or debris are left in a gutter for a long time, they become waterlogged and heavy. It also creates a dam in the gutter that causes water to stand instead of flow. Water that sits in the gutters will find a way to leak out.
If a portion of the gutter system needs to be replaced, inspect the area to see how it was assembled. Note the direction the water should be flowing. If it was installed correctly, that will tell you how things should be overlapped and help you determine the order in which to disassemble the parts.
Fitting new parts into an old system will determine the type of hangers, gutter size and gutter style.
When disassembling, remove all debris first. Reduce the weight of each piece as much as possible. Cut through sealant with a utility knife. Remove fasteners. If a piece is difficult to remove, stop and find what’s holding it. Pulling harder may seem like the thing to do, but it may also damage the house or cause you to fall off the ladder when it breaks free.
Once the damaged parts are removed, inspect the fascia for rot or damage.
Fastener holes that have become enlarged can be filled with a wooden dowel and glue. Fastener holes that won’t be reused should be filled with an exterior wood filler and painted over.
Rot that isn’t structurally damaging may be repaired with a wood hardener, but very rotten wood will need to be replaced. Any bare wood should be primed and painted with exterior paint.
Planning for Installation

Installation begins with looking around the house for the best places on the ground to route water. Downspouts are usually placed at the end of a run or in an inside corner, but water from the roof shouldn’t be discharged in a place where the ground will push water back towards the house.While looking at the ground, consider the placement of splashblocks, diffusers, underground piping and water collection barrels.
Water from a downspout may cause erosion at the outlet so think about the area where the water will land and determine what steps should be taken to avoid erosion.
Inspect the fascia board for rot or damage. This should be repaired before adding gutters.
Make sure all surfaces are primed and painted with quality exterior paint before installing gutters.
Measuring

- Measure the length of the area that will receive gutters. Normally, gable ends do not need gutters, but the roof on the sides of the gable will.
- Measure all the way to the ends of the fascia and add an inch to each end for a bit of overhang.
- When figuring the amount of gutters that are needed, figure in the usable length of parts like corners and downspout adapters.
- Measure the length to the ground from the bottom of the fascia to figure the downspout length.
- Keep detailed notes of all measurements.
Tools and Materials Checklist

- Make a checklist of all gutter parts and accessories and tally up all numbers.
- A good rule of thumb in any large project is to figure in 10% overage for mistakes and unforeseen issues that may arise.
- Size of gutter and number of downspouts vary by average rainfall in your local area. Talk to the associates in your local Home Depot store about the best gutters for your locale.
- Generally speaking, there should be a downspout for every 20-30 feet of gutter.
- Since the gutter will extend past the corners of the house, be sure to set back the downspout locations to align with the corners. This will put them at least a few inches from the end of the gutter.
- Sealant should be a type made for gutters.
- Consider leaf screens if there are trees near your house.
- Some manufacturers supply checklists that are available in local Home Depot stores. Others have printable checklists in their product page on homedepot.com.
The minimum parts you’ll need are:
- Gutter sections
- Connectors
- End caps
- Downspouts
- Inside corners
- Outside corners
- Hangers
- Elbows
- Downspout adapters
- Downspout extensions, splashblocks, piping or rain barrels
- Downspout brackets or straps
- Fittings for any accessories
- Sheet metal screws
- Seam sealant made for gutters
Tools:
- Safety glasses
- Hearing protection if using power tools
- Gloves
- Pencil or marker
- Tape measure
- Chalk line
- Level
- Hacksaw or metal cutting tool like angle grinder with cutoff wheel
- Power drill or impact driver
- Drill bits
- Driver bits
- Pop rivet gun, if using rivets
- Hammer
- Pliers
- Metal snips
- Crimpers
- Ladder
Ladder Safety

- A ladder is the most dangerous thing in the average home.
- Follow all manufacturer’s instructions on setting up and using your particular ladder.
- Do not use a ladder that has been damaged or isn’t in good working order.
- The feet of a ladder should always be secure and level. If your ground isn’t level, add the manufacturer’s recommended leveling device.
- Scaffolding is a good alternative to using a ladder.
Mark Lines For Installation

- Place a level or other straightedge on the roof and let it overhang the gutter area.
- The starting point should be about 1 to 1-1/2 inches below this line. Don’t install the gutters directly against the underside of the shingles or other roofing.
- If drip edge is present, the back of the gutter can slide behind it. It would be better for the gutter to go below it rather than on top of it.
- Use the chalk reel to snap a line that starts at a high point and falls about 1/4 inch per 10 feet of gutter run, towards the downspout locations.
- Use the level to double check that your lines fall toward the planned downspout locations.
Asemble Pieces and Install Hangers

- Once the layout is determined, assemble a section of gutter before installing it.
- It’s better to assemble on the ground before lifting the gutter to the roofline.
- If using brackets or hangers, install by hooking into the rim.
- Some gutter styles require brackets to be installed from an open end before sliding into position.
- Others, like half-round gutters, use brackets that are affixed to the building first.
- If using a screw or spike with ferrule, drill necessary holes and place the hardware.
- Attach end caps, downspout adapters or corner miters.
- Use a hole saw on a drill, or metal snips to cut openings for the downspout adapters.
- Joints should be sealed with sealant and held together with sheet metal screws or pop rivets.
- Assemble in logical sections. Don’t make pieces too large or heavy to lift into place.
- Joints will be weak points so support those areas while moving.
Install Gutters

- Enlist at least one helper who can hold up the far end of long gutter runs while you begin attaching your end.
- Align the top of the gutter with the chalk line.
- Begin attaching the brackets to the facia on one end and work your way towards the other, adjusting height to the line as you go.
- It’s best to place fasteners into the rafter tails, rather than just through the fascia board. If rafter tails are covered by soffit, look for nail heads in the fascia, where it attaches to the rafters.
Install Downspouts

- Downspouts move the water from the gutter to the ground.
- Place an elbow on the downspout adapter. Use one screw to hold it in place while measuring.
- Hold an opposite elbow against the house.
- Measure between the two.
- Add the amount of overlap required by your style of downspout. Remember to add overlap for both elbows.
- Cut a piece of straight downspout to span the gap.
- Attach these pieces together and install.
- Measure to the ground to get the length of the downspout. Add any overlap needed and account for the outlet part that will be on the ground end.
- Assemble the remaining downspout parts and install using sheet metal screws and brackets or straps.
Connect to the Ground System and Test

- Connect the downspouts to the ground system or water collection barrel, or use an elbow and extension to place the water outlet away from the house.
- Place a splashblock under the outlet if the water is being turned out onto the ground at the bottom of the downspout.
- Be mindful that water splashing up from the ground can get behind siding and cause rot or other problems.
- Use a water hose to test the system.
- Look for any leaks and fix them.
The Home Depot has everything you need to install and repair your home's rain gutters and storm water systems.
If you need tools to install your gutters, remember the Home Depot delivers online orders when and where you need them. You can even rent a truck to haul the tools and materials to your home.