How to Install Beadboard Wainscoting
Last updated September 7, 2023
Wainscoting is a form of decorative paneling that protects walls and can add character to your decor. When you know how to install wainscoting, you can update any room in your home.
Beadboard, the most common type of wainscoting, is a row of narrow wood planks made up of tongue-and-groove panels and installed vertically on a wall. Beadboard paneling gives a room an intimate, traditional feel, making it ideal for homes with a cottage or bungalow style.
This guide will teach you how to install beadboard wainscoting. Woodworking skills between the level of beginner and intermediate are needed for this project. It can be completed in about a day.
Difficulty:
Intermediate
Duration:
Over 1 day
Table of Contents
Prep the Area
Draw a Line & Locate Studs
Glue Wainscoting in Place
Nail the Boards When Over a Stud
Adjust Out-of-Plumb Corners When Needed
Install the Cap Rail and Baseboard
Prep the Area

Individual tongue-and-groove boards are available. However, your project will come together much more quickly when you opt for ready-made beadboard panels.
Before you begin installing wainscoting:
- Select your paneling. Decide if you want primed, finished or unfinished lumber. Always read the manufacturer’s instructions.
- Measure the wall or room where you will be installing wainscoting. Beadboard panels come in pre-determined widths. You will need to calculate how many panels you should get for your space.
- Prep your walls by dusting and cleaning the area where you'll be adding paneling.
- Decide which part of the wall you are going to cover with the beadboard.
- Familiarize yourself with the separate parts that make up beadboard wainscoting. The parts are panels or vertical boards, baseboards and top cap moulding. It provides an elegant finish to the top of the panel.
Remove Baseboard and Outlet Covers:
- If you plan to reuse the baseboard, carefully pry it from the wall. You may prefer to use new baseboards with a groove to hold the lower ends of the wainscoting boards.
Tip: Installation is typically 32 to 36 inches off the floor or roughly one-third the room height. When installing wainscoting, adjust the top edge to avoid running into windowsills or other trim in the room.
Draw a Line & Locate Studs

- Extend a line around the room with a level.
- The top and the bottom of the wainscoting are held in place by a cap rail and a baseboard nailed into the studs. Locate the stud with a nail or stud finder.
- Mark the studs at both floor level and just above the level line.
As you figure out how to install wainscoting, be sure to take light switches and power outlets into account.
- You may need to cut your beadboard to fit these areas.
- Due to the thickness of the beadboard panels, your outlet will be slightly recessed and not flush with the face plate.
- The easy solution is to use an electrical box extender.
- Install outlet box extension rings that allow you to bring the outlet to the wainscoting surface. Simple outlet spacers are not recommended for this use, since the new wall board is combustible.
Glue Wainscoting in Place

- Butt the grooved end of a beadboard panel or board into a corner and nail it in place.
- Run a wavy line of construction adhesive along the back of a panel or several boards.
- Spread the wood glue with a notched trowel as you slip the panel or boards into place.
- Slide the tongues in the grooves, leaving a 1/16-inch space between the visible edges. This space allows for expansion in humid weather.
- Align the top edges with the level line.
- Check the edge for plum with a level.
- Press the panel or boards with the heels of your hands to help bond the beadboard with the wall.
Nail the Boards When Over a Stud

- Wherever a board is over a stud, nail it in place.
- Hide the nail in the groove along the bead or drive it through the tongue, if possible.
- Cut or plane as much of the last panel or board as needed to make it fit. Install it by slipping it down from above.
Adjust Out-of-Plumb Corners When Needed

- For out-of-plumb corners, make adjustments several boards away.
- Measure between the last board and the corner at both the top and bottom of the wainscoting.
- Then divide the difference by the number of boards remaining to be installed. If the difference is within 1/16-inch, install the remaining boards slightly out of plumb so the last one will be flush with the adjoining wall.
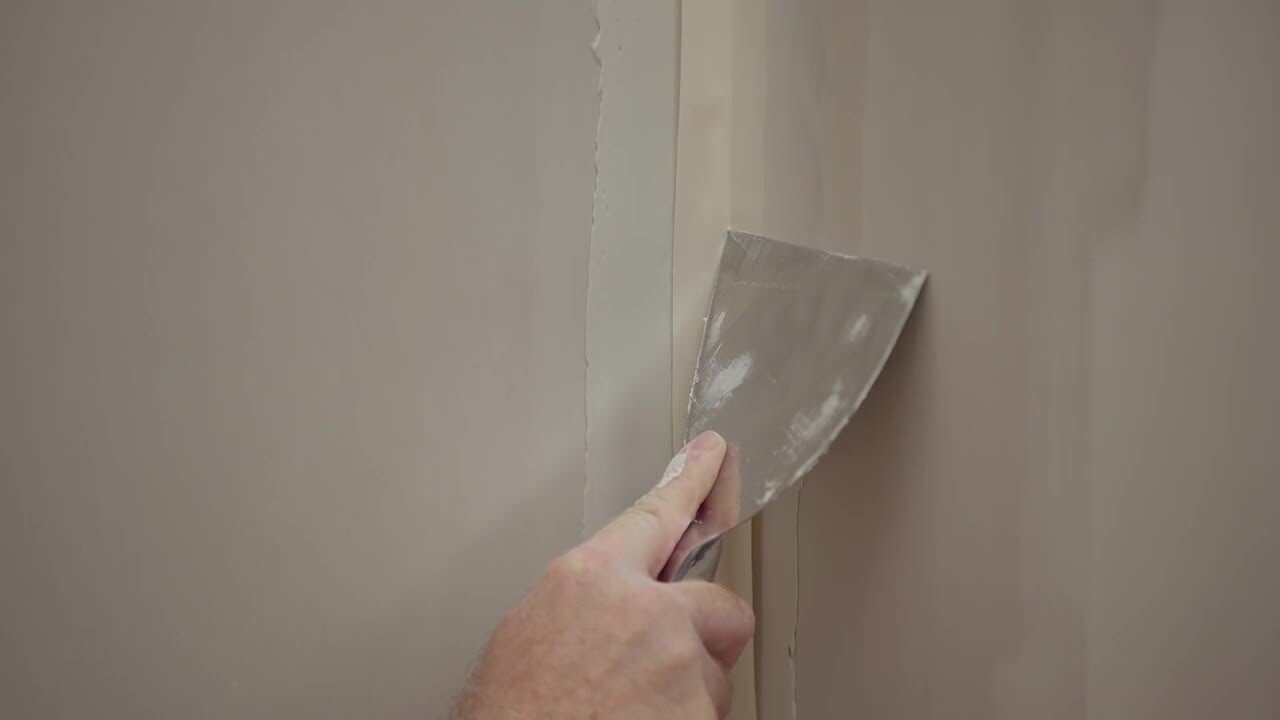
Install the Cap Rail and Baseboard

- Nail the cap rail in place with #6 or #8 finishing nails.
- Miter inside and outside corners. If the rail is complex, cope inside corners.
- If the baseboards go on top of the beaded boards, nail them in place using #8 finishing nails. Countersink and fill all nail holes.
- If you plan to paint the wainscoting, seal any gaps with paintable caulk.
Tip: Consider painting your beadboard to add color and character to the room.
How to Maintain Wainscoting

Keep wainscoting clean to help prevent dust and buildup.
- Wipe wainscoting down with a dust rag to remove loose dust.
- Use a damp microfiber cloth to wipe away any stains or dirt marks.
- You can also use vinegar and water to wipe wainscoting clean.
- Beadboard backsplash in a kitchen or bath will be subject to more water stains and residue. Try wiping it down daily or weekly to avoid buildup.
Installing wainscoting is worth the effort. Once you've learned how to install beadboard, you can use this popular decor on walls, as a backsplash upgrade or even on a ceiling. With a little investment of time, you can refresh a room and add a new skill to your DIY toolbelt.
Ready to apply everything you’ve learned about how to install wainscoting? Get the supplies you need to start this project. Use The Home Depot Mobile App to find everything you need.