How to Install Brick Edging

Last updated September 7, 2023
Bricks are versatile and easy to use, making them a popular choice of edging for lawns, paths and garden beds. They're available in many colors, sizes and textures.
Brick edging creates an attractive border for your prized garden or landscaping project. Read this guide to learn how to install brick edging in your yard or garden and build a decorative garden bed as an option.
Difficulty:
Beginner
Duration:
Over 1 day
Table of Contents
Lay Out the Bed
Stretch a Mason's Line
Dig Trench for Edgers
Cultivate the Soil
Install the Edgers
Edge the Corner or Make a Curve
Lay Out the Bed
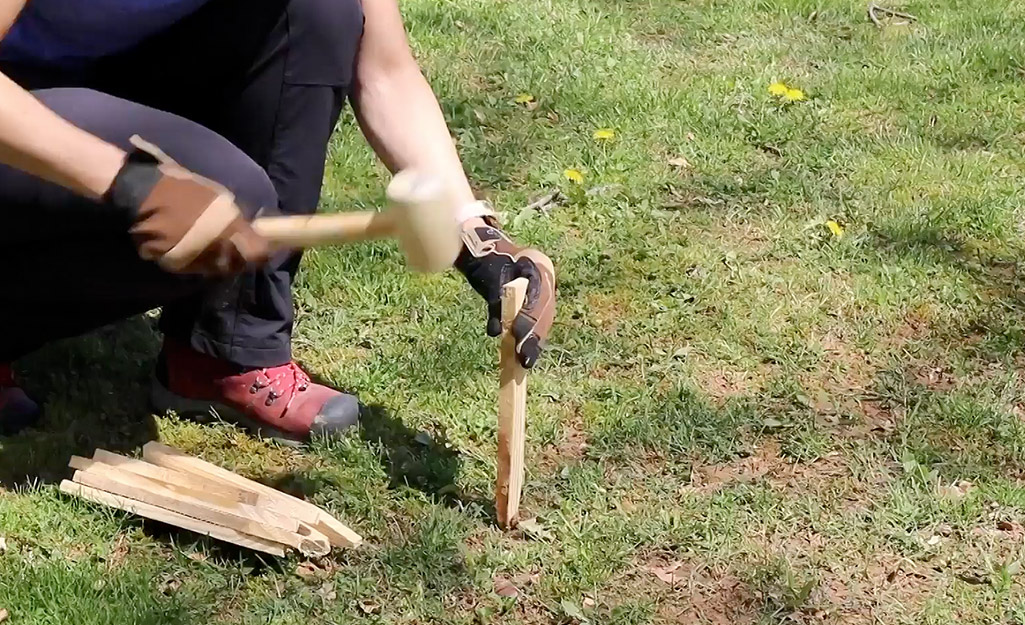
Survey the area and decide where you want your edging to go. Start the brick edging at a fixed point, such as your house, and work toward an open area. This will let you adjust the length of the edging if you need to.
To install brick edging in a straight line, drive a garden stake into the ground at each corner of the area you want to edge. After you have laid out all the stakes, lay a line of bricks along the path you want the edging to follow. Doing this lets you plan ahead so you won’t have to cut any bricks. It’s easier to install brick edging if you can use whole brick.
Tip: Before you install brick edging, be safe and put on work gloves and psafety glasses.
Stretch a Mason's Line
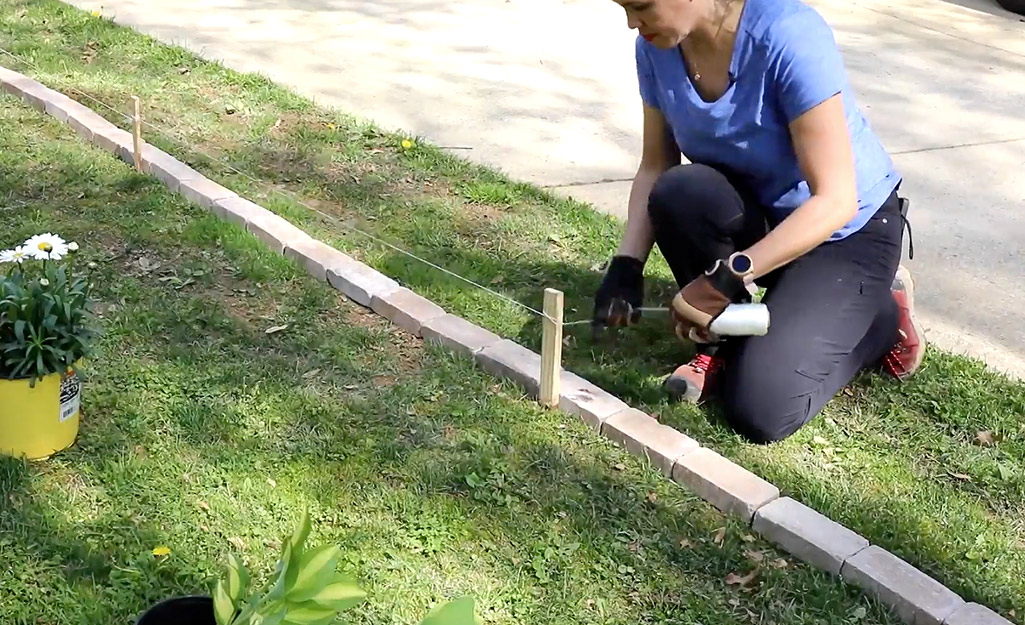
A Mason’s line (also called Mason’s twine) helps you line up the brick edging straight and level. Starting at the first corner stake, wind a length of Mason's line around one stake to secure it.
- Stretch the line to the next stake, wind it around and secure it. Do this on all the other stakes.
- Once the line is secure, you can move the bricks out of the way and begin to dig the trench.
Dig Trench for Edgers
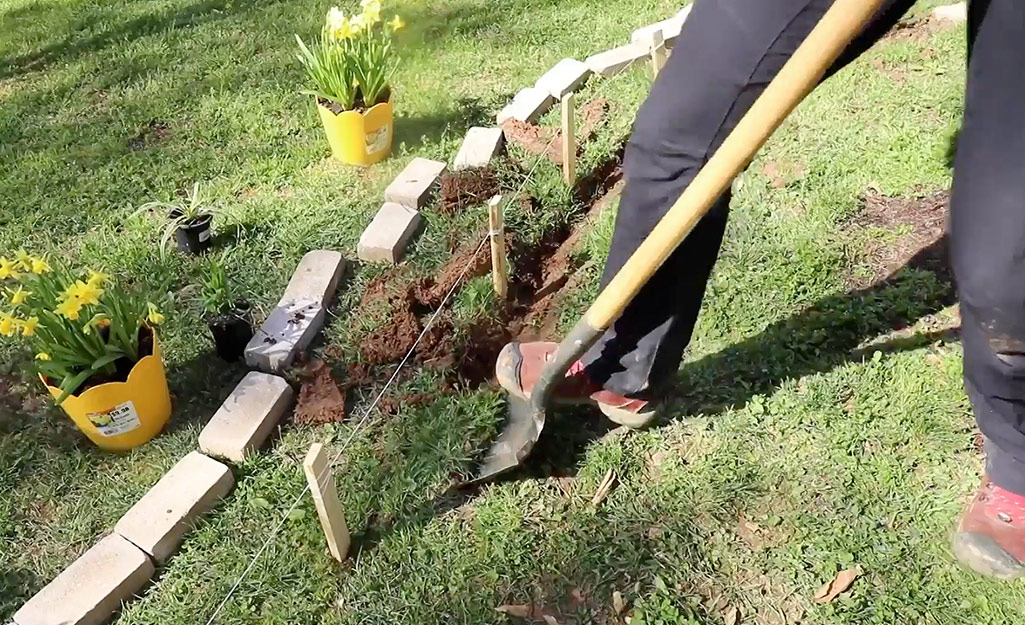
The next step is to dig a flat-bottomed trench that holds the bricks in place. The trench will follow the length of the Mason’s line.
- Move the bricks to the outside of the Mason’s line.
- Use a shovel or edger to cut the walls of one side of the trench straight up and down.
- Follow the length of the Mason's line and the stakes and dig a flat-bottomed trench.
- Cut into the opposite side of the trench to remove any excess grass and soil.
- Tamp down the bottom of the trench with a tamper or the short edge of a board.
- Drop several bricks into the trench to test if the bricks fit snug and straight.
Cultivate the Soil
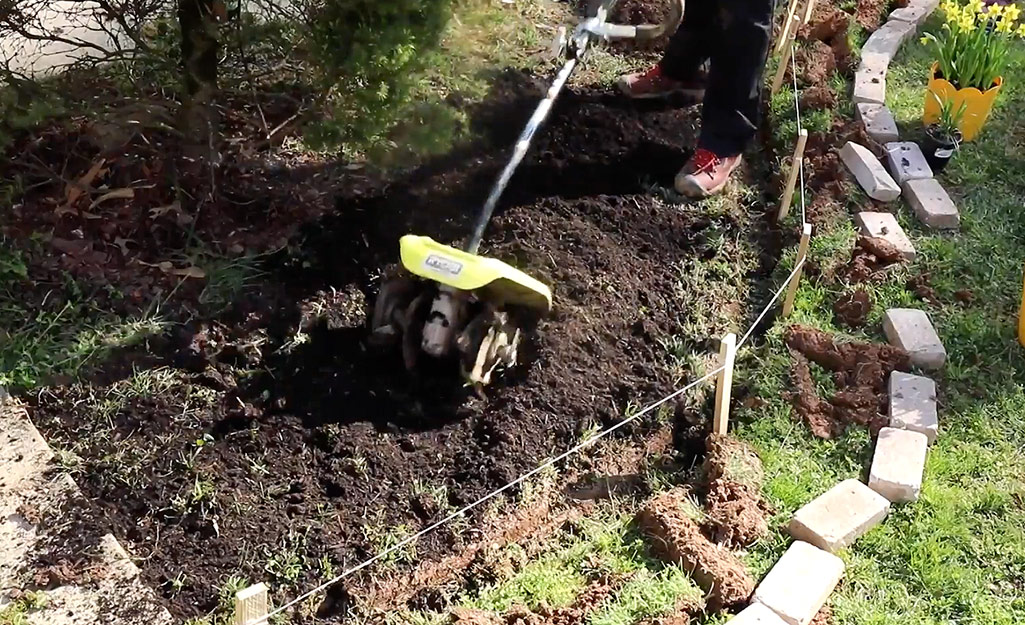
If you are planning to create a garden bed, the next step will be to cultivate the soil inside the edge line. If you are not going to build a garden, you can skip this part.
- Use a cultivator to break up the ground for the garden bed. Move any grass and rocks to a wheelbarrow with a shovel.
- Add garden soil to the bed and work in soil amendments like peat moss, manure or fertilizer, if needed. Use the cultivator to get the job done, or a spade or garden rake if your area is smaller.
Install the Edgers
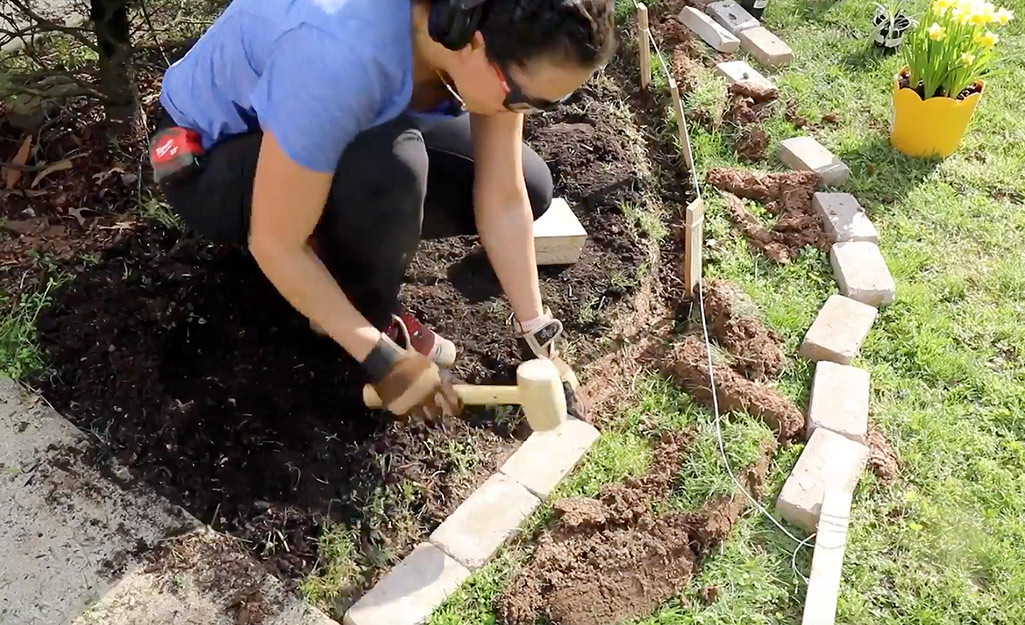
Once you've cultivated the soil, put a brick in the trench on its long end or lay it flat, depending on your preference. Make sure the top of each brick is level with the Mason's line. Put the rest of the bricks in the trench, aligning them as you go. Use a rubber mallet to gently tap them into place.
Adjust the depth of the trench if needed. Use a garden trowel to remove or add soil and tamp it down firmly so the bricks are level.
Edge the Corner or Make a Curve
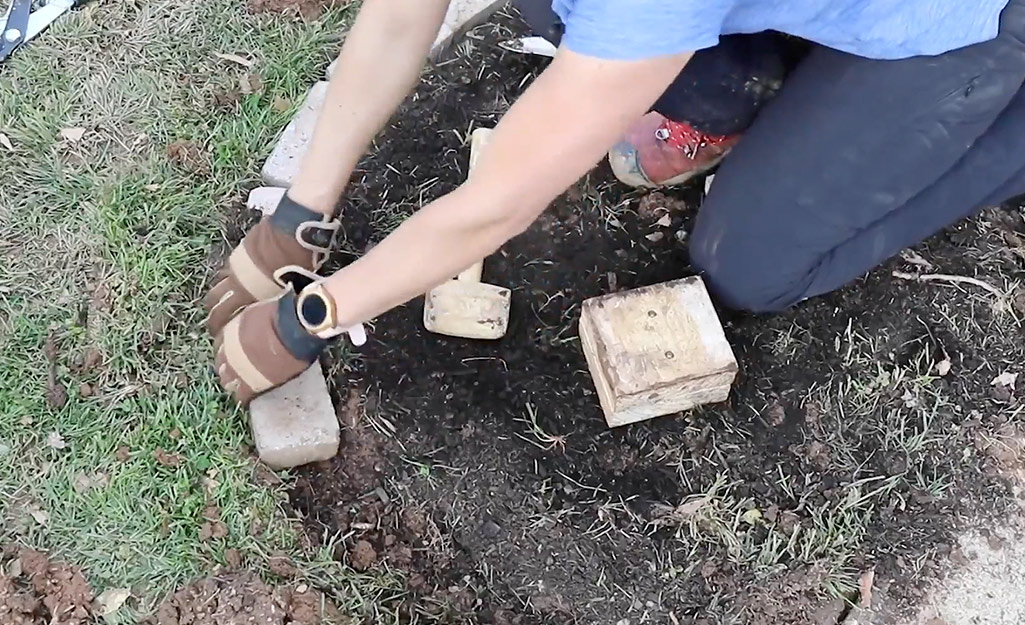
When edging a corner, run a length of Mason’s line between two stakes at a 90-degree angle. Set the bricks in the trench, using the lines as guides. Use a framing square to make sure the bricks are square and a standard level to check that they’re level.
To make a curve, use a pickaxe or mattock to dig a curving trench on the ground. Insert the bricks in it and adjust them as needed. A gentle curve will be easier to edge than a sharp one.
Align the Bricks and Backfill for Stability
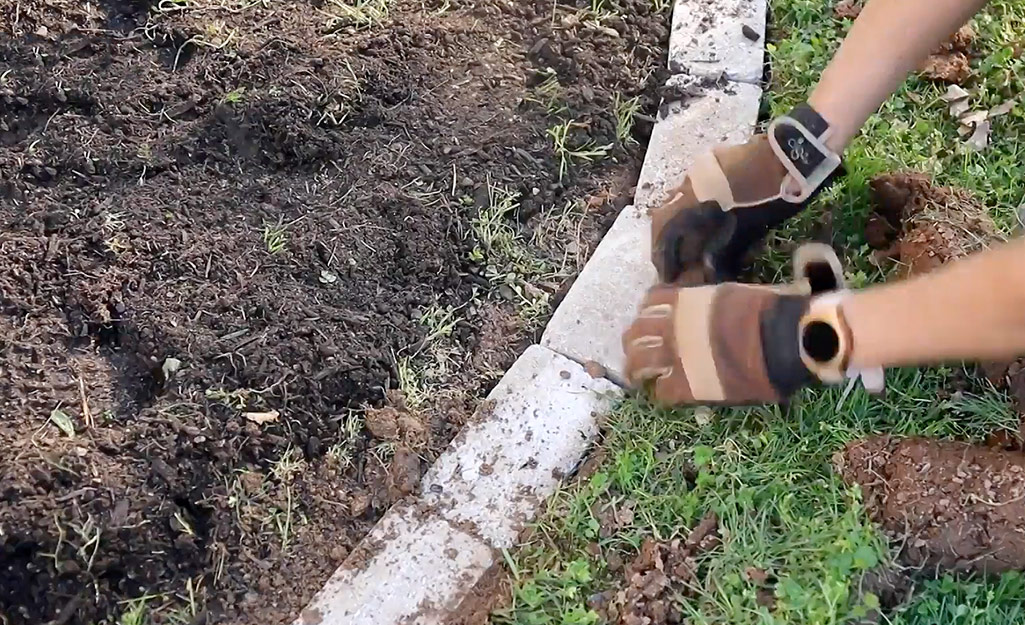
Make adjustments to the bricks to realign them if needed. Use the soil removed from the trench to backfill on both sides of the bricks. Continue to set the bricks by tapping them with the mallet.
Put the last brick in the trench so that it fits snugly. Use a rubber mallet or sledgehammer to set it in place. If possible, adjust the layout so you can use a whole brick instead of cutting one.
If you need to cut a brick, lightly strike a chisel with a mallet to score a line across each face of the brick. Set the brick on flat ground and strike it again, sharply, at the scored line. This should break it.
Add Soil and Plants
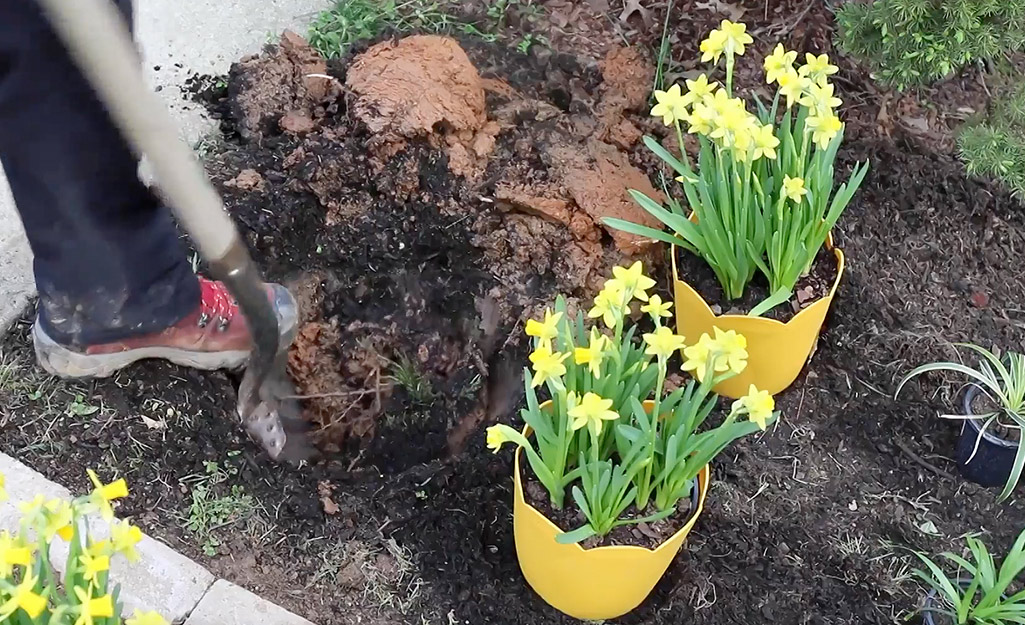
Now that the brick edging is in place and the soil of your garden bed is prepared,
you're ready to plant flowers, shrubs and other plants. Add more soil to the bed you're edging and tamp along both sides of the bricks. Smooth and level the bed with a garden rake.
Arrange the plants you’ve selected for the space. Follow the planting instructions for each
to create an attractive and thriving garden.
Learning how to install brick edging is an easy DIY project. Mark your bed with garden stakes and run a mason's line between them. Then dig a trench and tamp down the bottom of it. Add the bricks. Backfill the trench on both sides and tap the bricks with a mallet to seat them. Tap the last brick with a sledgehammer to set it.
Looking for a product or material? Download The Home Depot Mobile App to search by voice or image.


