How to Install Cement Board

Last updated June 12, 2024
Installing cement board at the beginning of your remodeling project is crucial. It guarantees waterproof tile floors that will last for many years without cracking or other signs of damage. It may sound daunting, but learning how to install cement board on a floor is possible even if you don’t have years of DIY experience.
This guide will teach you how to install cement board on floors. You'll also learn how to use thin-set mortar to secure and level your subfloor before installing tile.
Difficulty:
Intermediate
Duration:
Over 1 day
Table of Contents
What is Backer Board?
Plan and Mark the Backer Board Placement
Spread Mortar
Lay the Backer Board Sheets
Secure Backer Board with Screws
Fill the Joints with Mortar
What is Backer Board?

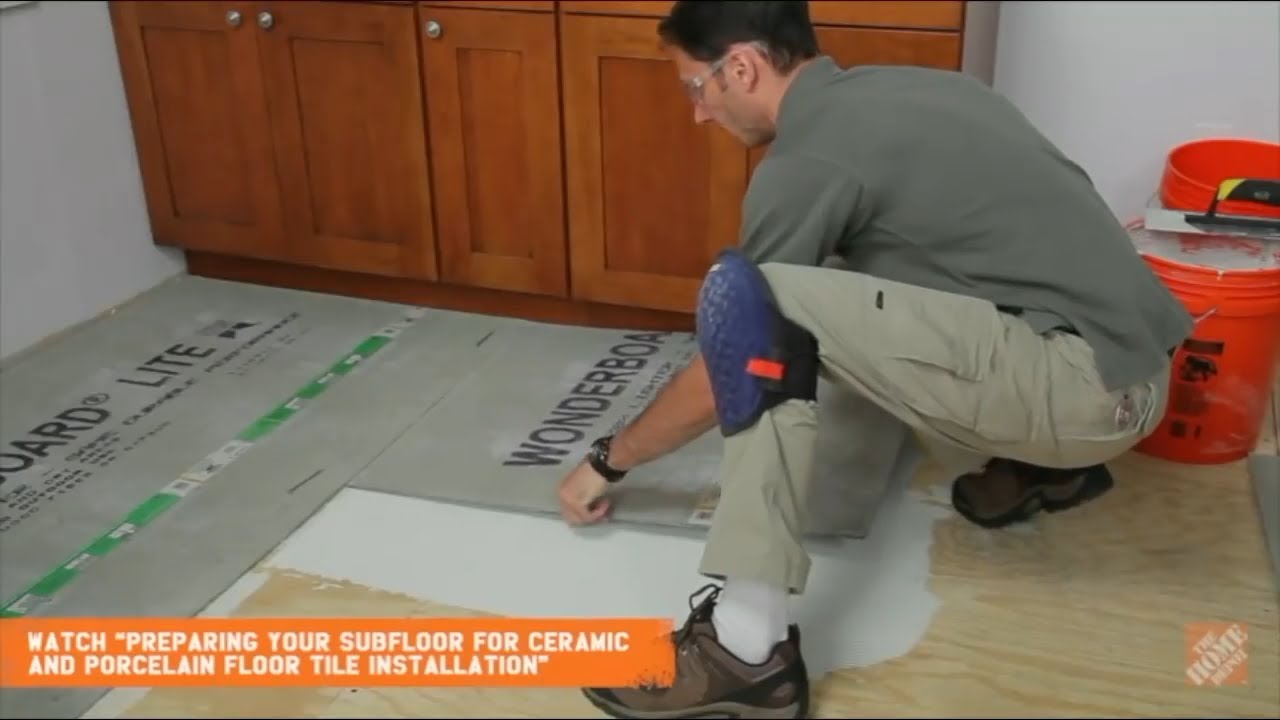
- Cement board, often referred to as backer board, is a thin layer of concrete with fiberglass mesh on both sides. It’s available in sheets of many sizes. Most projects need 3-foot by 5-foot sheets.
- Whenever you’re laying tile on a wood subfloor, you need to first install cement backer board. Backer board prevents leaks and water damage that could harm your flooring and the structure of your home. Unlike wood or drywall sub-surfaces, cement backer board will not rot, warp or grow mold and mildew when exposed to water. That’s the main reason they’re a go-to choice for permanent installations like this.
- Another reason you’ll need to work with cement backer board is that it’s never safe to install new tiles over existing tiles. You also can’t safely install tile flooring over plywood subfloor or onto an unprotected wood floor. If you did, there'd be a serious risk of rot, water damage, warping and mold. Plus, your tile and grout would likely crack.
Plan and Mark the Backer Board Placement

Now you’re ready to begin installing backer board like a pro. The first step is proper planning and placement. Here’s how you can tackle it correctly:
- Plan the placement of the cement backer board sheets.
- Lay the sheets so the joints in the backer board don’t line up with the joints in the subfloor. The backer board should completely cover the subfloor joints.
Stagger the board placements a bit like bricks. - Do a dry run and lay the backer board down to fully cover the area you plan to tile.
- If needed, cut the backer board to fit in small spaces or around obstructions. Score the board with a utility knife, then cut it using a jigsaw with a carbide blade.
- Snap a grid to the subfloor using a chalk line to mark your cement board placement.
Spread Mortar

- Use thin-set mortar when installing cement backer board. Thin-set dries slowly, allowing you to fix and readjust backer board sheets as needed.
The ingredients in thin-set mortar are cement, fine sand and a water retaining agent. It's used to bond ceramic or porcelain tile and cement backer board. - With the smooth side of a 1/4-inch notched trowel, spread enough mortar for one sheet.
- Ridge the mortar with the notched side of the trowel.
You'll now have parallel lines in your thin-set.
Lay the Backer Board Sheets

- While the mortar is still wet, place a sheet of backer board onto it.
- Repeat this process, spreading mortar and laying the backer board one sheet at a time.
- Leave a 1/4-inch gap between the backer board and the wall.
- Leave a 1/8-inch gap between each backer board sheet. The corners and edges of the sheets should not touch one another.
Secure Backer Board with Screws

- Drill cement board screws through the backer board sheets every 6 to 8 inches.
- Position the screws at least 1/2-inch, but no more than 2 inches, from the edge of the sheet.
- Drive the screws in so that the heads are slightly below the surface of the backer board sheet.
Fill the Joints with Mortar

- Use the flat side of your notched trowel to fill the joints between the backer board sheets.
- Smooth the mortar so it extends about 1 1/2 inches on each side of the joint. The extra mortar will make it easier to embed the fiberglass tape.
Cover the Joints with Fiberglass Tape

- Cut the fiberglass seam tape to length with the thin side of your trowel.
- Push the tape into the joint mortar.
- Once the tape is embedded, scrape off any excess mortar.
Cover Fiberglass Tape with Mortar

- Spread a thin layer of mortar over the fiberglass tape with the flat side of your trowel or paint scraper.
- Feather the edges of the mortar across each board so the surface is as smooth as possible.
Allow Mortar to Set

Although it's tempting to start tiling the floor, let the mortar fully set and dry first. Wait 24 to 48 hours before tiling. The drying time is important for a strong hold.
Fully bonded mortar means your cement board won't flex. This protects your tile and grout from cracking. It's key to making your tile floor last as long as possible. It also means that if your grout did crack and water seeped through, your subfloor would be protected by the cement board.
Cement Board Tips

Here are a few things to keep in mind when learning how to install cement board.
- Fiber Cement backerboard is used across many different wall and floor projects because it is suitable for shower, countertop, backsplash and floor installations. These include laminate, vinyl and wood.
- Backerboard in both water-resistant and waterproof options makes this ideal for renovations in water prone areas.
- Installing cement board in a renovation will require that you remove the existing surface material before installing backer board over the studs.
- Cement board can also be used on countertops when laying tile. However, the process will involve using an extra sheet of backer board.
- Never use standard screws when installing cement board. Standard screws will corrode. Always use cement board screws.
Learning how to install cement board on floors is an important step when you’re preparing to lay tile. Once installed, the backer board will protect wood and plywood subfloors from water damage. It'll also create a smooth, solid foundation for your tile. Ready to get the tools and materials you need? The Home Depot delivers online orders when and where you need them.