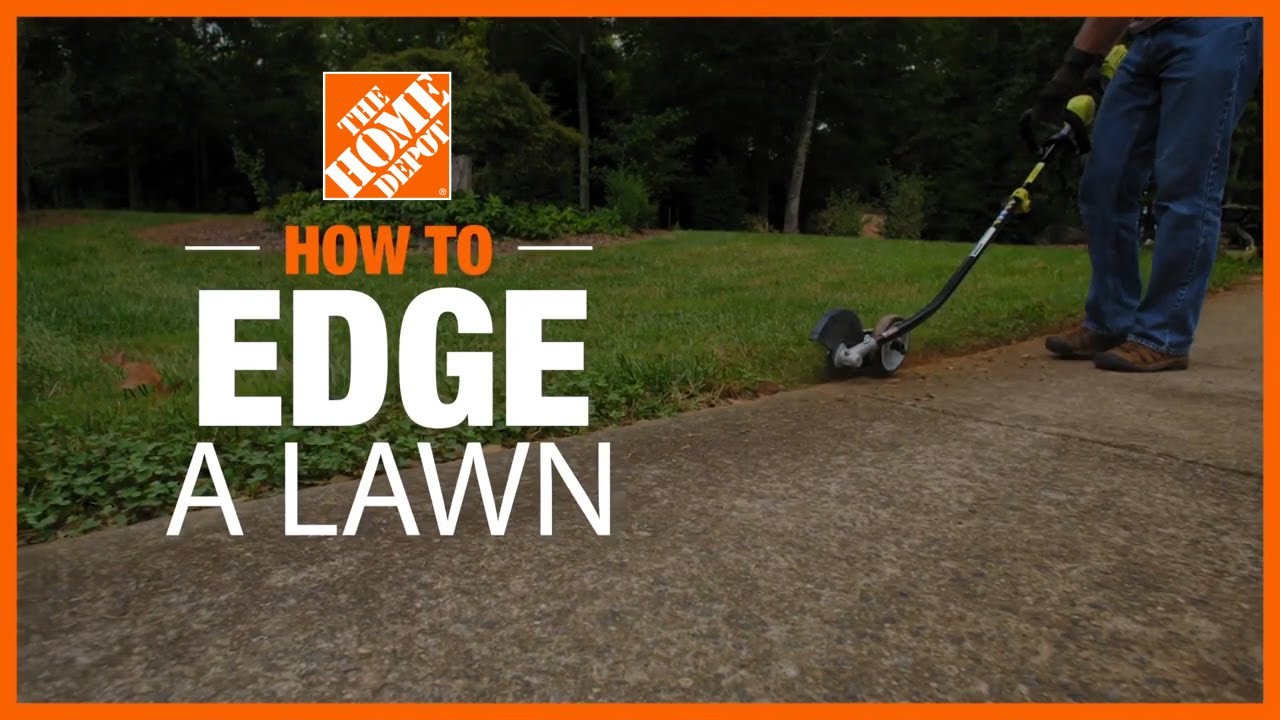
How to Install Edging

Last updated September 7, 2023
Edging along your flower beds and borders gives them definition and makes your landscape look tidy and polished. Edging helps keep mulch and grass where they belong. The increased curb appeal edging offers can even boost your home’s value.
Follow this guide to easily install many types of edging, including plastic, rubber, wood or pavers.
Difficulty:
Intermediate
Duration:
Over 1 day
Table of Contents
Lay Out Your Edging Design and Measure
Choose Your Edging
Dig a Trench
Install the Edging
Secure the Edging
Finishing Touches
Lay Out Your Edging Design and Measure

Whether you want to spruce up a small landscaped garden bed in front of your house with edging, or add several landscaped areas to your backyard, the first thing you’ll need to do is determine where you want to place the edging and how much of it you’ll need.
- Use rope or twine to make an outline of where you want to install the edging.
- Once you’re satisfied with the design, mark the outline with landscaping paint.
- Measure the twine with a tape measure, then add 10 percent for waste. This is the amount of edging you’ll need for your project.
Choose Your Edging

There is a type of edging for every budget and aesthetic. From easy-to-install plastic edging to individual pavers, you can get just the look you want. Some of the most popular choices for edging include:
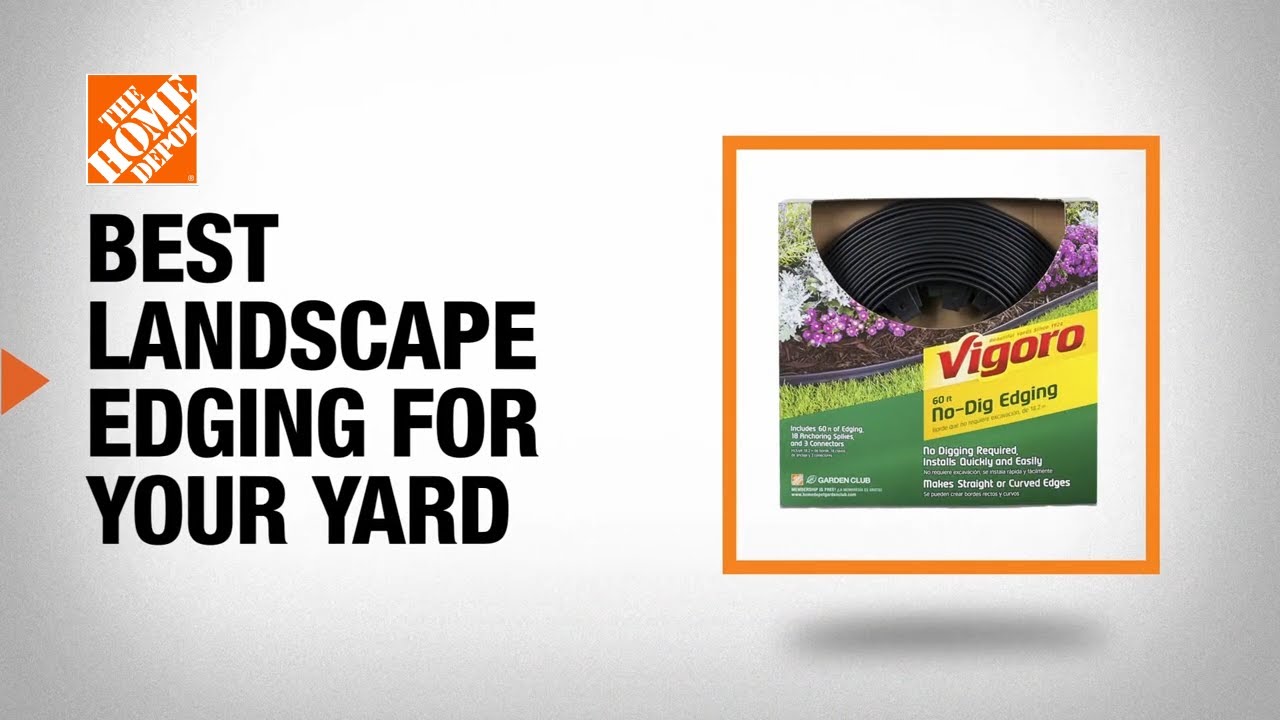
- Plastic edging: The most practical and economical option, plastic edging can be installed quickly and easily. It’s flexible, which makes it easy to edge garden beds with curves, corners and bends. Plastic edging doesn’t last as long as other edging types.
- Rubber edging: Available in many different styles, rubber edging lasts longer than plastic edging and is just as flexible.
- Pavers: Pavers add a formal, classic look to landscaping. Although pavers have a higher initial investment than other edging options, they’re the most durable, lasting 25 to 50 years or more.
- Wood: Wood edging comes in a variety of sizes and is best used for straight lines. Use treated wood for longevity, and avoid railroad ties and other wood that’s coated with toxic chemicals that can damage your plants.
Tip: If you change your landscaping often, consider plastic or rubber edging, which are the easiest types to replace.
Dig a Trench

Use a round point shovel or spade to dig a trench along the painted line. The width and depth of your trench will depend on the edging you chose. Edging should sit no higher than 1/2-inch above the ground to avoid tripping and mowing hazards.
For typical plastic and rubber edging, dig the trench three to four inches deep and one to two inches wider than the edging. For pavers, dig a trench about two inches deeper and wider than the paver stone.
For best results when installing paver edging, spread an even layer of firmly packed sand an inch deep along the bottom of your trench.
Tip: Dig your trench so that the front wall is straight. This will make it easier to install the edging evenly.
Install the Edging

To install plastic or rubber edging:
- Install the edging starting at one end of the trench and move your way to the other end.
- Cut excess edging with garden shears or snips to fit.
- For long runs that require two or more lengths of edging, use connectors to fit the pieces together. For the cleanest look, plan the cuts so that the joints are evenly spaced out toward the center of the run, rather than closer to the ends.
For individual pavers:
- Start laying pavers in the most visible area, and work toward the least visible in case pavers have to be cut to fit.
- If cuts are needed, use a chisel and hammer to break pavers into smaller pieces.
- Tap pavers into place with a rubber mallet. Use a level as you go to ensure pavers are level from side to side, from front to back and with adjacent pavers.
For all types of edging:
- Lay or place edging deep enough so a lawn mower’s wheels can smoothly run over it.
- Use a level to ensure the edging is level across the length.
Secure the Edging

- Use a rubber mallet to drive edging spikes or yard staples through the front face of rubber or plastic edging to anchor. Refer to the installation guide for specific instructions on anchoring your edging.
- Backfill the trench with soil and compact the soil as tightly as possible with your feet.
- Water the backfilled area lightly with a garden hose.
- Fill in any low-lying areas with more soil, compact it and water it again.
- Level and smooth the soil with a garden rake
to even it out.
Finishing Touches

With the edging in place and the soil packed evenly behind the edging for support, check to make sure the edging is secure. If it’s not:
- Add soil to secure loose areas and fill gaps.
- Add sand between pavers to stabilize them and fill in cracks.
- Sweep excess dirt and sand off the top of pavers.
Admire and enjoy your finished landscape edging!
Edging comes in a range of styles and materials and adds curb appeal to your home while keeping mulch and grass where they belong. With a little planning, you can enjoy a professional-looking landscape without the big investment.
When you’re ready to browse edging selections and get the right tools for the job, use The Home Depot Mobile App to locate products and check inventory. We’ll take you to the exact aisle and bay.