How to Install FRP Paneling
Last updated September 7, 2023
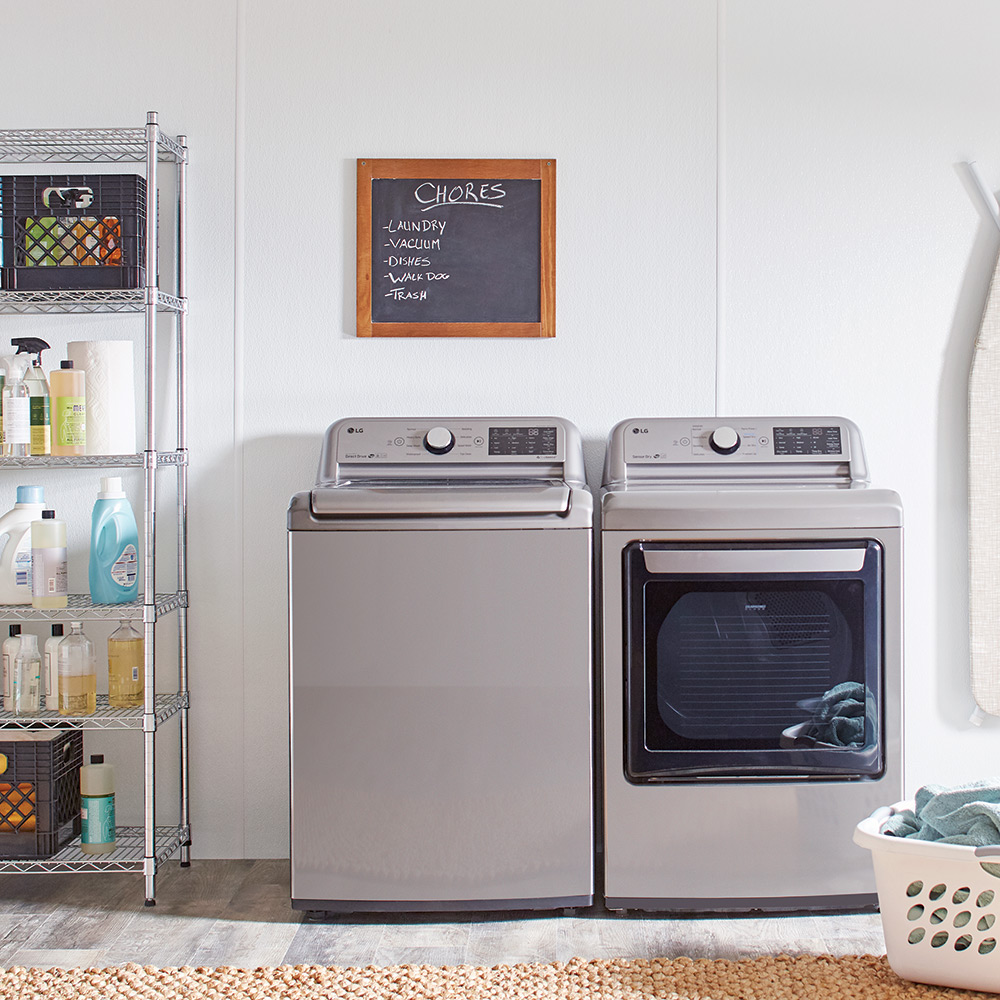
Water-resistant and durable, FRP or fiberglass-reinforced paneling resist mildew and mold and work great in laundry rooms and bathrooms. Any room with a FRP panels installation are easy to clean and hard to stain. Like decorative paneling or wainscoting panels, applying FRP paneling is a simple way to change the look of a room. This will teach you the basic steps on how to install FRP paneling as well as which tools to use to complete your project.
Tip: Follow manufacturer's instructions for specific direction for installing your FRP paneling.
Difficulty:
Intermediate
Duration:
2-4 hours
Table of Contents
Measure Walls
Trim FRP Panels to Fit
Cut Any Fixture Openings
Install the Corner Moulding and Panel
Install the Top Cap
Smooth FRP Panels
Measure Walls
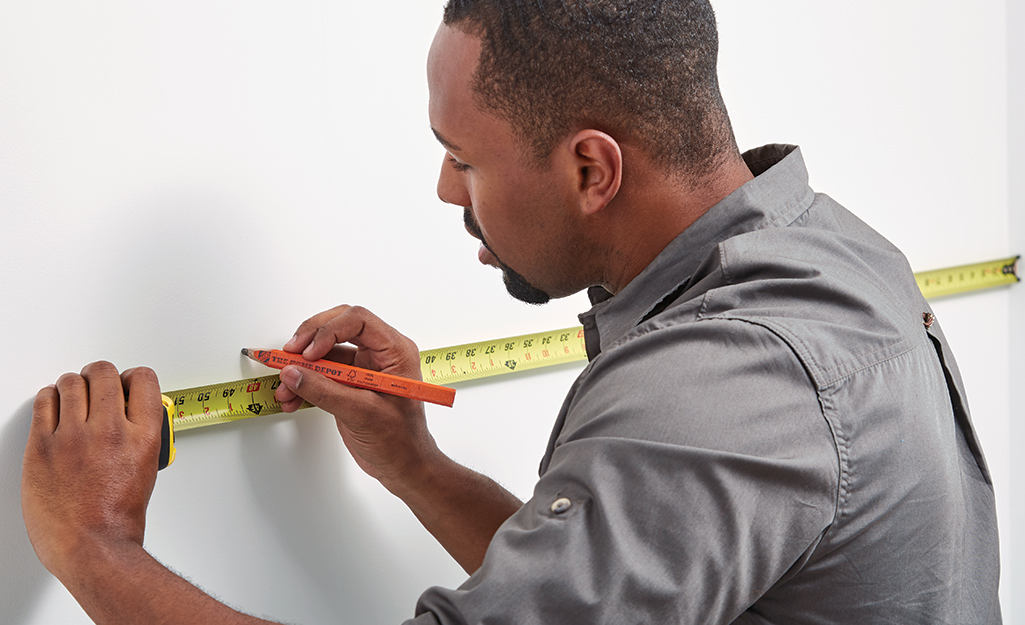
Before you install FRP paneling, measure the wall carefully to determine how many panels you will need. First, calculate the area in inches by measuring the wall’s length by its width. Divide the wall’s area by the total width of your RFP panel, inside dividers, corner dividers and the top cap.
Tip: Most FRP panels are 48 inches by 96 inches but see the manufacturer’s instruction sheet for specific measurements.
Trim FRP Panels to Fit
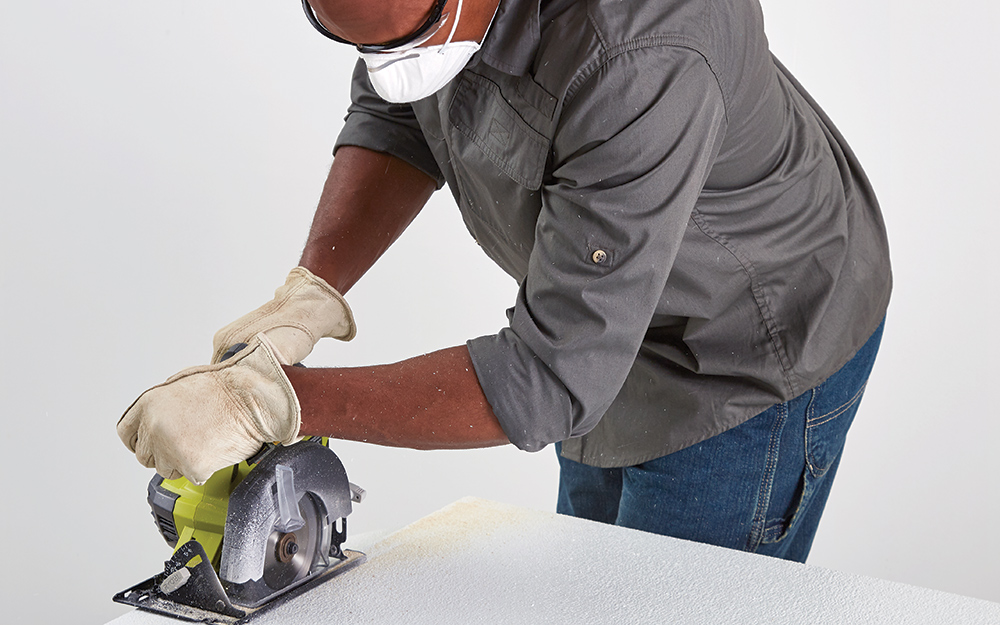
Meaure and trim FRP panels to fit the width of your wall using a circular saw and a carbide-tipped blade.
Tip: Saw into the finished side of panels for best results and avoid damaging the panel.
Cut Any Fixture Openings
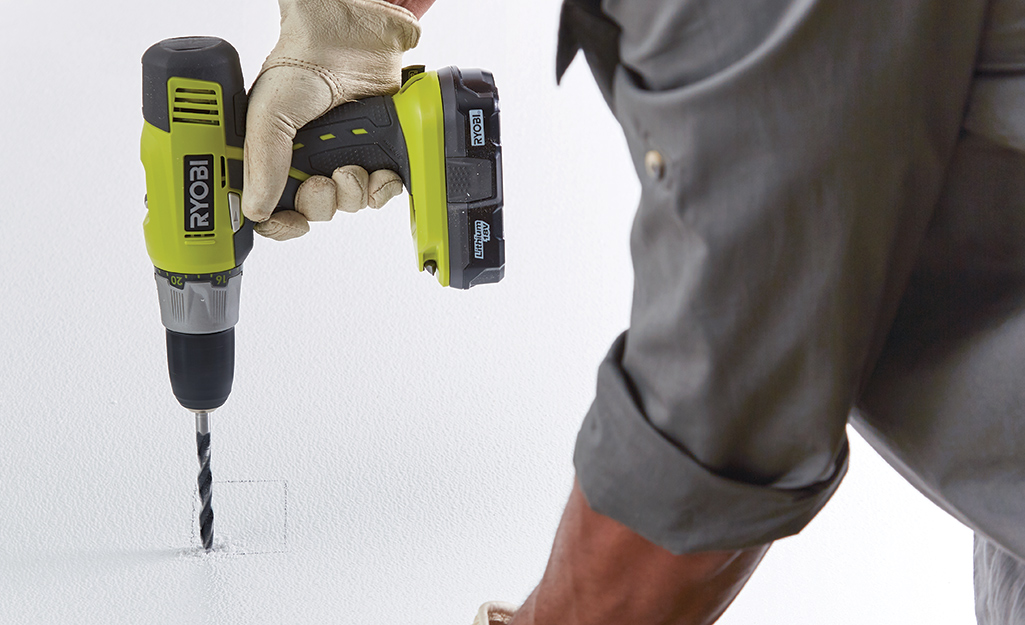
- You will need to cut a rectangular hole in any panel that needs a light switch, plumbing pipe or other opening.
- Draw the opening on the panel with a pencil and mark the center with an “X”.
- Drill a hole into the “X”.
- Put a swivel-head shear blade into the hole and cut the opening out.
Tip: Lay panels next to one another on the wall. Make sure all measurements and openings are correct before you glue them down.
Install the Corner Moulding and Panel
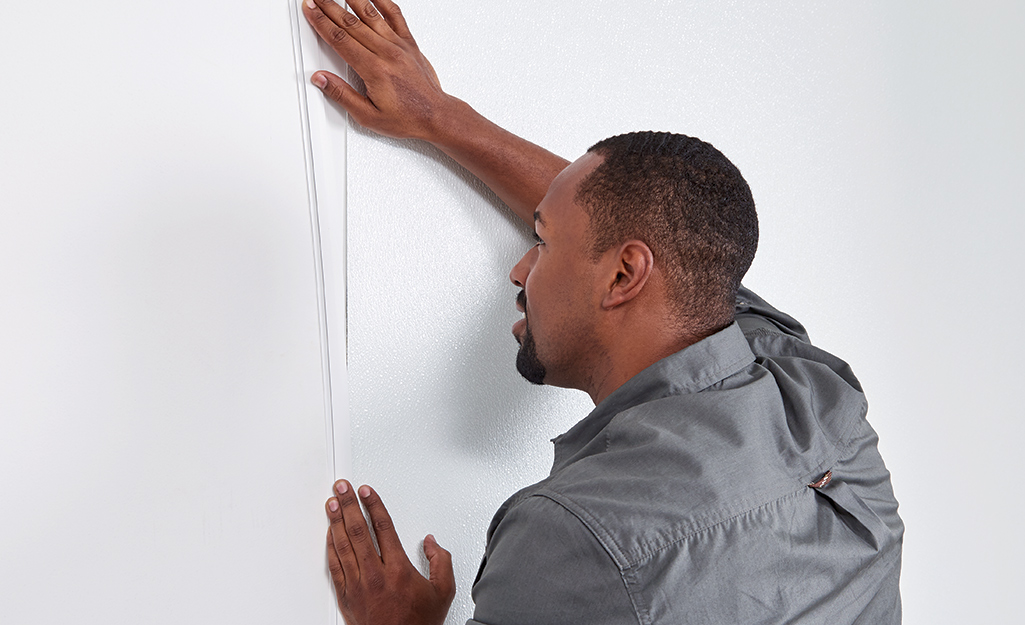
- Before you start your FRP panels installation, cut your corner moulding. Cut it to fit the height of the wall, apply a bead of silicone caulk down the entire length and press it into the inside corner.
- Use a trowel and apply a 1/4-inch thick layer of FRP adhesive to the back side of the first panel.
- Insert the panel into the corner moulding.
Tip: Make sure the first panel is plumb to the wall. Allow at least a 1/4-inch gap at floors and ceilings and at least 1/8-inch gap between the panels to allow for normal expansion.
Install the Top Cap
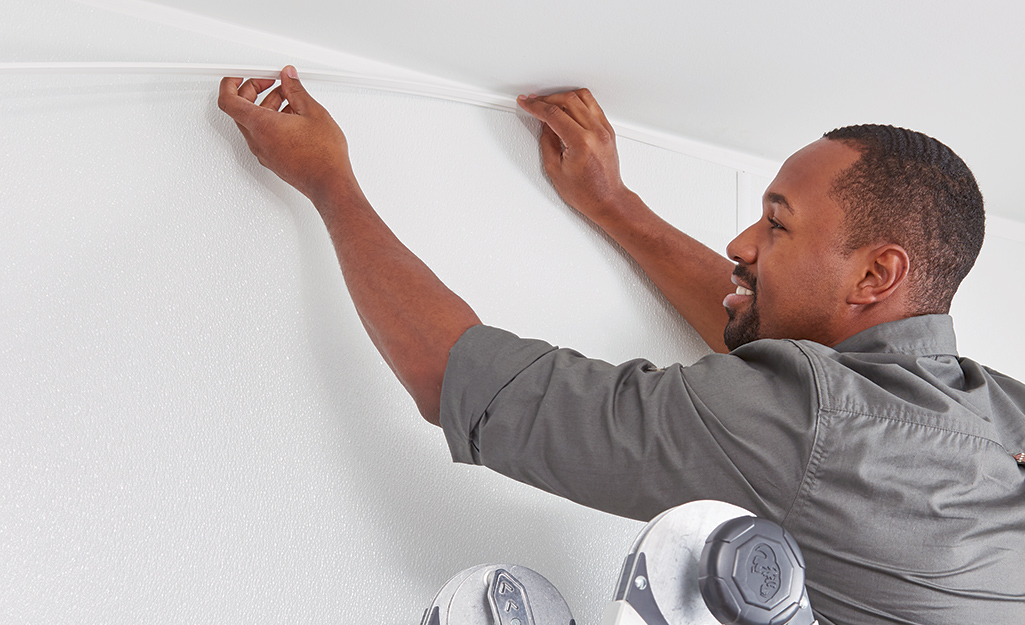
- Install the top FRP moulding or trim along the top of the panels with caulk for a finished look.
- Slide a divider down the end of the first panel.
Smooth FRP Panels
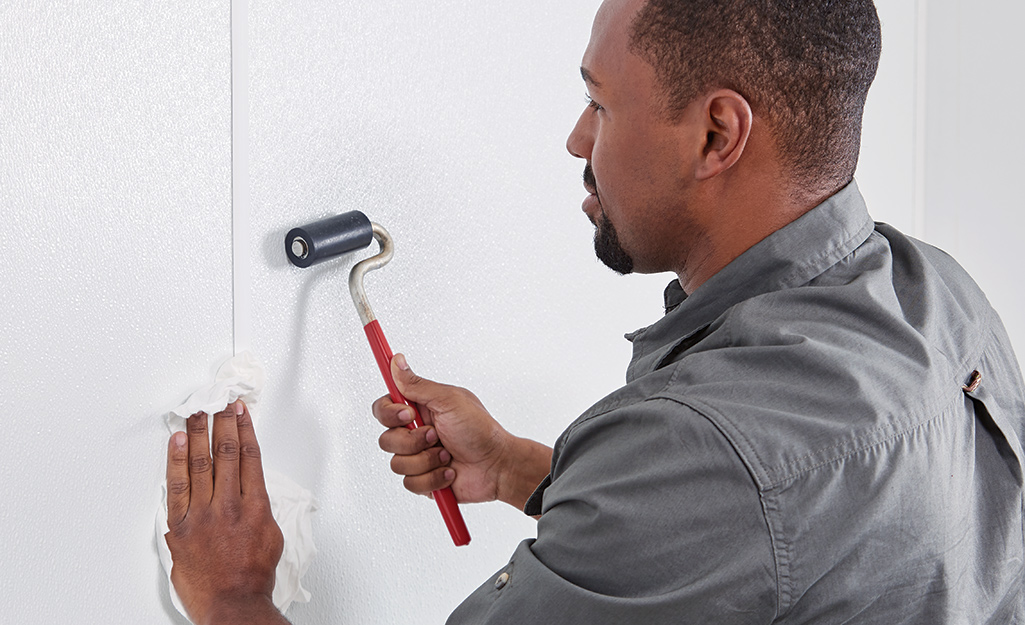
- Applying even pressure, use a laminate floor roller to smooth panel and remove air bubbles.
- Repeat Steps 4, 5 and 6 until the room is complete.
Tip: Clean any extra adhesive according to its manufacturer’s instructions.


