How to Install LED Strip Lights
Last updated September 7, 2023
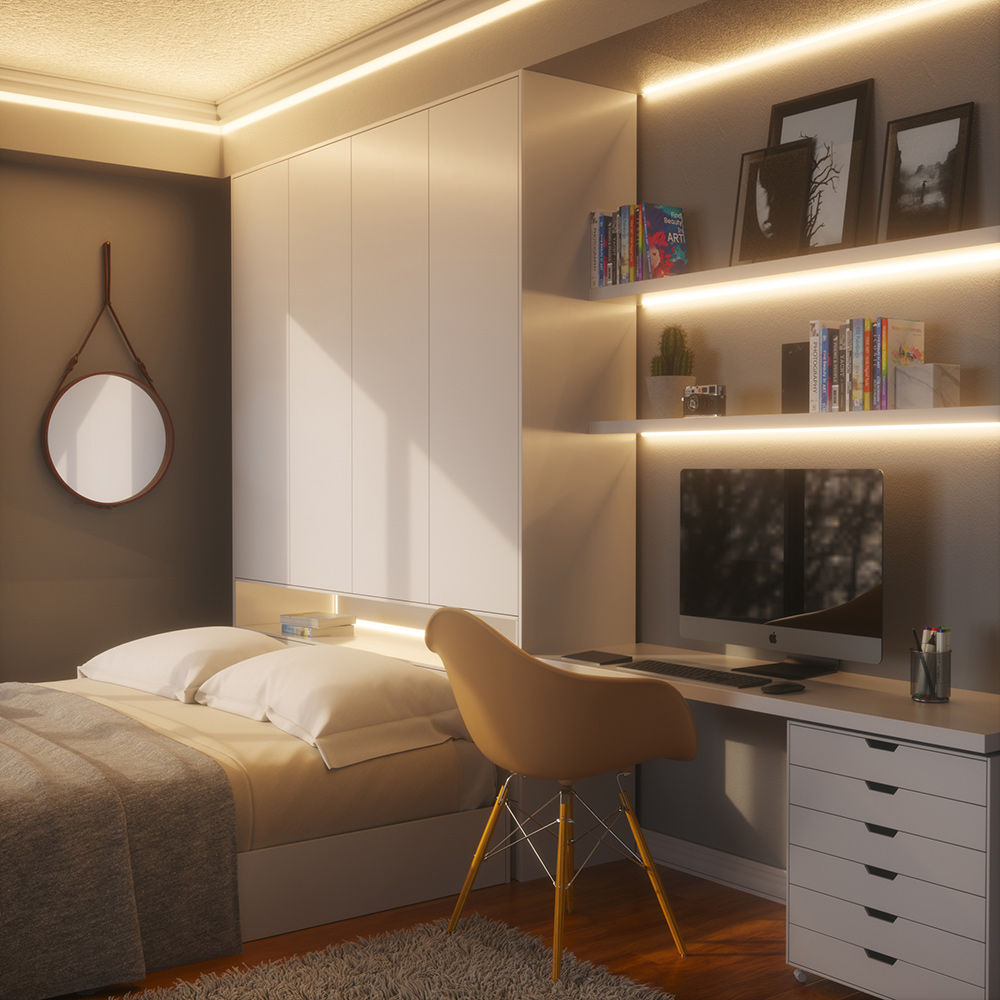
LED strip lights are a beautiful and energy-efficient way to add accent or ambient light to a room. Great places for an LED strip light installation are in areas where lamps or sconces aren’t practical. It takes very little time to learn how to install LED strip lights. Read on to find out more about strip lights, how to connect LED lights together and more.
Difficulty:
Beginner
Duration:
Under 2 hours
Table of Contents
LED Strip Light Installation
Choose and Measure Space
Trim LED Strip to Fit
Clean and Dry Surface
Apply LED Strip Lights
Connecting LED Strip Lights Together
LED Strip Light Installation
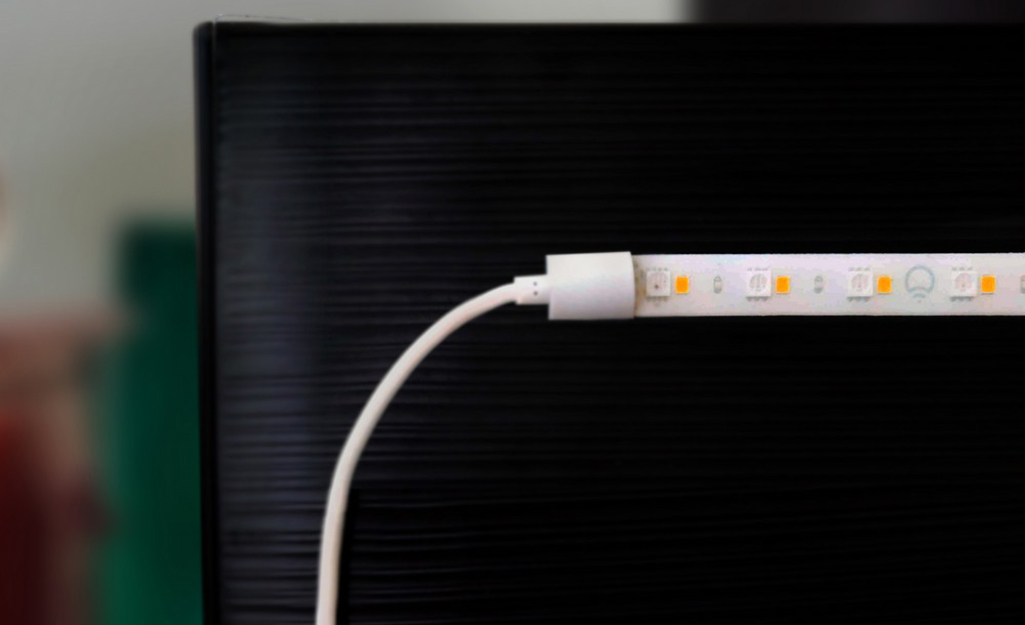
There are several types of LED strip lights. You can choose under cabinet lighting to brighten a kitchen or go light up a teen’s room with color-changing LED strip lights. Best of all, LED strip lights can be customized to fit different areas. Here are the tools and materials you’ll need for this project:
- Plug-in or wireless LED strip lights (choose ones that can be cut to fit)
- Light strip connector kit
- Measuring tape
- Scissors
- Cleaning cloth
- Dish soap or other cleaning solution
- Ladder or step ladder (optional)
- Adhesive strips (optional)
Choose and Measure Space
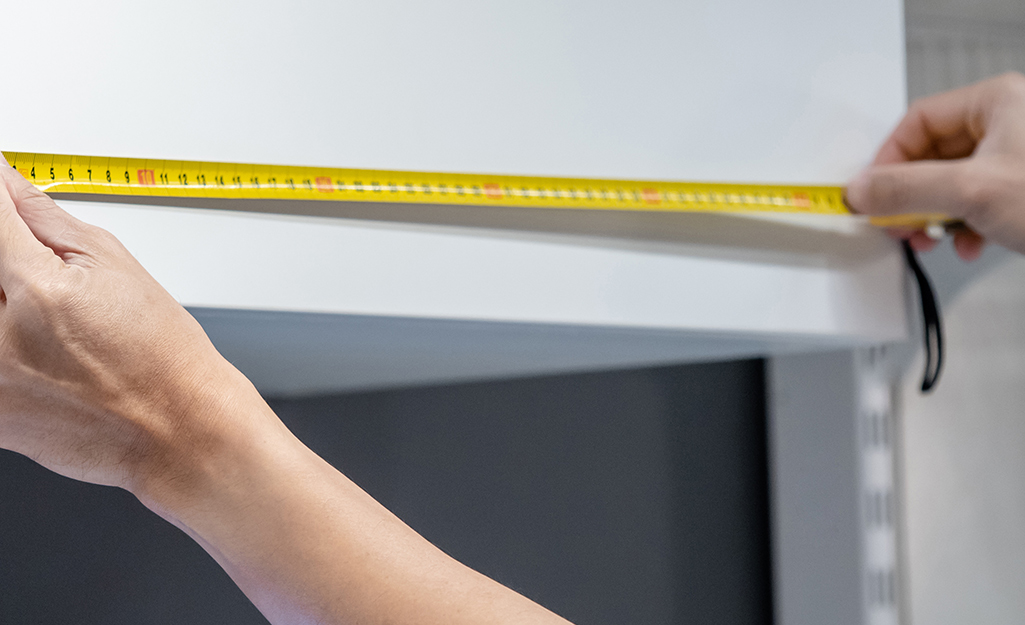
Decide where you want your accent lighting to go. The best part of learning how to install LED is choosing where to use them. They’re ideal for applying to bookshelves, surrounding a bath mirror or lighting up a staircase. Just make sure there’s a plug nearby unless you’re using wireless strip lights.
Once you decide where you’re going to install your lights, measure the space. Using a tape measure, first determine the length of the area. Compare that length to the length of the LED light strip. Measure twice for accuracy. Mark the difference if any.
Tip: Test your LED light strip before you install it. Plug it into an outlet to make sure it works.
Trim LED Strip to Fit
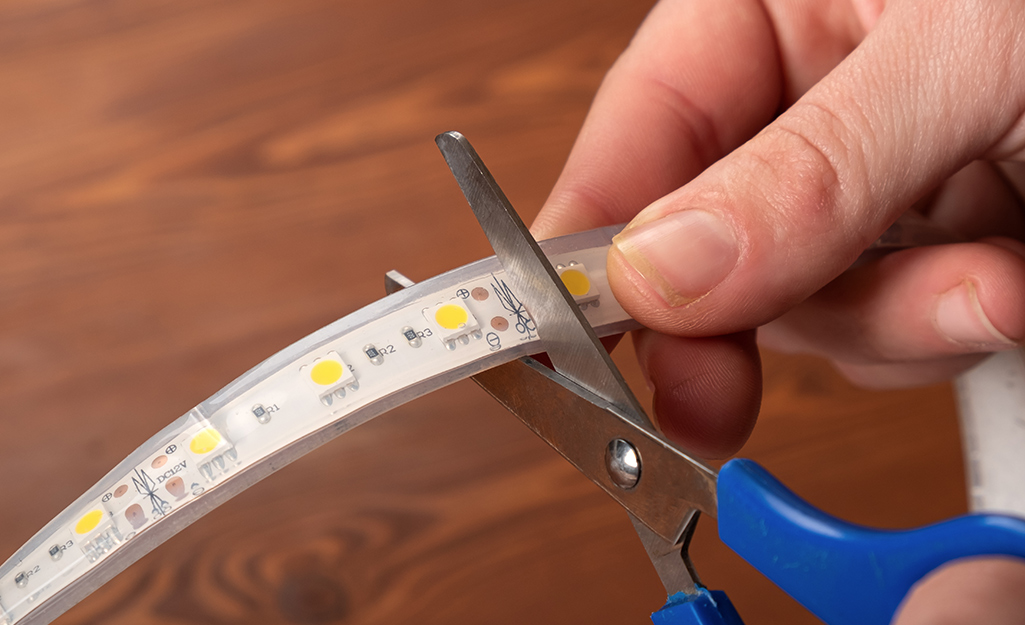
If needed, you can cut most LED light strips to fit the space. Here’s some general instructions on cutting a strip safely and properly.
- Make sure your LED strip light is not plugged in or turned on.
- Locate the safe cut areas on the light strip. Safe cut areas have a “scissors”, a copper dot or other symbol.
- Decide which safe cut area is closest to the length you need.
- Carefully use scissors to cut a clean, straight line across the safe cut area.
- Plug the light strip back in to make sure it still works.
Tip: Always double check the manufacturer’s instructions before cutting your light strip for specific directions.
Clean and Dry Surface
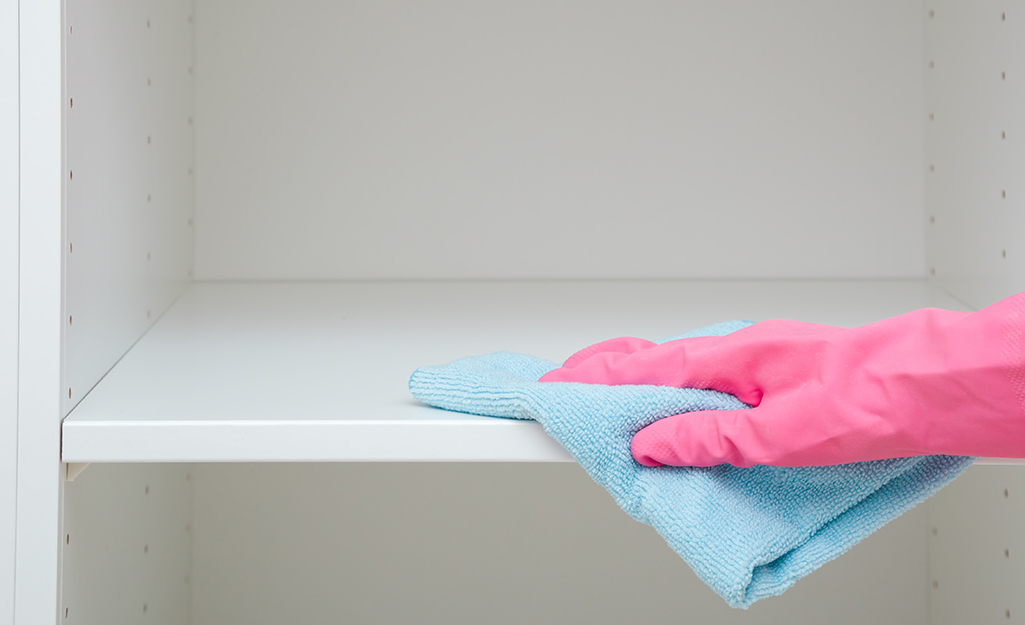
LED strip lights have an adhesive strip to attach them to wood, plastice and vinyl surfaces. It is important that the surface be clean and free of any dirt or grime. Clean the area with a solution of degreaser or dish soap and warm water. Dry the surface with another clean cloth before applying strip lights.
Apply LED Strip Lights
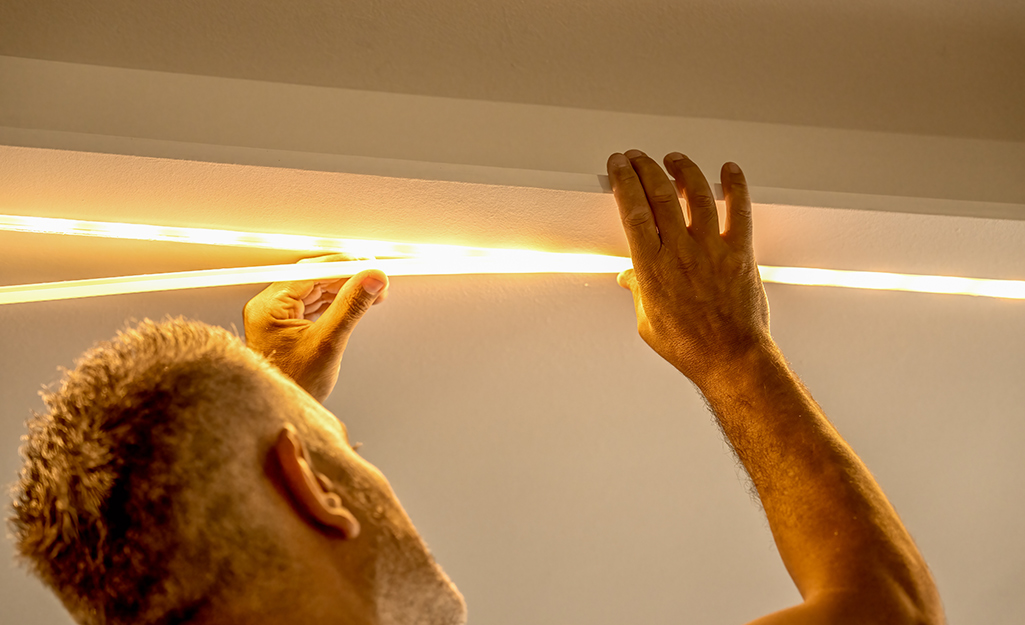
To install an LED strip light, peel off the backing and stick it in place.
- Start with the plug-in end of the strip light.
- For best results, peel and press one short section of the strip light at a time. This will help keep the strip straight as you apply it.
- Smooth and apply pressure to each peeled section for 10 to 15 seconds before moving on to the next section.
- Continue peeling and pressing the strip until it is fully installed.
Tip: Some strip light adhesive can be very sticky and hard to remove. You can also use foam mounting tape or double-sided tape.
Connecting LED Strip Lights Together
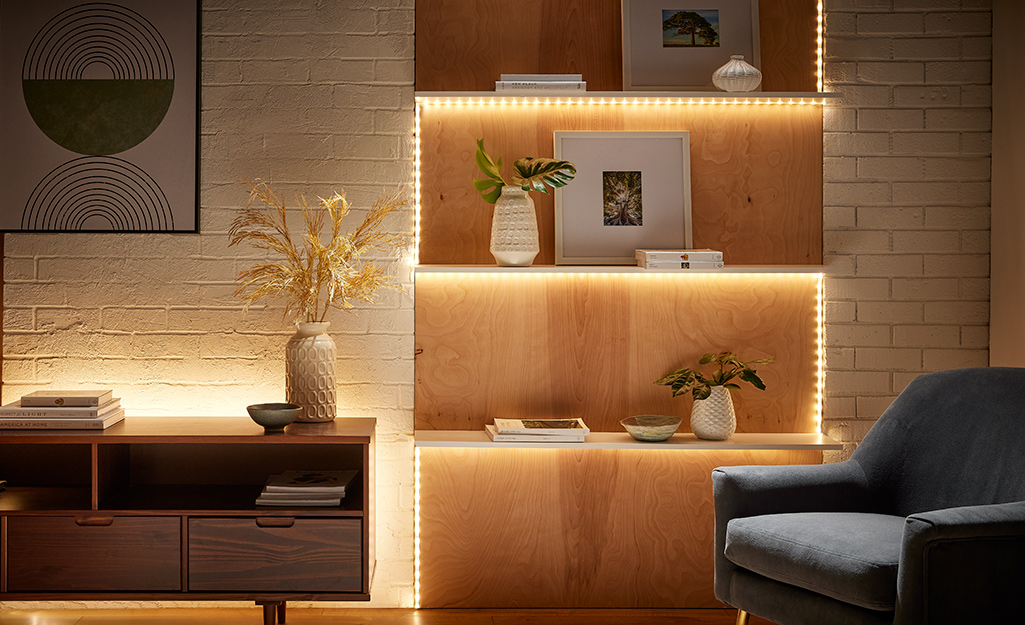
The simplest way to lengthen strip lights is by using a LED light strip extension kit. LED light strip extension kits contain angles, straight and other types of connectors. They are ideal for joining multiple light strips together. You can create patterns, border headboards or accent a TV.
- Carefully slide the cut end of one light strip into each side of a connector.
- Repeat until you have the length you need.
- Use a flexible connector if you’re joining strip lights at a 90-degree angle.
Tip:
Many LED strip light brands have different directions on how to connect LED strip lights. Consult the manufacturer’s instructions for specifics.
Test Lights

Now that you’ve got everything ready to go, plug your strip into a nearby power outlet or simply turn on a wireless option. Below are a few troubleshooting tips if the light strip doesn’t work or flickers:
- Unplug or turn off the light strip. Wait 10 seconds and turn it back on.
- If you’ve cut and connected your strip light, gently make sure the pieces are secure.
- If you have a remote LED light strip, check your remote’s battery.
Whether you choose plug-in LED lights strips or wireless ones, it’s easy to learn how to install LED strip lights. They are a great, energy-efficient way to brighten dark areas or add accent lighting on everything from ceilings to stairways. Get everything you need for your next lighting project. Use the Home Depot Mobile App to locate products and check inventory. We’ll take you to the exact aisle and bay.

