How to Install LifeProof Flooring
Last updated September 7, 2023
LifeProof™ vinyl flooring is highly durable yet lightweight and easy to maintain. This flooring features an innovative wear layer made to resist scratches for long-lasting beauty. LifeProof vinyl flooring can be installed over existing wood floor, a concrete subfloor or existing vinyl flooring planks.
This guide gives you step-by-step instructions on how to install LifeProof vinyl flooring using common carpentry tools.
Difficulty:
Beginner
Duration:
2-4 hours
Table of Contents
Prepare the Flooring
Measure the Room
Make a Pattern
Set the Spacers
Install the Planks
Tap the Planks in Place
Prepare the Flooring
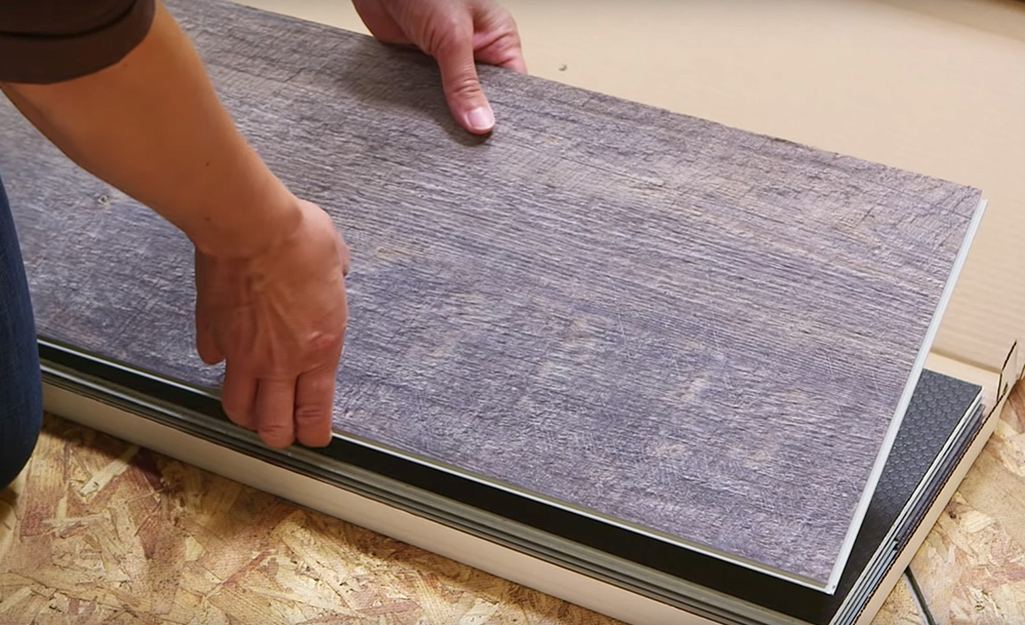
Flooring installation requires preparation. Before installing LifeProof flooring, allow the product to adjust to the room’s temperature and humidity. Open the boxes of LifeProof vinyl flooring and place them in the area for at least 48 hours.
This is an important step in how to install LifeProof flooring. Like hardwood flooring materials, vinyl flooring can swell in humid conditions and shrink in low humidity. The expansion and contraction can cause buckles in the seams where the planks connect and gaps on the floor.
Exposing the
LifeProof flooring for a couple of days allows the vinyl planks to acclimate to conditions of the room where it will be installed. If you do not allow the product to acclimatize, you may not get the best results.
Measure the Room
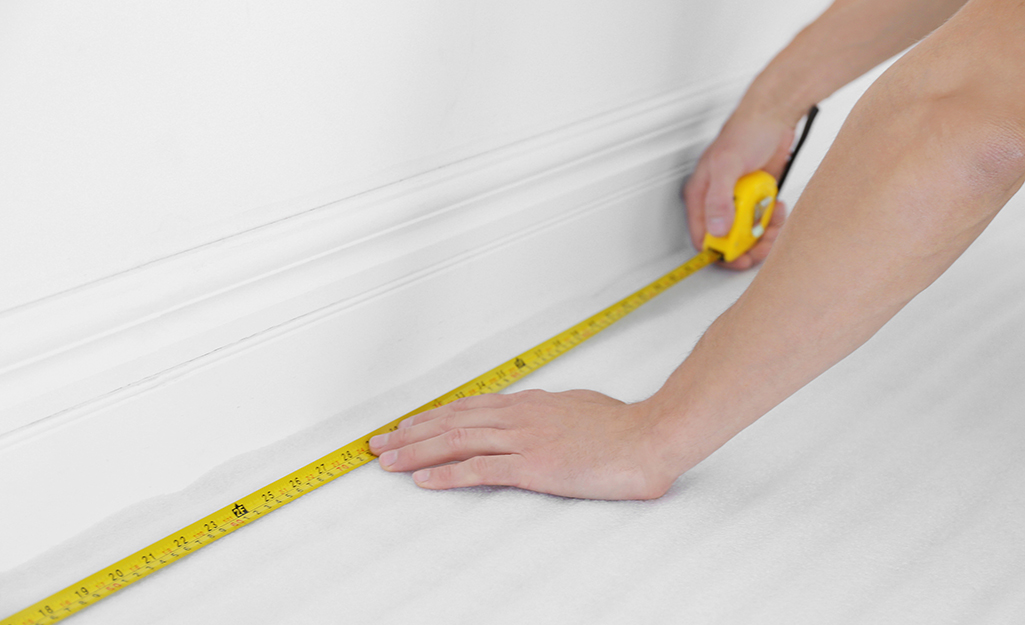
Measuring the room takes the guesswork out of installing LifeProof vinyl flooring in a room. Use a tape measure and write down the room’s length and width. When measuring the room length allow for a 1/4-inch gap at either end. Allow 10 percent additional flooring for matching and waste.
Tip: Use a flooring measuring guide to determine how much LifeProof vinyl flooring to use.
Make a Pattern
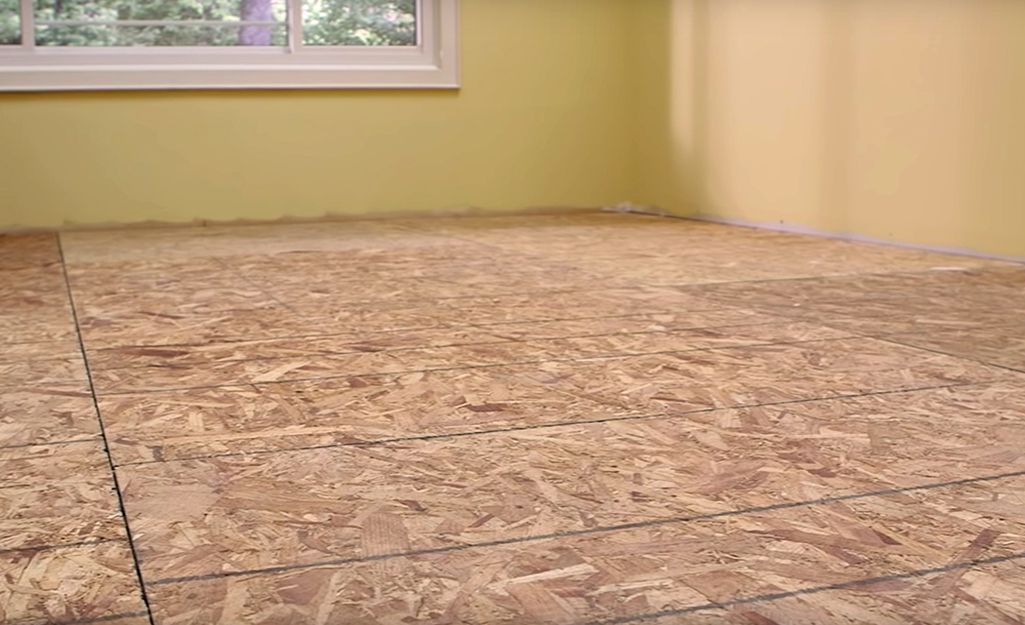
Create a pattern before installing the LifeProof vinyl flooring to give you an idea of how you want the floor to appear.
- Place a row of loose planks across the width and down the length of the floor until you have a pattern you like.
- Trace around the boards with a marker.
- Remove the boards to use the pattern as you lay down the flooring.
Set the Spacers
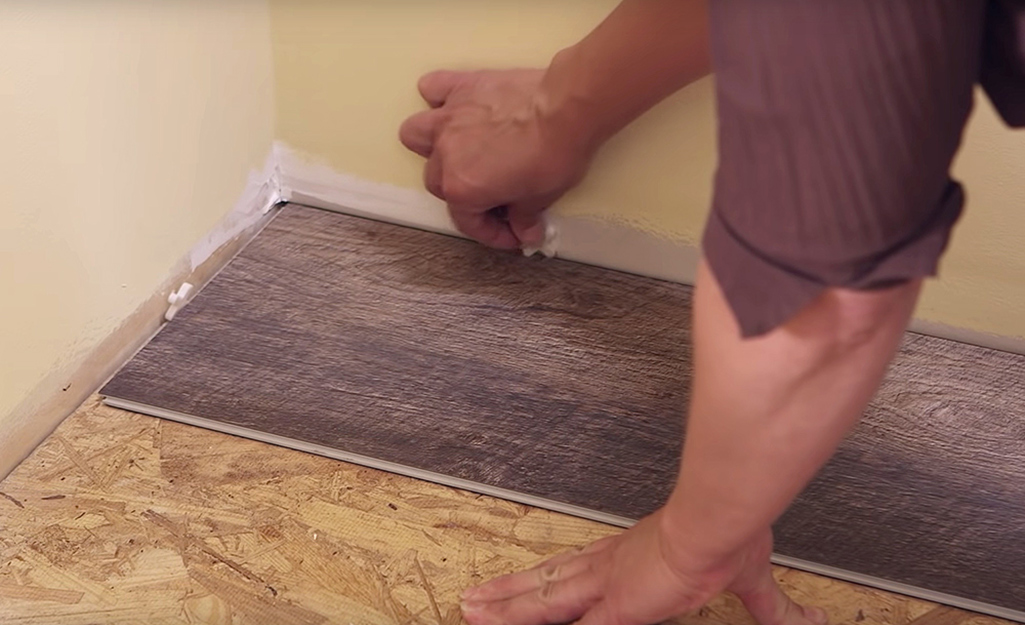
The spacers keep the LifeProof vinyl flooring from shifting as it is being installed and come with the flooring.
- Start at the corner of the room.
- Set 1/4-inch spacers between the wall and the row of planks. Work left to right with the “groove” edge facing away from the starting wall.
Install the Planks
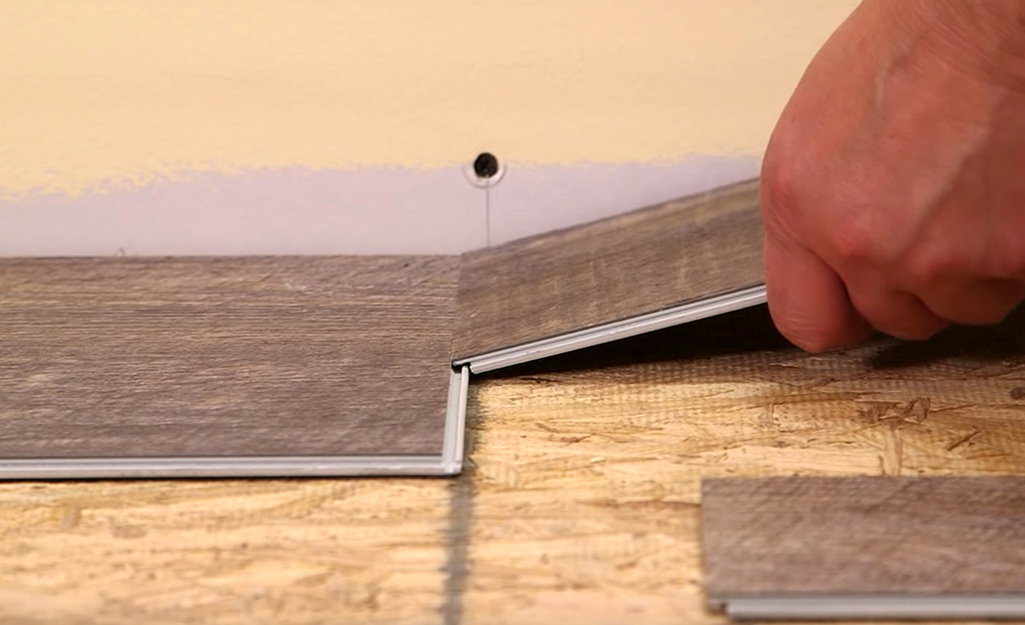
The next step is to install the planks. Begin in the left corner of the floor and work down the length of the floor.
- Install the first plank flush against the wall. Install the second plank adjacent to the first. Lifting the plank at a slight angle, connect the tongue of the second plank to the groove of the first plank to lock them in place.
- To connect a short seam and long seam together, attach the long seam first, then slide the plank to where the short sides meet. Press to lock them in place.
- The planks are fully locked when they lie flat on the subfloor.
- Repeat the process along the length of the floor.
Continue to snap boards into place
until the
floor is complete.
Tip: Make sure each plank is aligned and is flush with one another as you go.
Tap the Planks in Place
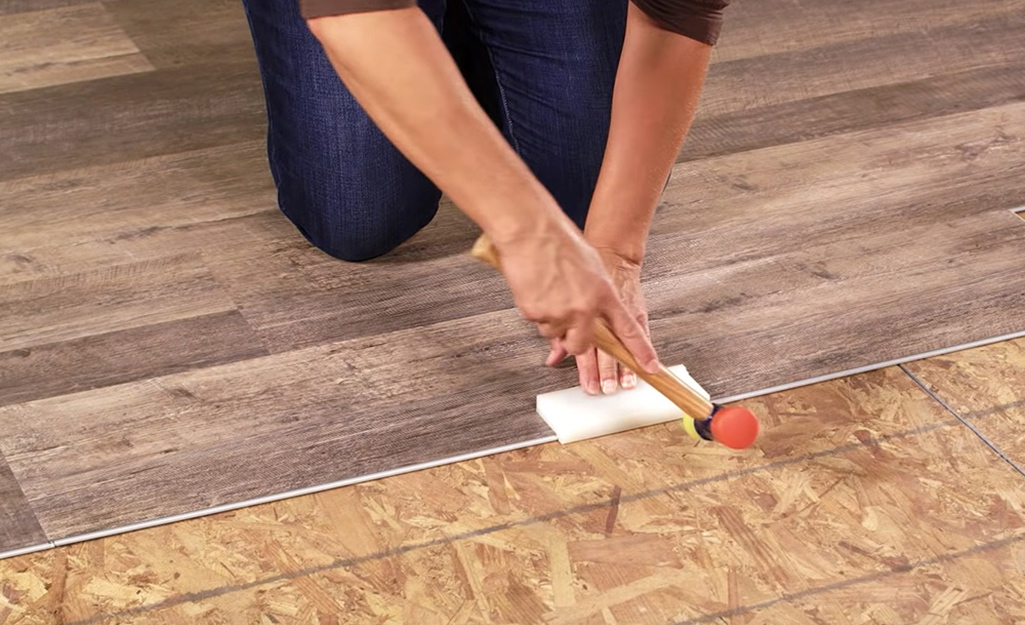
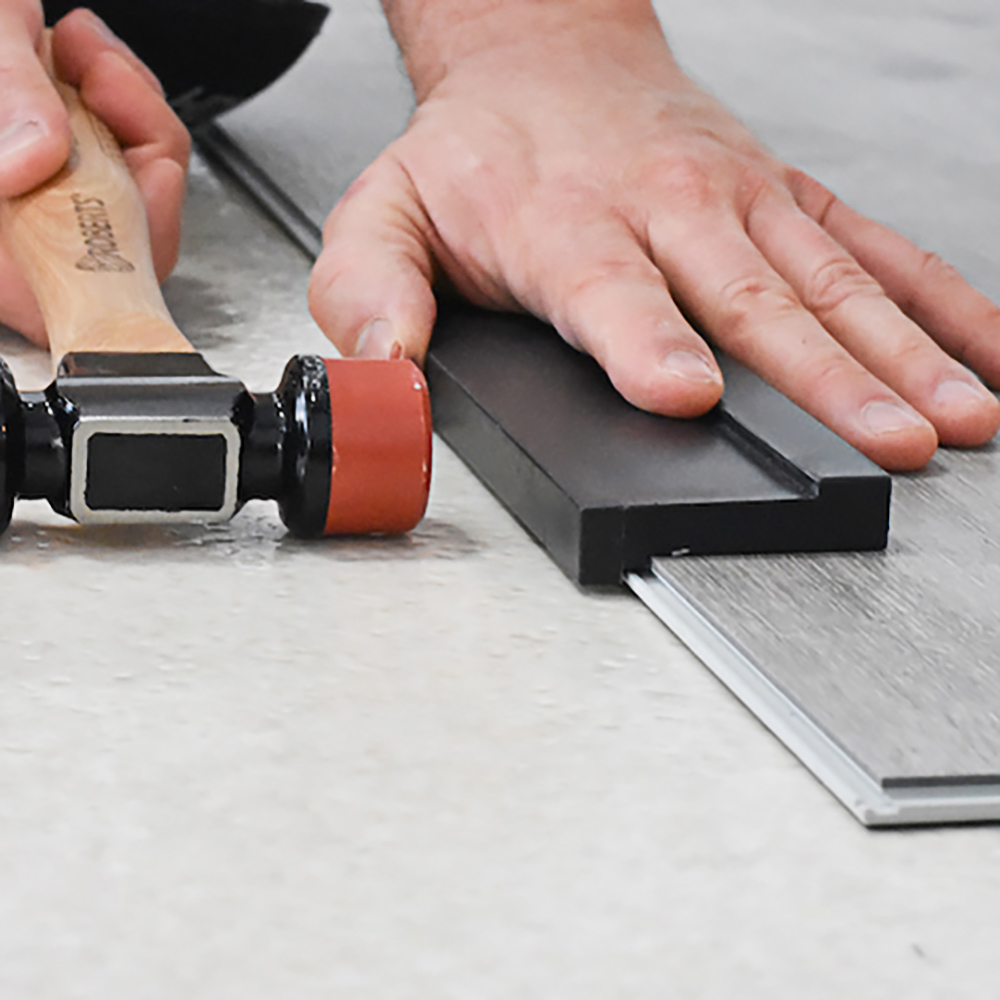
Use a soft-faced hammer or mallet and a tapping block to tap down on the planks to ensure they lock into place for a tight fit. Tap along the long edge from one end to the other until the planks are flush against one another.
Cut the Planks to Fit
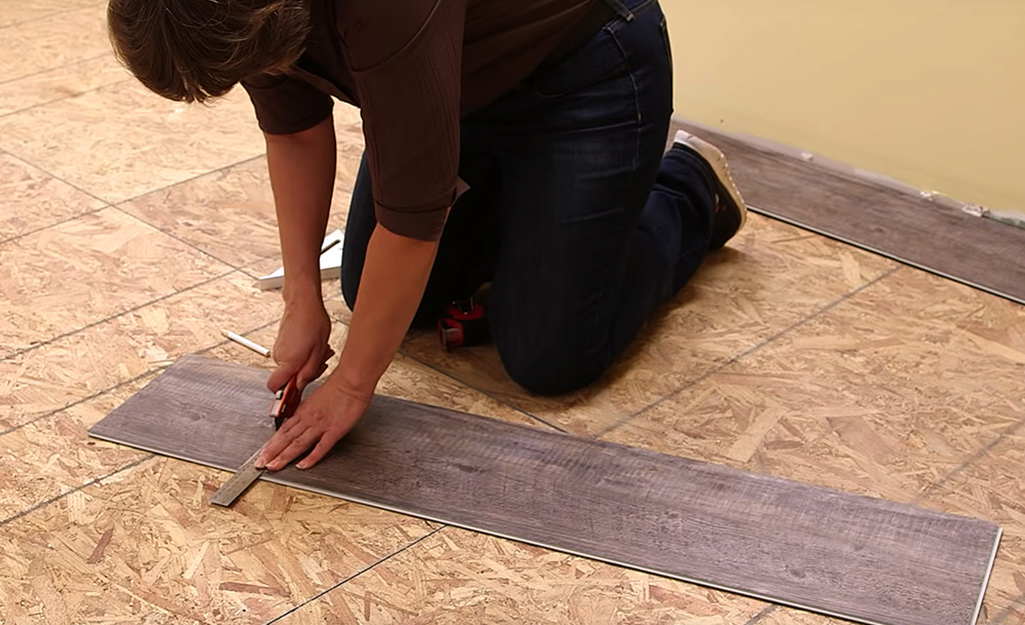
You may need to trim planks to fit at the end of a row. This gives the room a balanced appearance at the end of the installation. To trim a plank, use a straight edge and utility knife to score it. Then, cut on the opposite side of the plank before snapping the plank along the score line. You could use a jigsaw, circular saw or miter saw to make the cuts.
Finish the Installation
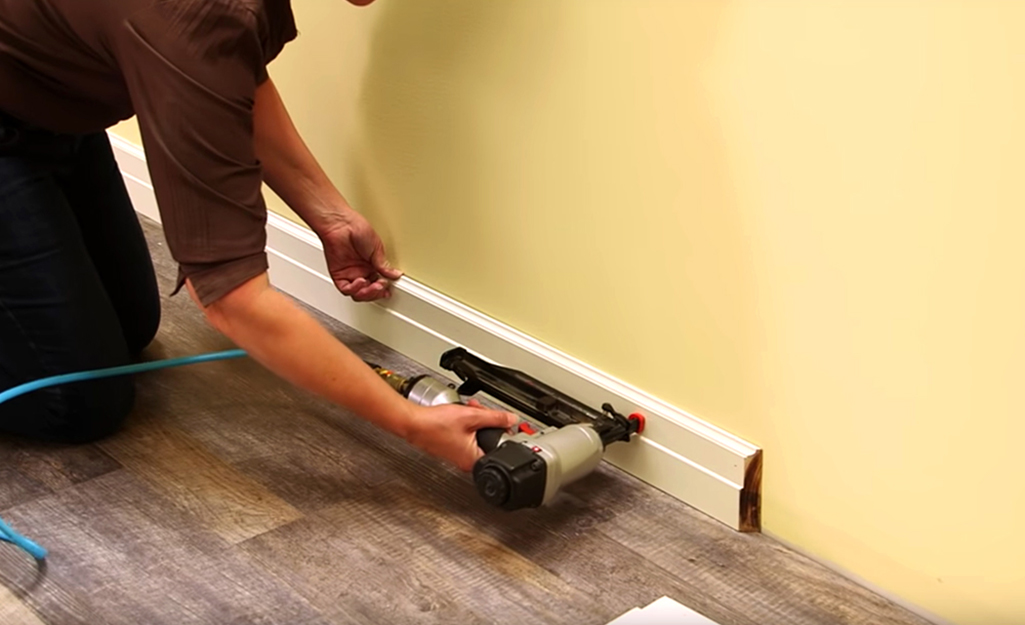
Remove the spacers. Nail quarter-round trim or other trim into the wall, not the floor. Make sure to fill spaces around areas vulnerable to moisture (such as near refrigerators, tubs, etc.). Use premium, waterproof 100-percent silicone caulk.
Tip: Save any leftover planks. They are color-matched for your floor and will come in handy if you need to replace a plank in the future.
Install LifeProof vinyl flooring to refresh a room in the house with a floor that is long lasting and low maintenance. LifeProof flooring is easy to install and designed to withstand everyday use for years. Download The Home Depot Mobile App to find LifeProof vinyl flooring for your next project.


