How to Install Parquet Tile
Last updated September 7, 2023
Parquet is wood flooring made of narrow strips glued together to form a pattern. Its decorative look can add flair to any room, and you can install it yourself with the right tools and materials. Read on to learn how to install parquet tile step-by-step.
Difficulty:
Intermediate
Duration:
Over 1 day
Table of Contents
Know Where to Install Parquet Tile
Learn the Row Method
Prep the Room and Your Materials
Snap and Square Layout Lines
Spread Adhesive
Begin Laying Tiles
Know Where to Install Parquet Tile
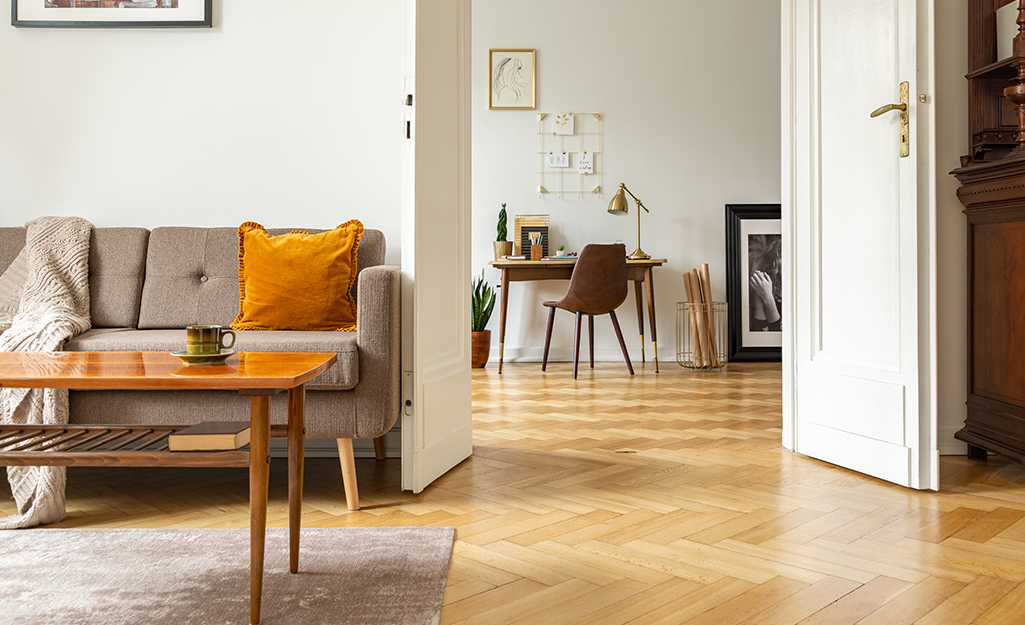
Parquet hardwood flooring works best in spaces that meet a set of requirements. Each tile product has its own features, so where you can use parquet tiles varies. Check the manufacturer’s recommendations before purchasing. This way, you can be sure that the tile you choose will work in your room.
Generally, parquet can go in rooms on the ground floor or above. If the tile will go in a room on the ground floor, the area below needs to be dry and large enough to allow for airflow. Otherwise, moisture could damage the hardwood. Basements can usually provide the right conditions for hardwood flooring unless the space is too damp.
You can also typically install parquet tile above a crawl space at least 24 inches above the ground and ventilated. Before installing a floor over a crawlspace, cover the floor with black polyethylene plastic sheeting . Overlap seams by 6 inches and secure the sheeting with tape .
For best results, you should install parquet tile on a surface within one-eighth inch level over 6 feet. The type of subfloor beneath the hardwood tiles also matters. A subfloor is a material that supports a floor.
Suitable subfloor materials include:
- 0.75-inch CDX plywood
- 0.75-inch oriented strand board (OSD)
- Solid wood
- Concrete
- Sheet vinyl
- Vinyl tile
- Cork
- 0.75-inch wafer board or chipboard
- Ceramic tile
- Terrazzo
- Slate
If you don’t know what type of subfloor you have, consult a professional. In some cases, you may need to prepare the subfloor before installing parquet tiles. Follow the manufacturer’s instructions to prep the floor properly.
Tip: Avoid installing parquet tile in full bathrooms due to the risk of dampness.
Learn the Row Method
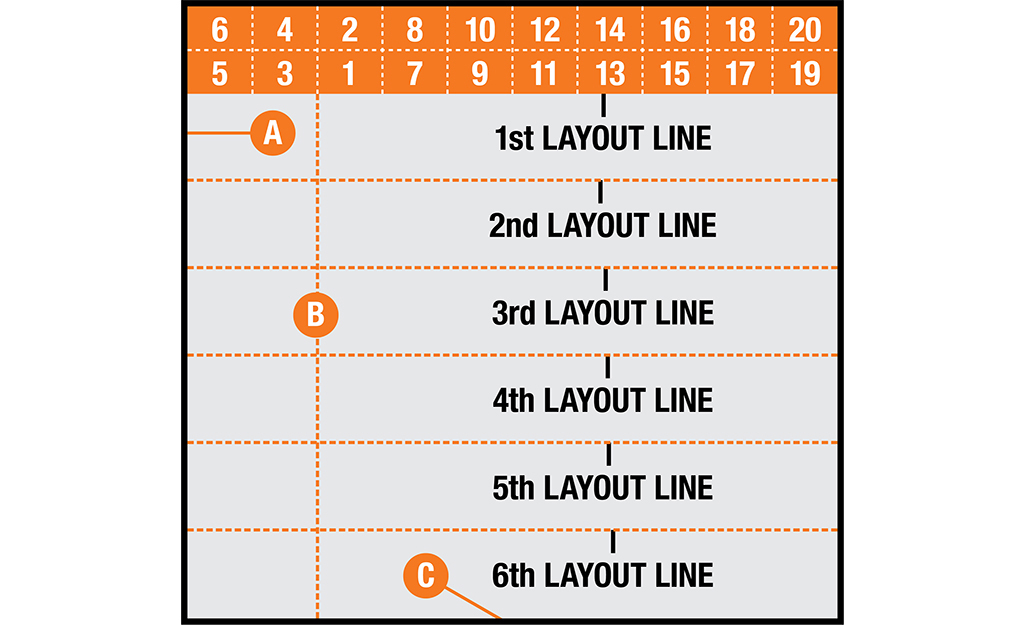
The row method is a simple way to arrange parquet flooring. Check out the diagram above to see how it works.
On the drawing, A is the expansion gap, the space you leave between the wall and the tile. Its job is to allow the tile to expand slightly once in place.
Line B on the diagram is the perpendicular line you mark on the floor. Point C is a doorway.
Install each row of tiles following the numerical sequence shown, and work your way down the layout lines.
Prep the Room and Your Materials
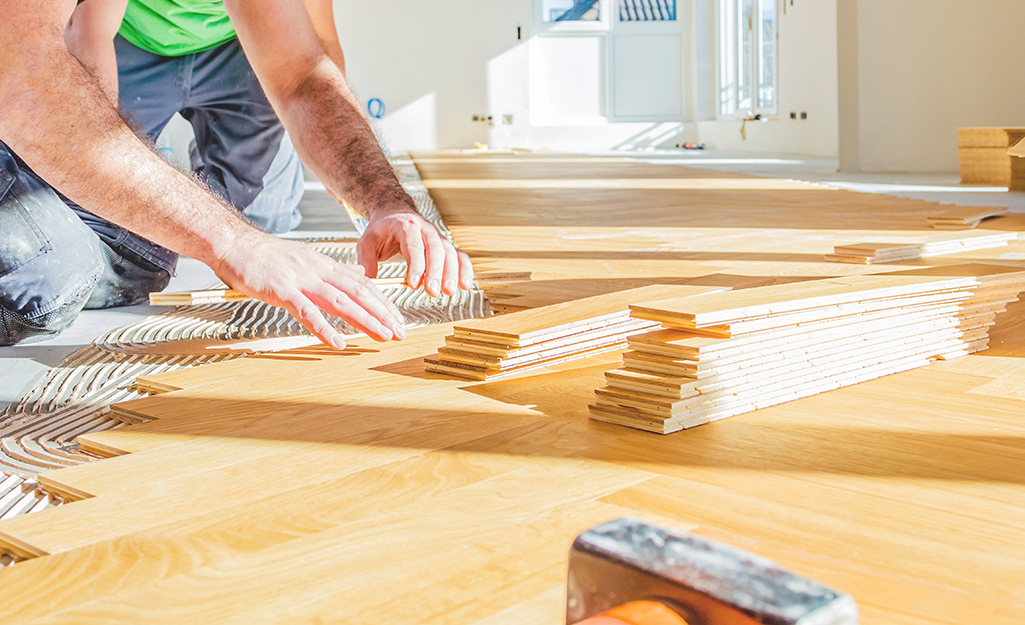
Before you begin your project, get the room and the tiles ready. Hardwood flooring materials need time to adjust to the conditions in your room, so let it sit out for a few hours in the area. For best results, keep the room temperature between 60° and 75° degrees Fahrenheit and the humidity between 35 percent and 55 percent in the room for at least two weeks before you start your project.
If the subfloor is concrete, prop the tiles up at least 4 inches above the floor.
While the tiles rest, prepare the room. To undercut the door trim, use a jamb saw so you have space for the new floor.
Remove baseboards from the walls. First, cut through the putty with a utility knife. Then, slip a putty knife behind the baseboard and run it from one side to another. If the baseboard doesn’t lift off, pull gently with a pry bar.
Safety Tip: Wear eye protection, work gloves
and a respirator mask when cutting door trim and removing baseboards. Use hearing protection while operating power tools.
Snap and Square Layout Lines
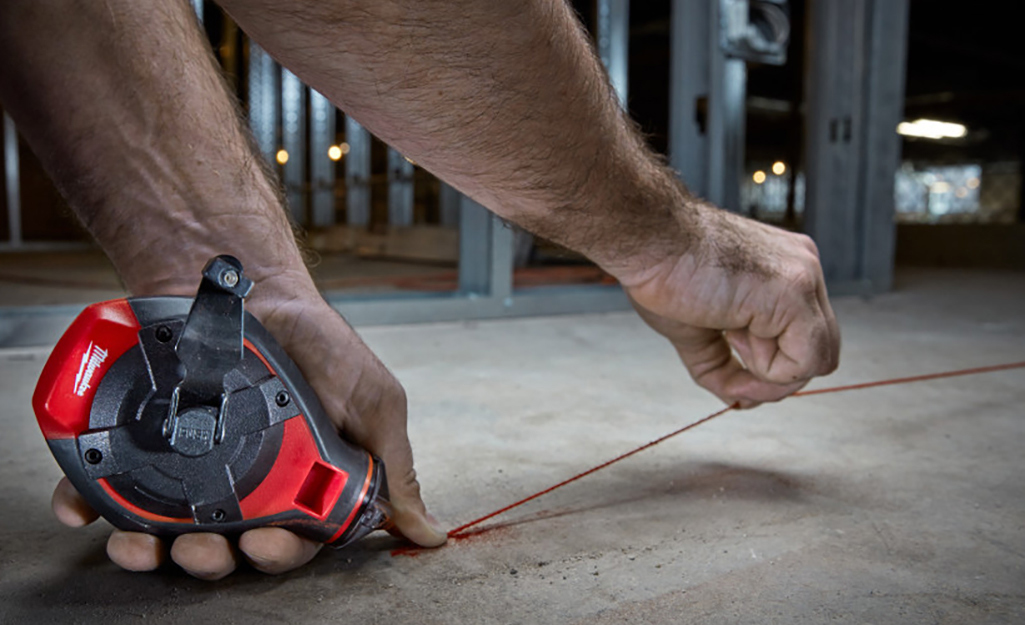
When your room and the tiles are ready, mark the first two layout lines for the floor with a chalk line and reel .
Once you have your guidelines in place, check that they’re square. With a measuring tape , measure 3 feet along one guideline and 4 feet along the one adjacent to it. Mark the points and then measure in a straight line from point to point.
If the line measures 5 feet, the corner is square. If not, adjust your layout lines.
Spread Adhesive
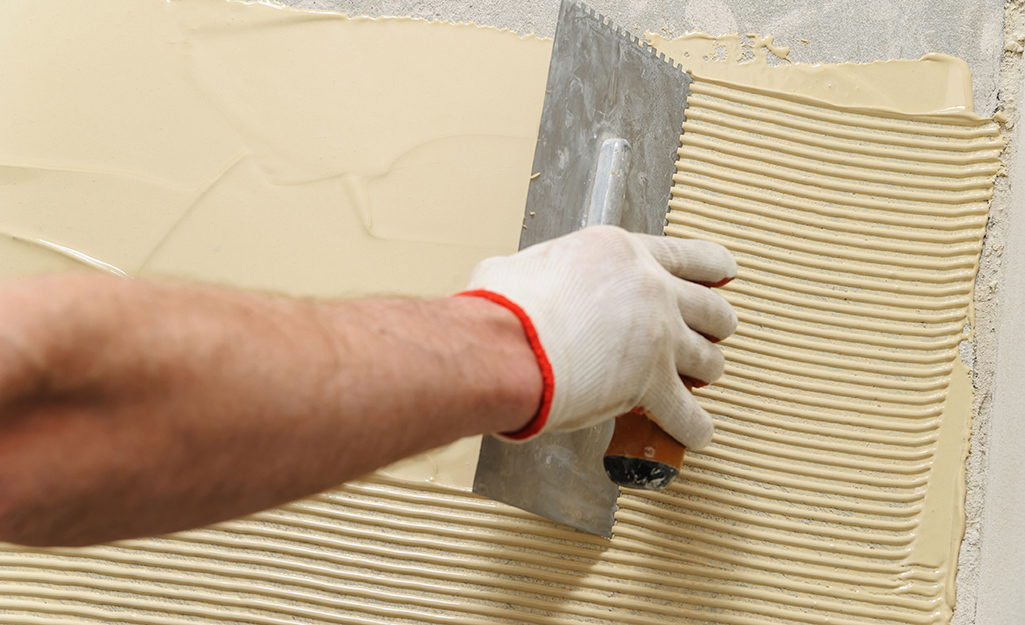
To secure the floor, you need wood adhesive. The parquet tile manufacturer will tell you which type to buy.
Spread the product between the first layout line and the wall. Run a notched trowel along the adhesive to prepare it. Check the flooring manufacturer's instructions to find out which size notches are right for the tile.
Safety Tip: Wear a respirator mask and work gloves, open windows and run fans while working with adhesive.
Begin Laying Tiles
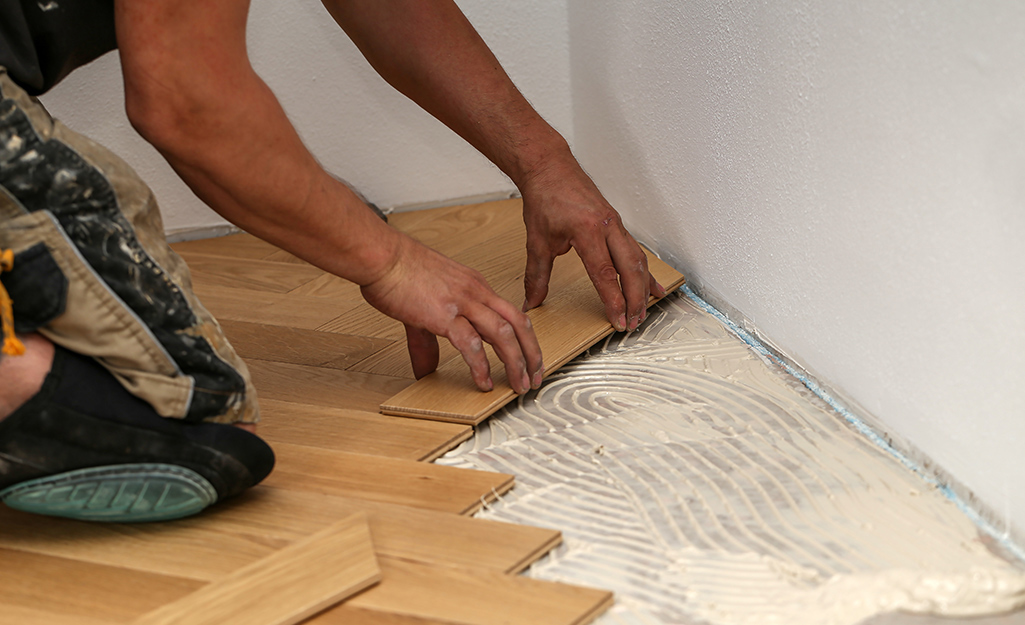
Before laying, mix up tiles from different cartons. Doing so will allow for more even-looking color.
Place the first tile at the intersection of the first two layout lines. Take time to align the tile with them fully. Install the second tile between the first and the wall and line it up with the layout line.
Push the tiles together with moderate pressure. Use your hands instead of tools to keep the corner square.
Cut Parquet
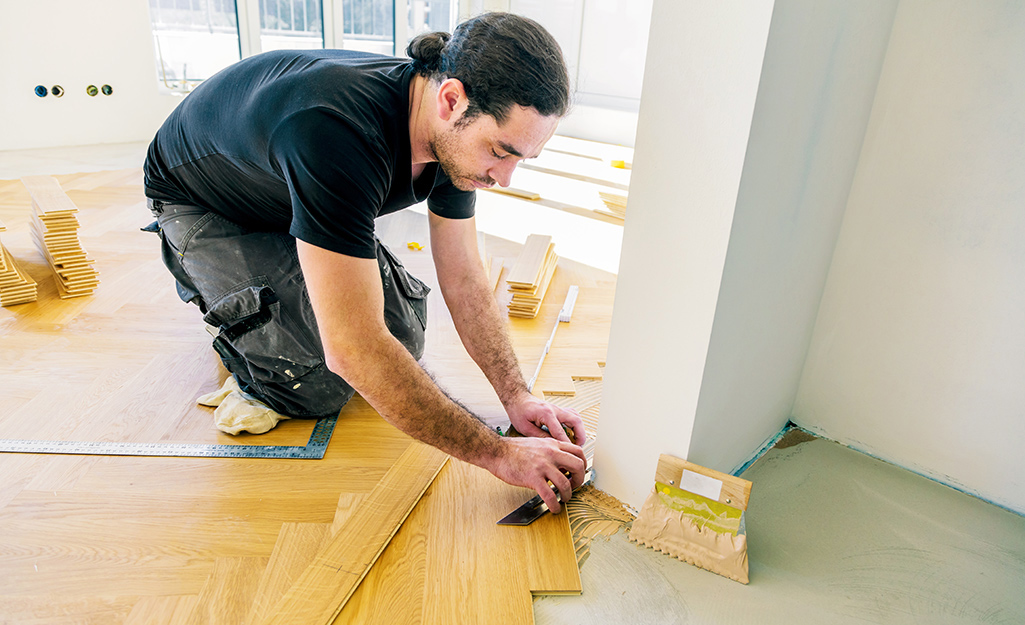
Continue placing tiles until you reach the wall. When you add a tile, line it up with the layout line. If no layout line shows, nestle tiles in the corners created by their neighbors.
When you reach the wall, trim the tile if necessary to leave the required expansion gap between the tile and the wall.
To do this, first, set a tile on one of the full tiles nearest the wall. Put a spacer the size of the expansion gap against the wall, then put a full tile against it and trace along the edge.
To avoid chipping the wood, guide a utility knife along a straightedge to cut along the line you drew. If the tile has reinforced metal bands inside, cut with a jigsaw instead.
Continue Laying Tile
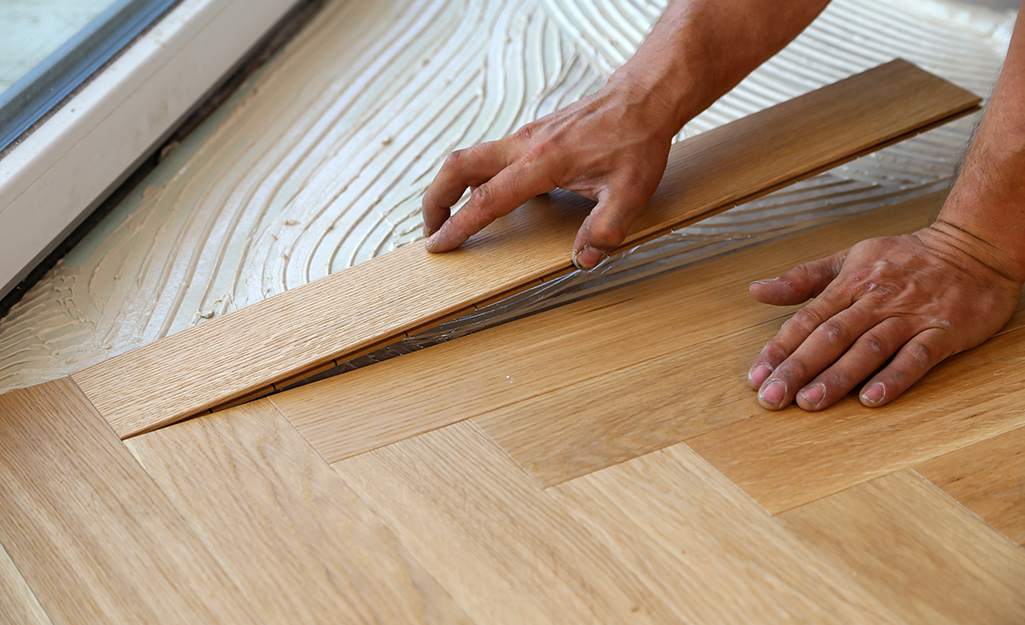
Now, you’re ready for the next row. Snap a chalk line 24 inches away and parallel to the first line you snapped.
Lay the parquet in this area, following the same pattern you used to lay tiles in the first area. Continue to lay out and install new sections of the floor until you reach the wall opposite the starting wall.
Roll as Needed
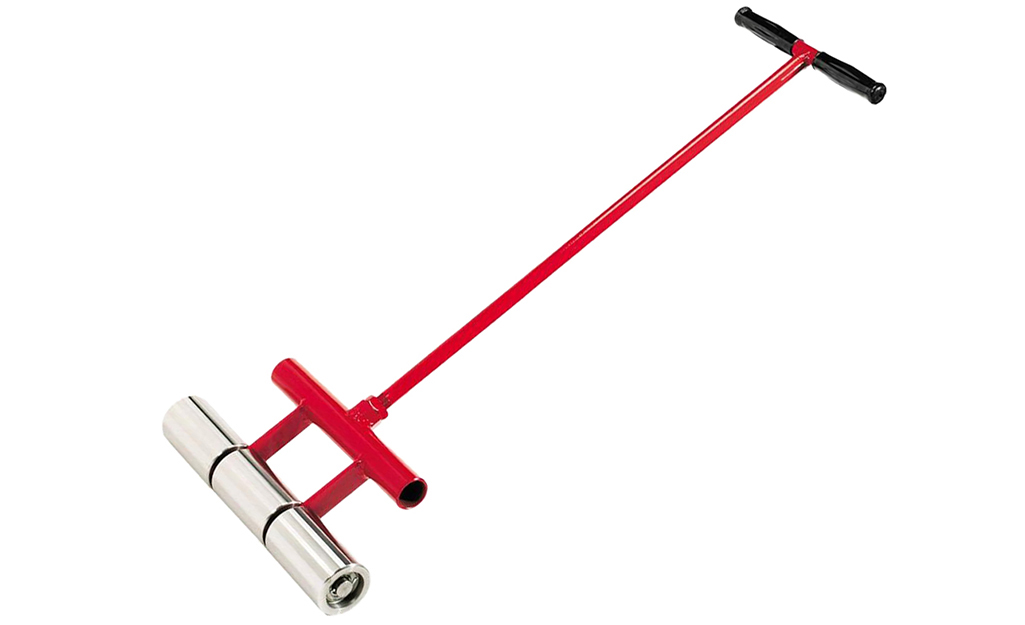
With some adhesives, you’ll need to roll the floor using a floor roller . Follow the adhesive or tile manufacturer’s directions to roll properly.
Remove Spacers and Let Dry
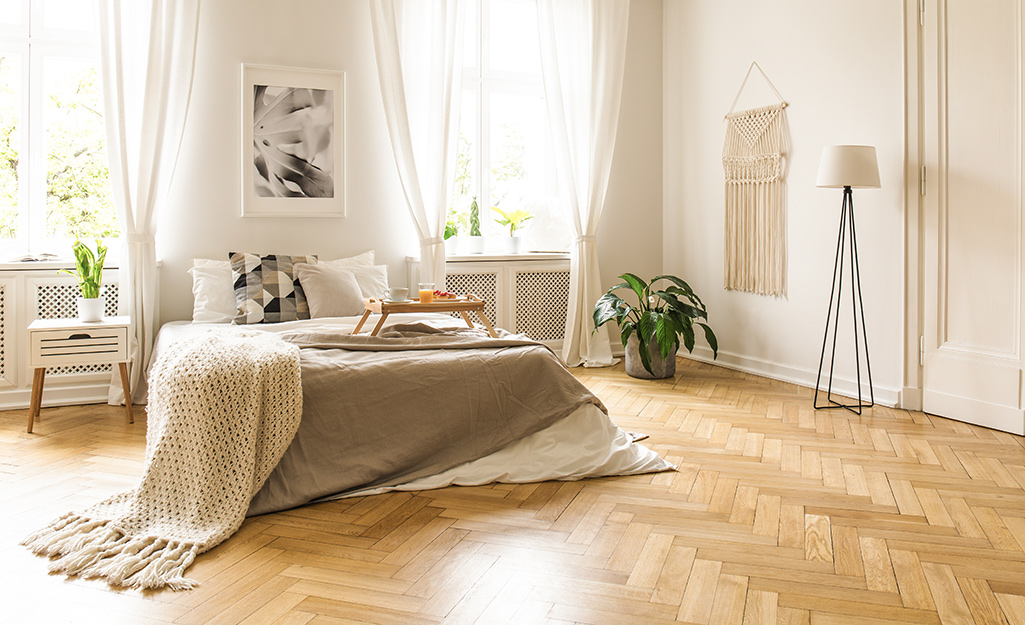
When you finish your project, gently remove all the spacers. Wait at least 24 hours before moving furniture into the room to give the adhesive time to dry.
Following the row method can make learning how to install parquet tile flooring easier. The first step in your project is choosing the hardwood tiles you prefer. From there, you can consult the manufacturer’s instructions to find out what tools and supplies are best. You can find anything you need to bring the beauty of parquet tile to your room at The Home Depot.
Use The Home Depot Mobile App to locate products and check inventory. We’ll take you to the exact aisle and bay.


