How to Install Plastic Edging

Last updated September 7, 2023
Want a fast way to make your landscaping pop? Plastic edging is an economical and DIY-friendly way to give garden beds, borders and outdoor spaces a clean, finished look. Plastic edging is flexible and easy to work with, making it an excellent choice for curved borders and round garden beds. Enhance your landscaping and boost your home’s curb appeal with these easy steps.
Difficulty:
Beginner
Duration:
Under 2 hours
Table of Contents
Measure the Garden Beds and Borders
Dig a Trench Around the Bed
Trim the Edging to Fit
Join the Strips of Edging
Backfill the Edging
Anchor the Edging
Measure the Garden Beds and Borders

To measure the garden beds or borders you want to edge, lay rope or twine along the beds in whatever shape you desire. When you’re satisfied with the design, use environmentally safe marking paint to trace the curvature of the rope. Then, once the rope is dry, cut it to size. Measure the length of the rope with a tape measure to get an idea of how much plastic edging you’ll need for your project. Add 10 percent to the total length to account for waste.
Dig a Trench Around the Bed

Dig a trench along the edges of the bed with a round point shovel or spade, following the marking paint. Dig the trench to a uniform depth of three to four inches—deep enough to let the edging stand about one-half inch above ground level. Dig straight down to create a vertical "wall" that will support the edging.
Trim the Edging to Fit

Trim strips of edging to length, if necessary, with tin snips. You can also cut strips to size with pruning shears, scissors or a utility knife. To make the spot where two strips join less noticeable, arrange to have pieces join in or near the middle of the run—don’t join strips near corners, sharp bends or angles in the design.
Join the Strips of Edging

To join multiple strips of edging, slide a coupler halfway into one of the top channels. Pinch the first strip to hold the coupler in place, then fit it into the second strip. Apply pressure so that the pieces are tightly butted against each other to minimize the appearance of the seam.
Backfill the Edging

Use a shovel or spade to backfill behind the edging with the soil you saved when you dug the trench. As you backfill, force the edging against the wall of the trench, and pack the dirt in as you go, so that it keeps the edging firmly in place. Compact the soil by stomping along the edging with your feet. Keep adding soil until it’s slightly higher than ground level, since it will settle with the first rain or watering.
Anchor the Edging

Anchor the edging in place with edging stakes at 3 to 4 foot intervals. Use a rubber mallet to drive each stake at a slight angle from the lower outside face of the edging through to the other side.
Put On the Finishing Touches

Lightly water the area with a garden hose to settle the soil. The edging should feel sturdy all the way around. Add more soil to areas that need more support and to low-lying spots to raise the edging.
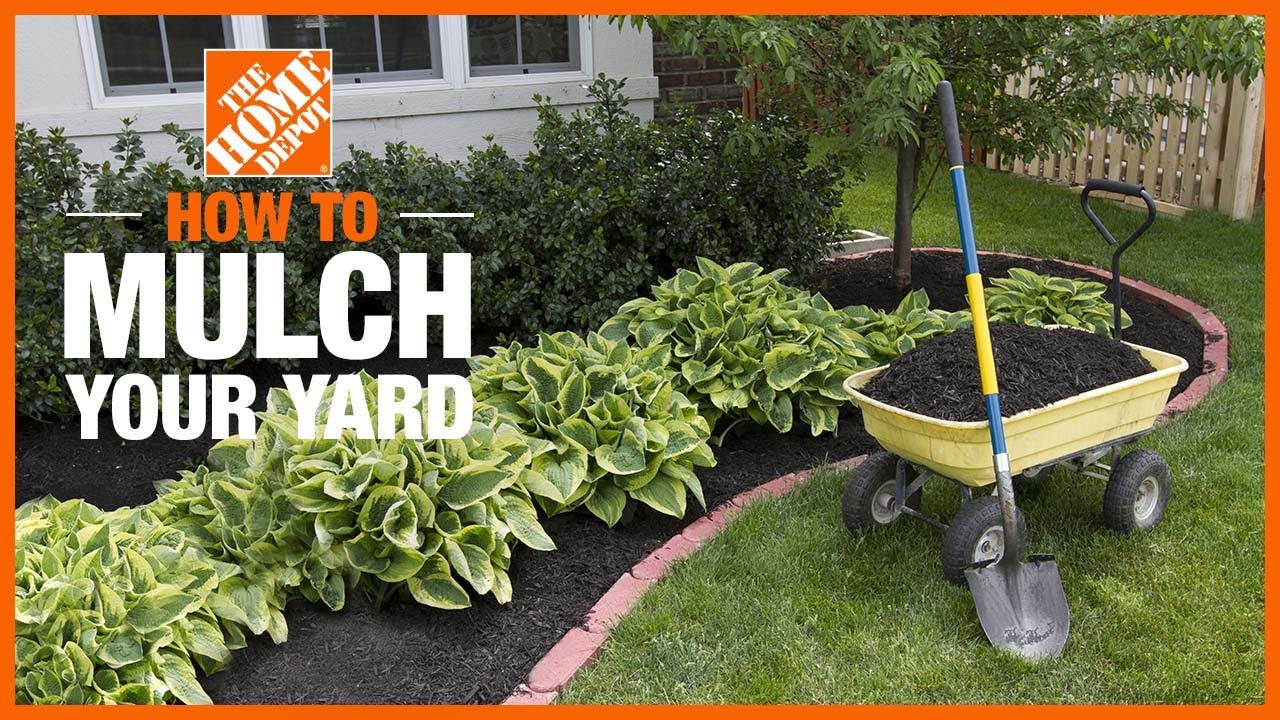
Plastic edging along your borders and garden beds makes your yard look tidy and manicured. Edging also keeps mulch where it belongs and helps prevent weeds from spreading. Installing plastic edging is an easy DIY project you can complete in just a few hours. Find, compare and order everything you need for this project online. The Home Depot delivers online orders when and where you need them.