How to Install Recessed Lighting on Sloped Ceilings

Last updated September 7, 2023
Recessed lighting produces a sleek and understated glow in living rooms and other gathering spaces in your home. There are special considerations for installing a recessed light in a sloped ceiling. You’ll need to specifically use a recessed light fixture designed for sloped ceilings to make sure the beam of light shines in the correct direction. A recessed light designed for flat ceilings would shine in your eyes.
This guide will explain how to install recessed lighting on a sloped ceiling, also called a vaulted ceiling.
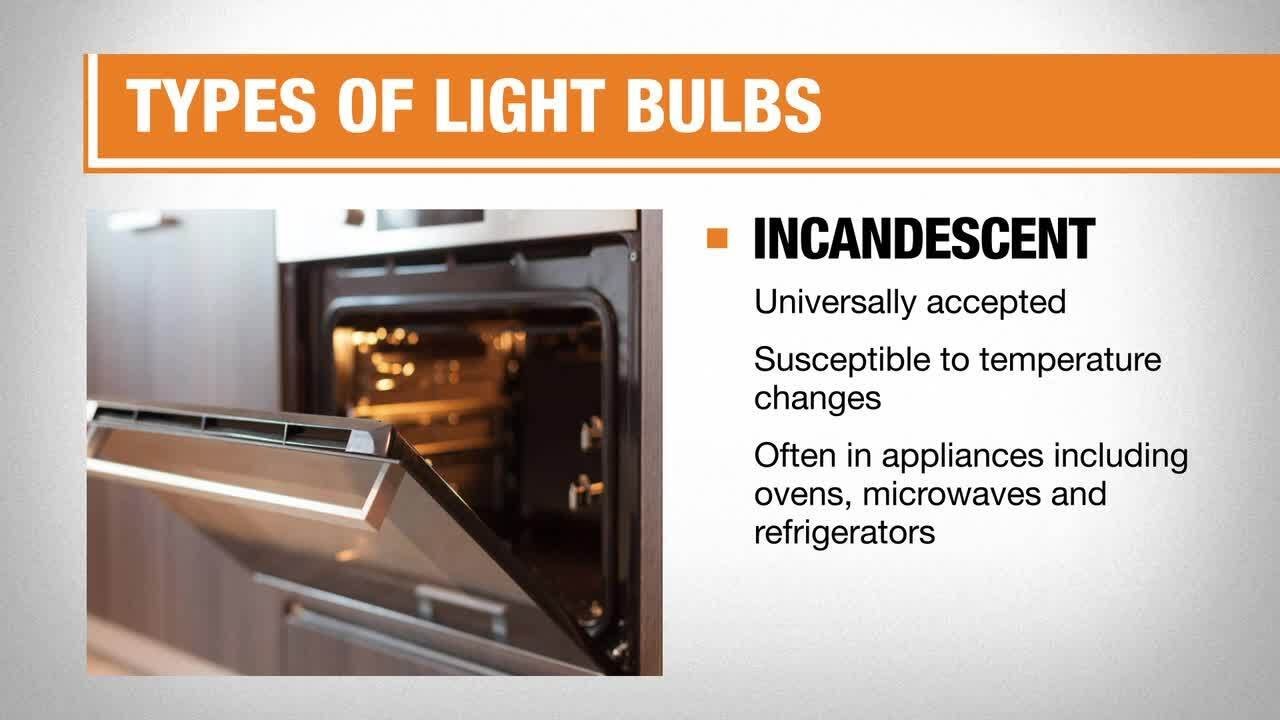
While standard recessed lights are extremely energy efficient, LED recessed lights can operate for years before a bulb change is required. Changing a recessed light bulb is an easy process, but consider replacing recessed lighting with LED lighting.
You can learn how to replace recessed light fixtures with LED lighting in a separate guide. Replacing recessed lighting typically involves simply swapping out the finish trim piece of the recessed light fixture.
Difficulty:
Intermediate
Duration:
2-4 hours
Table of Contents
Measure the Slope of Your Ceiling
Cut a Hole in the Ceiling
Install the Wiring
Mount the Fixture
Install the Trim
Measure the Slope of Your Ceiling

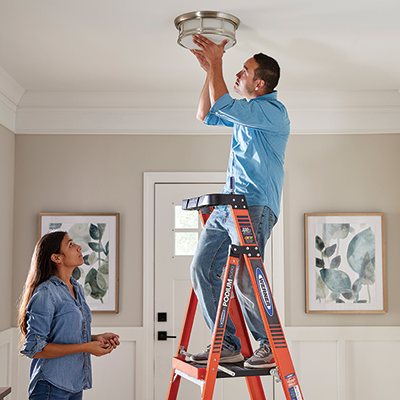
Before you begin the installation process, you’ll need to determine the slope of your ceiling. Be sure to use a ladder tall enough to safely reach the highest area of the sloped ceiling.
- Calculate the height difference, in feet, between the shortest wall and the highest point of your ceiling. This is called the rise.
- To calculate the rise, measure the height of the shortest wall. Then measure the height of the highest point of the ceiling and subtract the two. The difference is the ceiling’s rise.
- Next, measure the total length, in feet, from the shortest wall to the highest point on the ceiling. Take this measurement parallel to the floor. This is called the run.
- Determine the slope by using an online slope calculator or the following formula:
Rise / Run = slope (or tangent)
Convert the tangent to angle by using the tan-1 function on a scientific calculator
Example: 6-ft rise / 12-ft run = .5 tangent
.5 (tan-1 ) = 26.6 degrees
- Use the slope to help you decide which sloped ceiling recessed lighting kits your ceiling can accommodate. The slope range is specified on the box detailing how to replace a recessed light with a statement such as “For use in 2/12 to 6/12 pitch slopes”. Adjustments can be made for the slope you need within the house. Follow the manufacturer’s instructions to fine-tune the specific slope of your ceiling.
Cut a Hole in the Ceiling

There are two options for performing this task. To begin, use a stud finder to make sure the holes do not overlap a joist. Then choose one of the two options below.
There are a number of ways to lay out recessed light fixture locations. If you have a laser level equipped with a plumb dot, you can mark light locations on the floor with blue tape and a pencil, and then plumb up from there to mark the ceiling. You can also use a reference line to pull measurements up from where the ceiling intersects the lower wall, or down from the highest point of the ceiling. You’ll also want to pull across from a side wall. Make sure you use the same reference line for your measurements to keep layout consistent.
Option A:
- If a template is included with your sloped recessed lighting installation kit, use it to draw a circle on the ceiling using the center point of the desired light location as a guide.
- Cut the hole with a drywall saw and mark all the light locations.
- Use careful, shallow strokes with the drywall saw. Make sure not to snag any wires that may be in the ceiling cavity.
Option B:
- Cut the hole freehand using a drill with a hole-cutting attachment and mark all light locations. Make sure that the hole saw diameter matches the dimensions of the light fixture you’re using. The manufacturer’s instructions will specify this diameter.
- Run the drill at a slow speed to get it started and use control when nearing the end of the cut so the hole saw doesn’t plunge deep into the cavity. Make sure you do not snag any wires that may be in the ceiling cavity.
Tip: Use a hole saw dust catcher to contain dust as you’re cutting.
Install the Wiring

Now that the holes are created, you can proceed to the next step of the remodeling recessed lighting task.
- Run the cable wire from the power source to a switch box, and then through the first hole.
- Make sure to leave at least 16 extra inches of cable to make the wiring process easier.
- To route wire through the top plate of the wall or through ceiling joists, use a power drill with a longer drill bit to avoid cutting additional access holes in the ceiling.
- Open the light’s junction box and run the cable through it.
- Clamp it and strip insulation to make wire splices: connect white to white, black to black and ground to ground.
- Fold the wires into the box and place the cover.
Mount the Fixture

Recessed or “old work” lighting fixtures have four clips that easily clamp the recessed lighting housing to the ceiling by pushing down on top of the drywall.
- Pull the clips inward so they do not stick outside the housing.
- Slip the housing into the hole and push the body up until it’s flush with the ceiling.
- Lightly push each clip up and outward until it connects and clamps the light fixture.
Install the Trim

Most recessed lighting trims are mounted with squeezable rod springs or coil springs.
Tip: Wear disposable latex gloves when replacing recessed lighting trim to keep the trim and ceiling clean during installation.
For coil springs
- Hook each spring to its assigned hole inside the housing can.
- Pull out each spring and connect it to the trim.
- Carefully guide the trim into position.
For rod springs
- Press and insert both ends of each spring into their assigned openings.
- Push the trim into position.
Changing a recessed light bulb can often be done without removing the trim. If you do need to remove the trim or are considering replacing recessed lighting with a different trim design, repeat the steps outlined here.
Now that you understand the basics of how to install recessed light fixtures in a sloped ceiling, you can decide if it's a project for you. When learning how to install recessed lighting on a sloped ceiling, knowing your lighting housing and following a few steps will help you get the job done safely and easily. If you're looking to update your lighting, we have options to deliver online orders when and where you need them.
When you're ready to find the recessed lights and tools you need, download The Home Depot Mobile App to locate products and check the inventory in your local store.