How to Install Remodeling Boxes
Last updated September 7, 2023
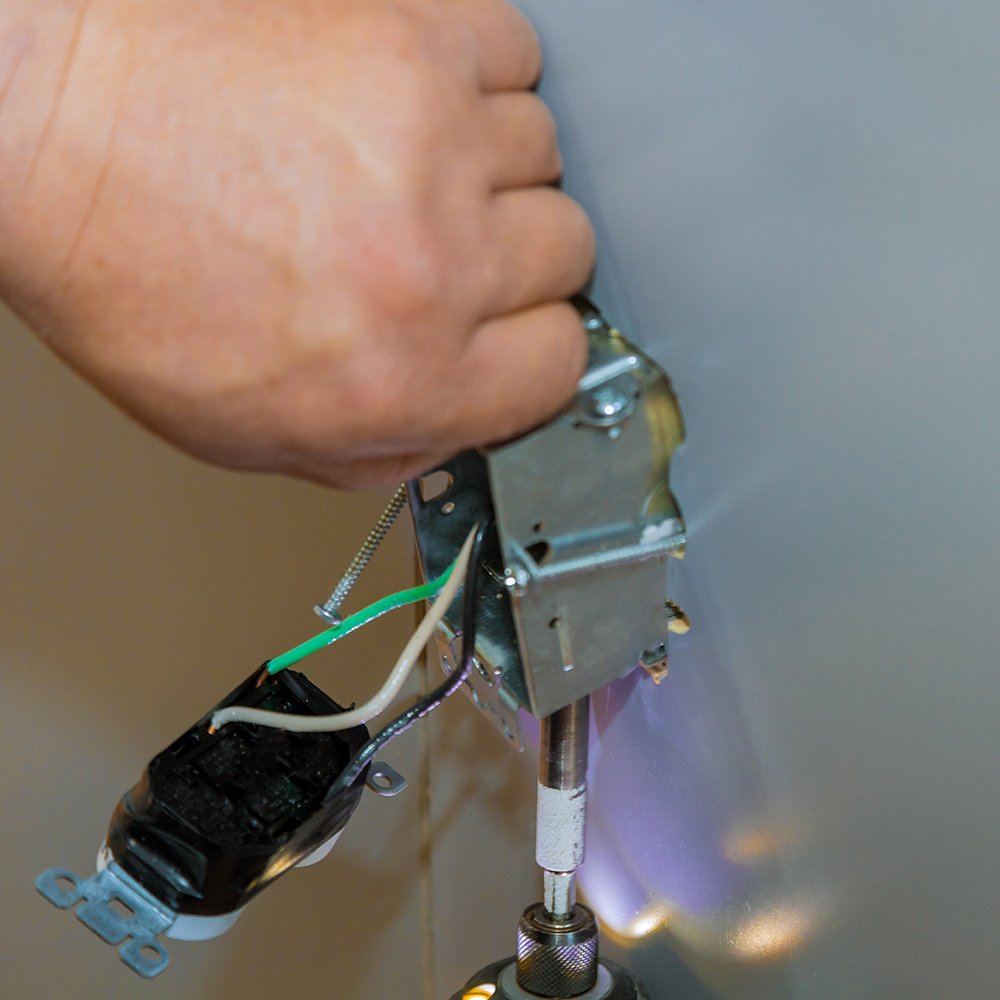
Remodeling boxes, also called old-work boxes, are electrical boxes designed to be installed after drywall has been hung. For example, you would install a remodeling box if you need an additional outlet for a home office or theater. In contrast to new-work boxes, which are screwed to the wall studs before drywall is hung, old-work boxes are set into existing drywall. They are secured with clamps that are built into the box. Installing a remodeling box is something you can easily do with just a few tools.
This guide will show you how to install remodeling boxes. The step-by-step instructions detail the process of placing a plastic remodeling box in drywall for a new outlet, including running wiring from an existing outlet to power the new one.
Difficulty:
Intermediate
Duration:
Under 2 hours
Table of Contents
Turn Off Power at the Circuit Breaker Box
Mark the Drywall for the New Box
Cut the Drywall
Loosen the Old Outlet
Feed the Cable to the Old Box
Connect the Wires in the Old Box
Turn Off Power at the Circuit Breaker Box
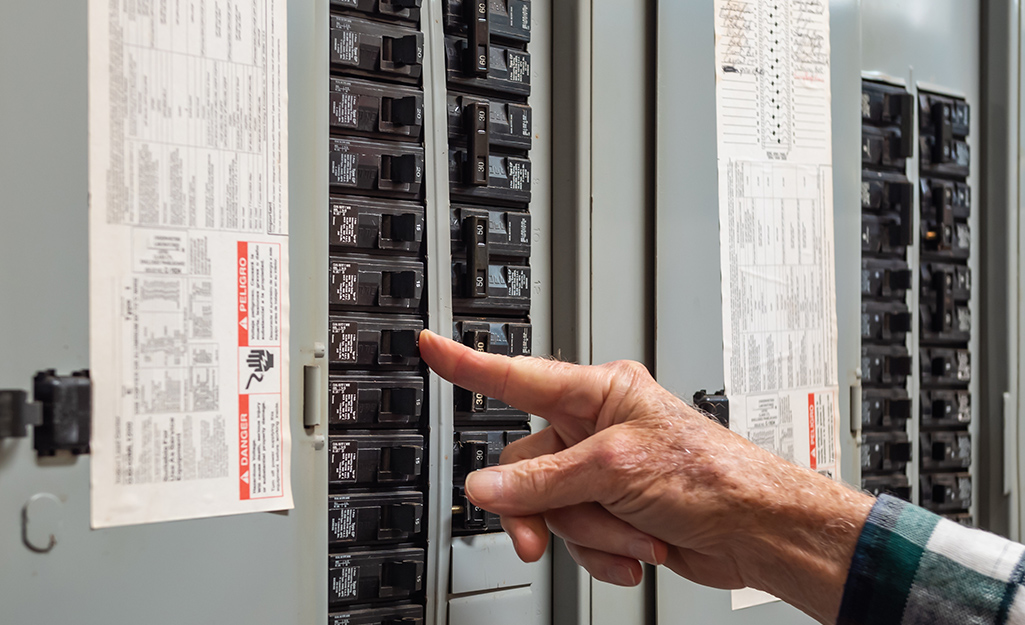
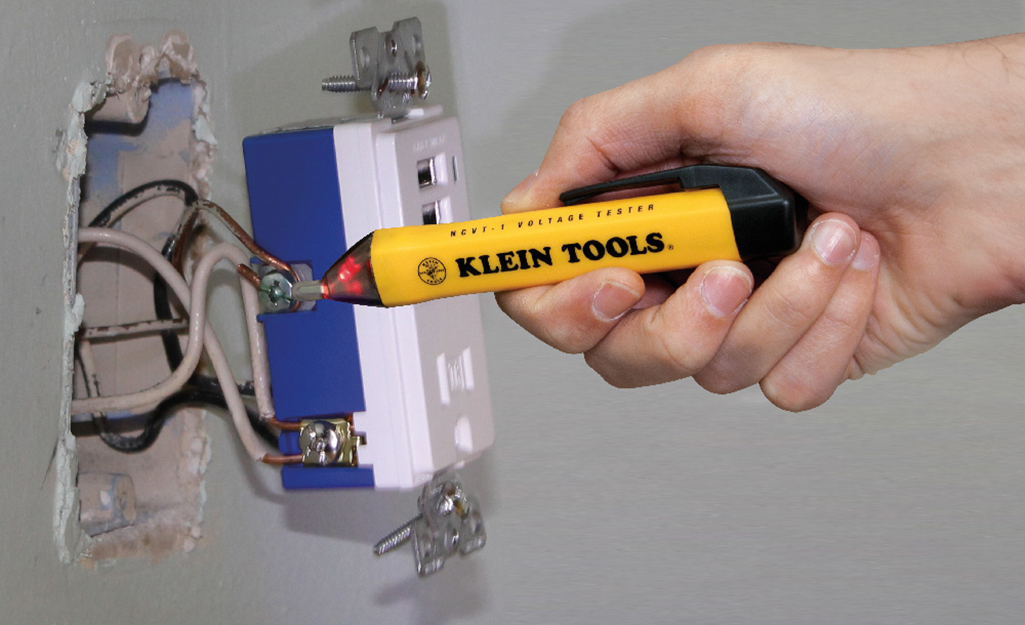
Whenever you’re working with electricity in your home, safety is key. Before you begin installing your new remodeling box, turn off the power at your circuit breaker panel box. Use a voltage tester to ensure the power is off at the outlet to prevent electrical injuries. Once you know the outlet’s power is off, you’re ready to get to work.
Tip: Non-contact voltage testers, or voltage tester pens,
are a great way to ensure top safety when you’re doing electrical work.
Mark the Drywall for the New Box
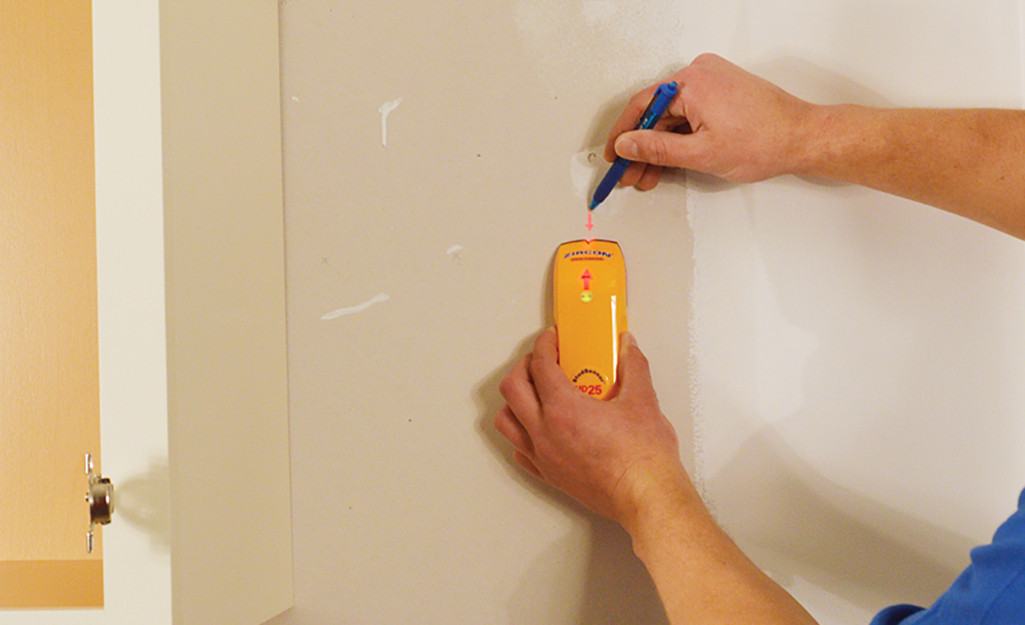
The next step is to find and mark the place where you’ll install the new box.
- Use a stud finder to ensure that you don’t install your remodeling box next to a stud or pipes.
- Hold the remodeling box up to the drywall where it will be situated.
- Trace around the box with a pencil to mark the area to be cut.
Tip: Place a torpedo level on the box while you hold it against the drywall to ensure it’s completely level.
Cut the Drywall
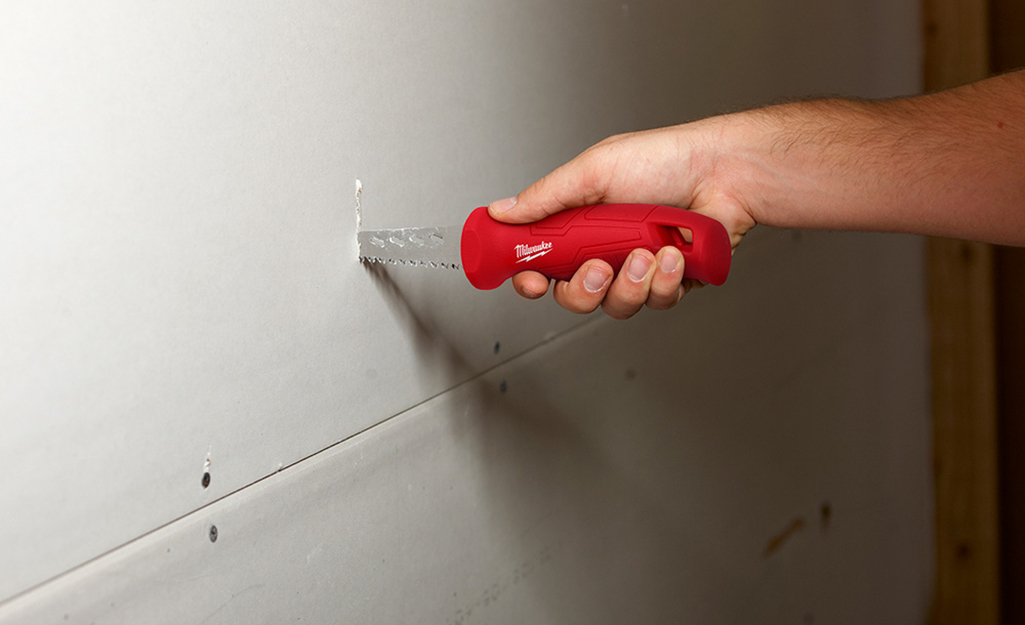
Now it's time to cut the drywall.
- To prepare the surface, use a utility knife to score the drywall paper along the pencil outline of the box.
- Then, use your drywall or jab saw to carefully cut out the hole. Go slowly to avoid accidentally cutting any wires behind the wall.
- Once you've made the hole, push the remodeling box inside for a test fit. It should fit snugly, but you shouldn’t have to force it.
Loosen the Old Outlet
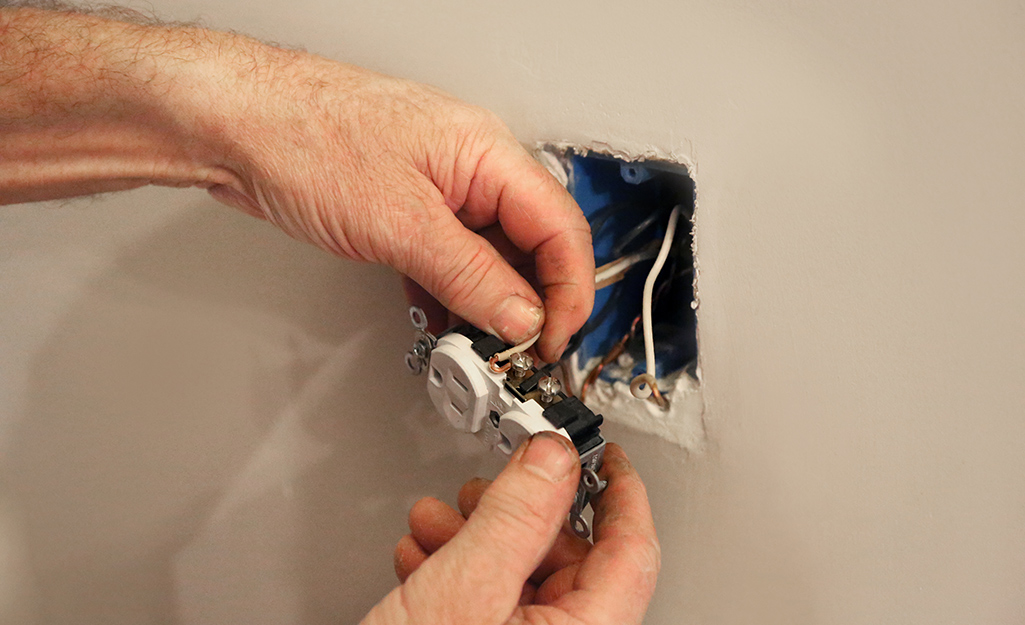
- First, use a voltage tester to double-check that the power is off at the electrical outlet from which you will draw power.
- Then, unscrew the faceplate from the old outlet and pull the outlet away from the box.
Feed the Cable to the Old Box
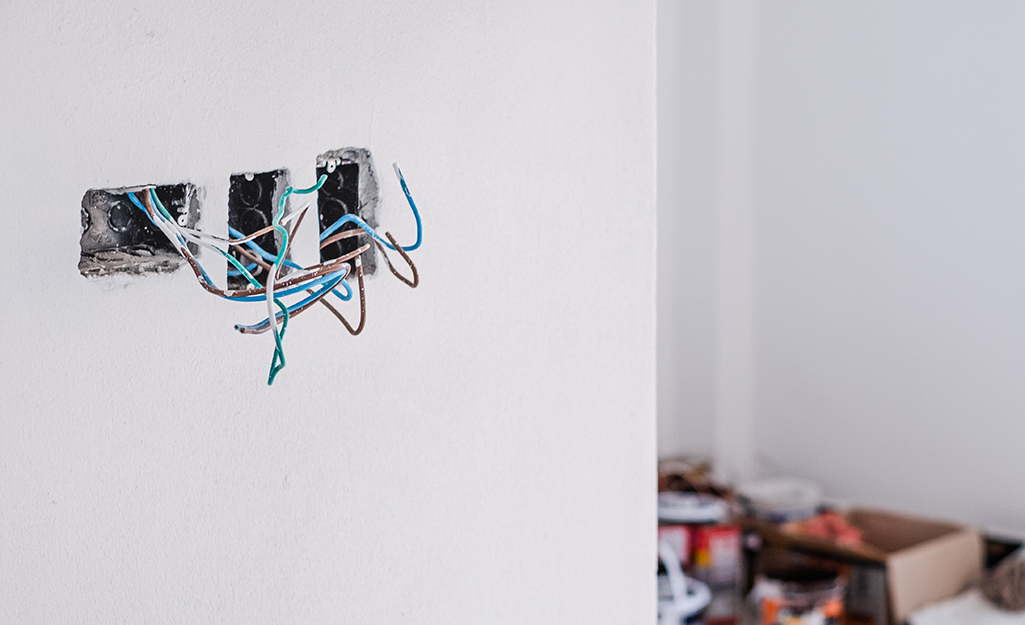
- Use a screwdriver to knock a hole in the back of the old box, at one of the knockouts, usually found in the corners.
- Then, feed your new wiring through the hole and out the other side of the wall. Since it’s a friction fit, your wires will stay in place once you’ve pulled them through the knockout.
- Where the cable extends into the box, make sure you leave 1/4 inch of insulation beyond the cable clamp or friction point to protect the wires inside the cable from damage.
- You must leave at least 6 inches of conductor from where it enters the box for the make up of the receptacle.
Connect the Wires in the Old Box

Connect the new wiring to the outlet in the old box.
- Use wire strippers to strip 5/8 inch of insulation off the end of each wire.
- Then, using new wire connectors, connect the wires from the new cable to the existing wiring. The wire connections should be white to white, black to black and ground to ground.
Mount the Remodeling Box
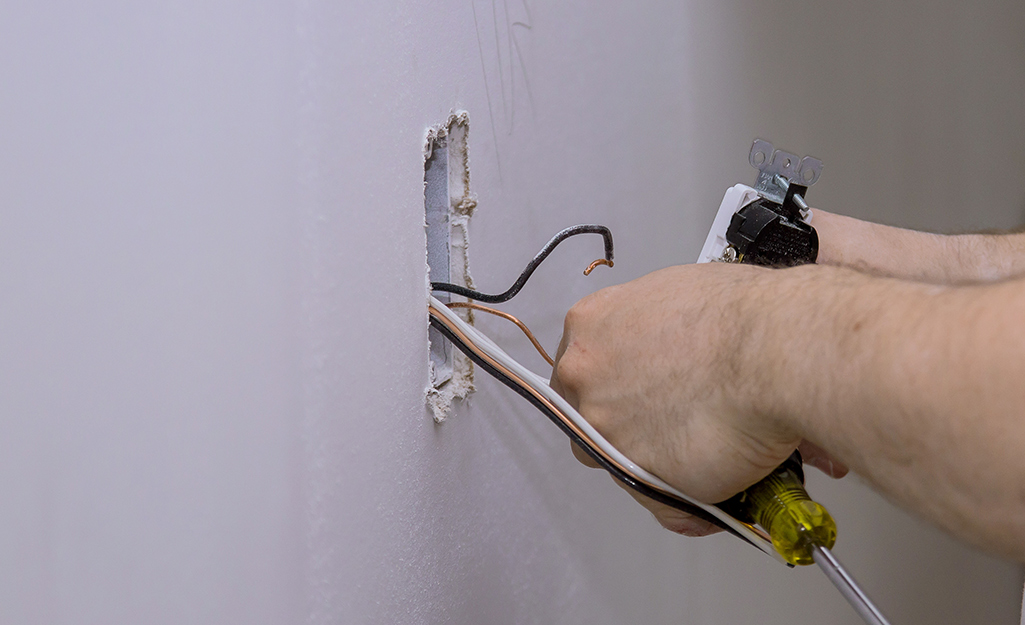
Mount the remodeling box and get it ready for the new outlet.
- First, pull the cable through the hole in the wall where the new outlet will be located.
- Strip about 10 inches of insulation off the cable to make sure you have a good amount of length to work with.
- Then, insert the wires through the hole in the back of the remodeling box and insert the box into the hole.
- To complete the mounting process, carefully screw down the clamping tabs until the box is tight against the wall.
Wire the New Outlet
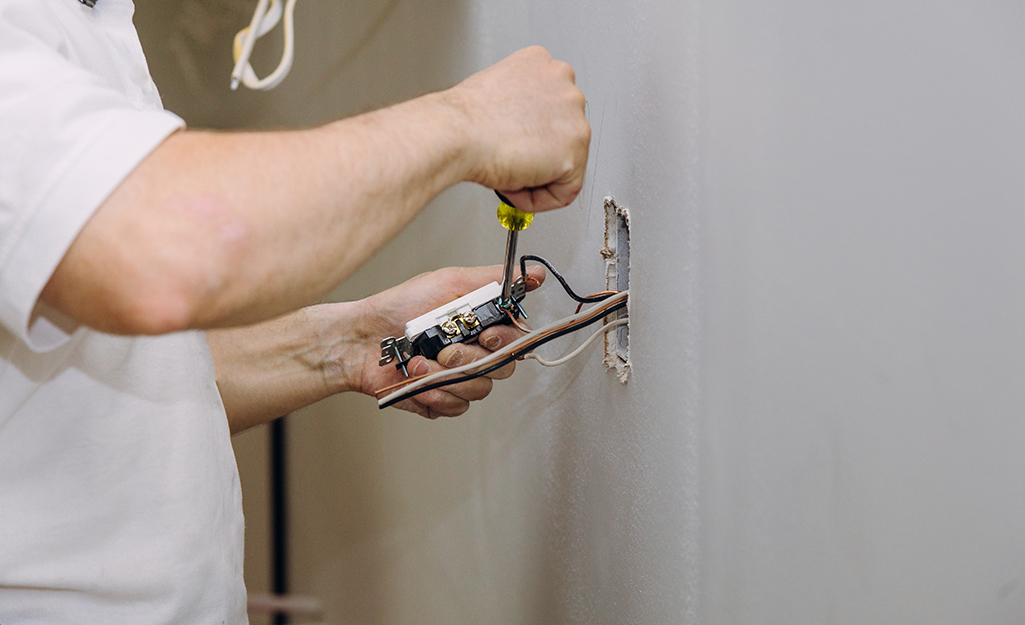
Take your new outlet and attach the wires.
- For the best connection on any outlet, connect the wires to the terminal screws.
- Attach the white wire to a silver terminal screw, the black wire to a brass terminal screw and the bare copper wire to the green grounding screw.
Tip: Keep in mind that you can’t have more than one ground wire connected to a ground terminal screw. If you have more than one ground coming to your new outlet, you’ll have to join them with a wire connector or pigtail method so there’s only one connection at the green screw.
Install the New Outlet
Now you’re ready to finish the installation.
- Screw the outlet into the box securely so it doesn’t move.
- Attach the faceplate and turn the power back on.
- Use a receptacle tester to make sure the receptacle is wired correctly.
With your remodeling box installed and outlet safely wired, you can now enjoy your new additional outlet. Remodeling boxes, also known as old-work boxes, are a great solution when you need to add outlets to a wall that’s already covered in drywall.
Easily locate all the tools and materials you might need to install a remodeling box with The Home Depot Mobile App. Check what’s in stock and see ratings and reviews right on your phone or tablet.
Need help installing a remodeling box in your home? The Home Depot’s electrical services are available to assist you.
