How to Install Roof Shingles
Last updated September 7, 2023
Replacing your roof increases energy efficiency. It also improves your home's curb appeal and protects your house. Learning how to install roof shingles saves you time and money in the long run. This guide teaches you how to shingle a roof safely in just a few
steps.
Difficulty:
Intermediate
Duration:
Over 1 day
Table of Contents
Pre Installation Checklist
Measuring The Roof
Put Safety First
Prep the Roof
Install Deck Protection & Starter Shingles
Install Your Roof Shingles
Pre Installation Checklist
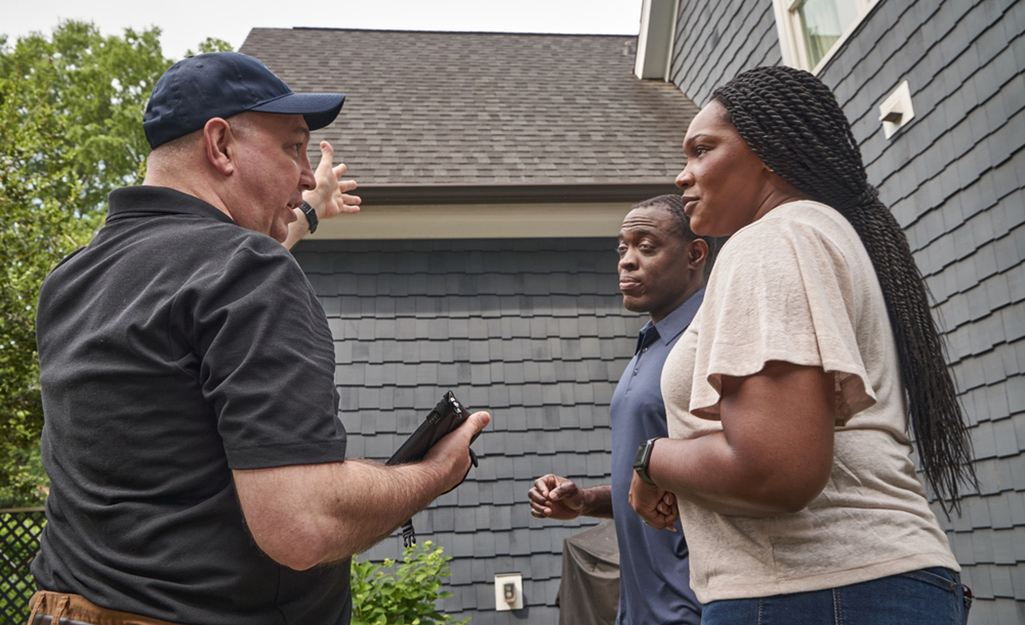
Review this checklist before starting your project. This ensures a safe and efficient roofing installation.
- Mow the yard. A clean yard makes it easier to see roofing debris.
- Move patio furniture away from the house.
- Take pictures of the driveway before roofing materials and/or a dumpster are delivered.
- Walk around the house and review the landscaping. Flag concerns such as landscape lighting.
It is also a good idea to remove or cover fixtures that are not hardwired. - Locate exterior power sources needed for cutting decking or ridge vents.
- Identify a staging area where materials should be delivered (driveway, side of house, garage).
- Park cars on the street while the job is in progress (unless there is a truck hooked to a dumpster).
- Ensure that you still have access to anything you might need in the garage (cars, bikes, toys for children).
- Make sure you have proper ventilation so that hot air doesn't get trapped in your home.
- Measure ridge caps by measuring the length of the ridges and hips. Divide by 35 to determine how many bundles of regular or hip-and-ridge shingles are needed.
Measuring The Roof
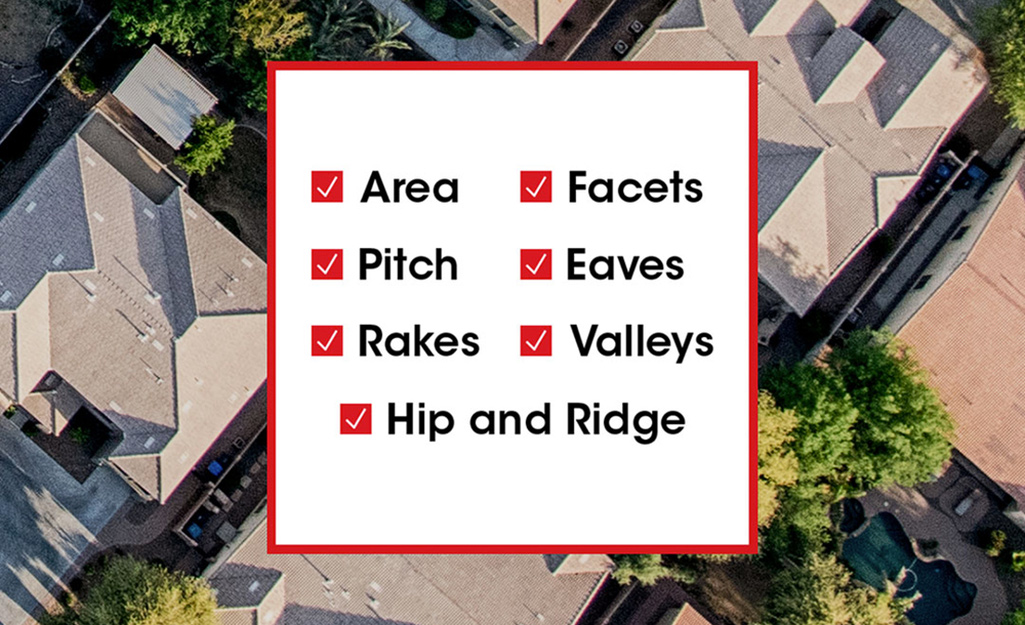
- Measure the width and length of each section of the roof.
- Multiply the width and length measurements together to determine the area.
- Add the areas of each section together.
- Divide that number by 100 to get the correct number of squares.
- Lastly, multiply this number by 3 to determine how many bundles are needed.
- Add approximately 10 to 20 percent for overage and waste.
Put Safety First
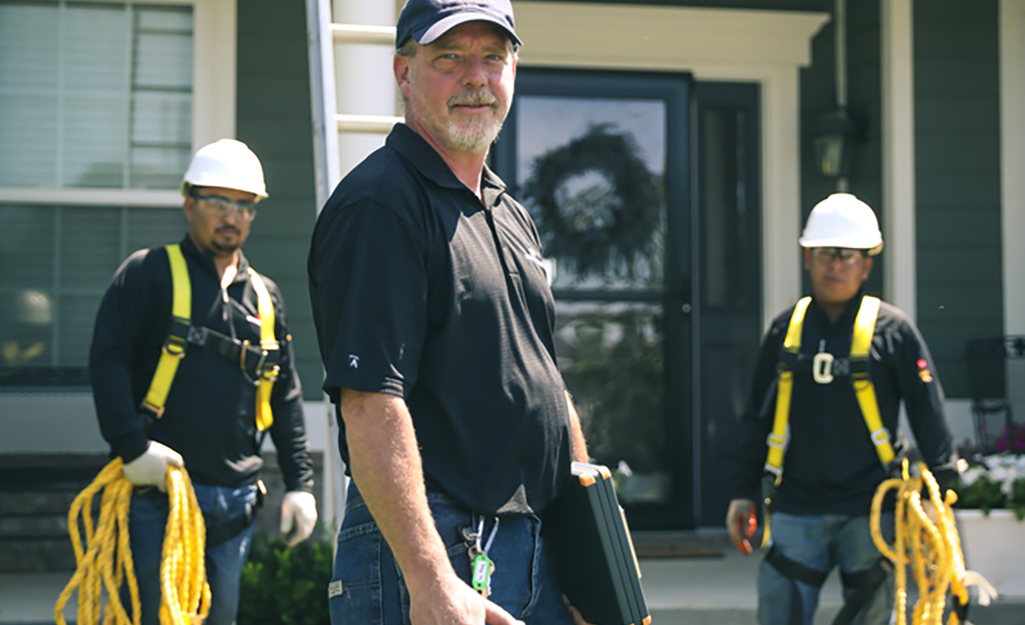
Before you begin, stock up on safety gear. Items like a harness, hard hat, work gloves, safety glasses, long pants and a tool belt keep you safe while you're up on the roof. They also protect you from things falling off the roof if you are on the ground.
If possible, have a partner or several helpers work with you when roofing. Always follow the manufacturer's instructions included with roof shingles.
Prep the Roof
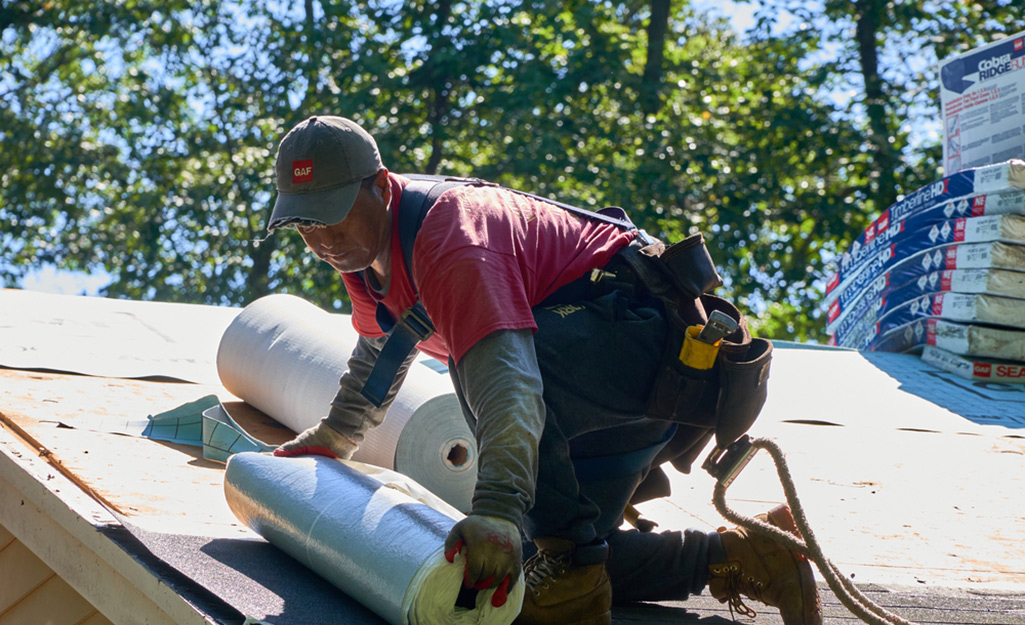
It's important to work on a straight course and pre-planned layout.
- Lay tarps on the ground to catch debris coming off the roof. Begin by removing shingles using a roofing fork/shovel. Use caution so you don't damage windows or siding in the process. Use a hammer to pry up the nails.
- Remove metal flashing if needed.
- Sweep the roof deck clean to remove leftover nails and debris.
Tip: It takes about three bundles of asphalt shingles to cover 100 sq. ft.
Install Deck Protection & Starter Shingles
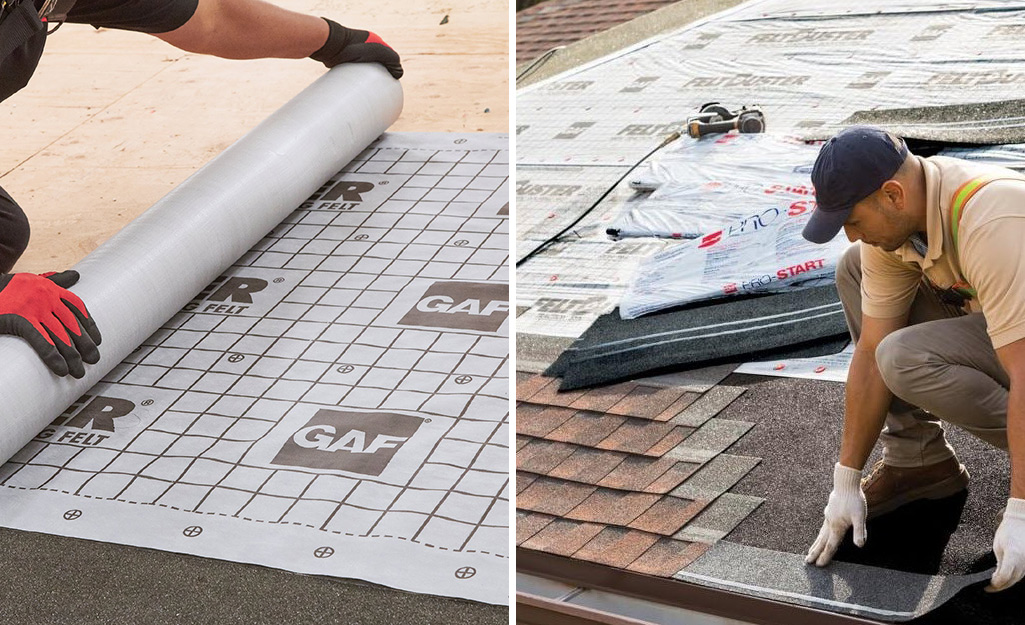
Now it's time to install the roof deck protection. These roof components act as a weather-proofing and protective barrier between your house and the elements, helping keep water and cold temperatures out.
- Drip edge at the eves. Start by laying roof deck protection, or shingle underlayment, over the decking (plywood/OSB).
Use chalk lines to determine where you'll lay them. - Using your cap nails, secure the deck protection to the roof. Overlap each row at least 3 to 4 inches. If you live in an area with inclement weather, you should consider using a special leak barrier protector.
- Then, install new flashing (metal flashing is often called "drip edge" along the bottom of the roof near your gutters) and starter shingles at the edges.
- Nail the drip edge in place using your hammer and roofing nails. Always install flashing around a chimney and other valleys where two roof planes meet as these areas are more prone to leaks if not protected.
Tip: When installing deck protection, work from the bottom to the top of the roof.
Install Your Roof Shingles
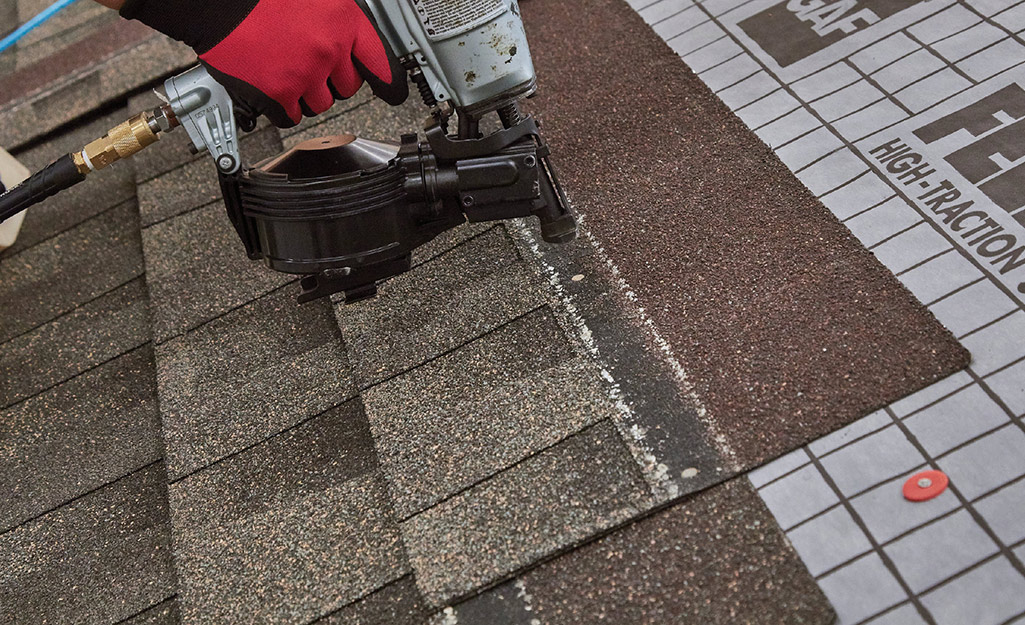
Now that you've conquered the underlayment and drip edge and plotted your course, it's time to learn how to install roof shingles.
- Work your way up and across to begin laying your courses. Be mindful of the proper nailing technique so that nails always hold the top edge of the course beneath it.
For example: Hammer one nail about 2 inches from each end of a shingle. Then secure another nail an inch above each cutout. So, your next course of shingles should cover the nails by 1 inch vertically. - As you continue, follow the pattern of lining a full shingle up against the next and then nailing it into place. Follow the guideline specified by the manufacturer as each shingle style has its own cut pattern.
- Cut your last shingle on each row to size, repeating all the way to the ridge. Once you've reached the ridge, bend the shingle over the ridge so that each side is equal and nail it into place with a single nail on each side.
- Do the same with the next shingle, continuing this step until you get to the far edge of the ridge.
- Cut the last ridge shingle to the length you need, but be sure that no part of the roof is exposed.
Tip: Be careful to drive nails straight rather than angled. Each shingle should be held by four nails. Six nails are preferred for areas that experience wind.
The Home Depot has all the materials you need to in install roof shingles like a pro. Check out our wide variety of shingle styles and colors that are sure to fit your budget and taste. You can also shop The Home Depot Mobile App to check supplies.
