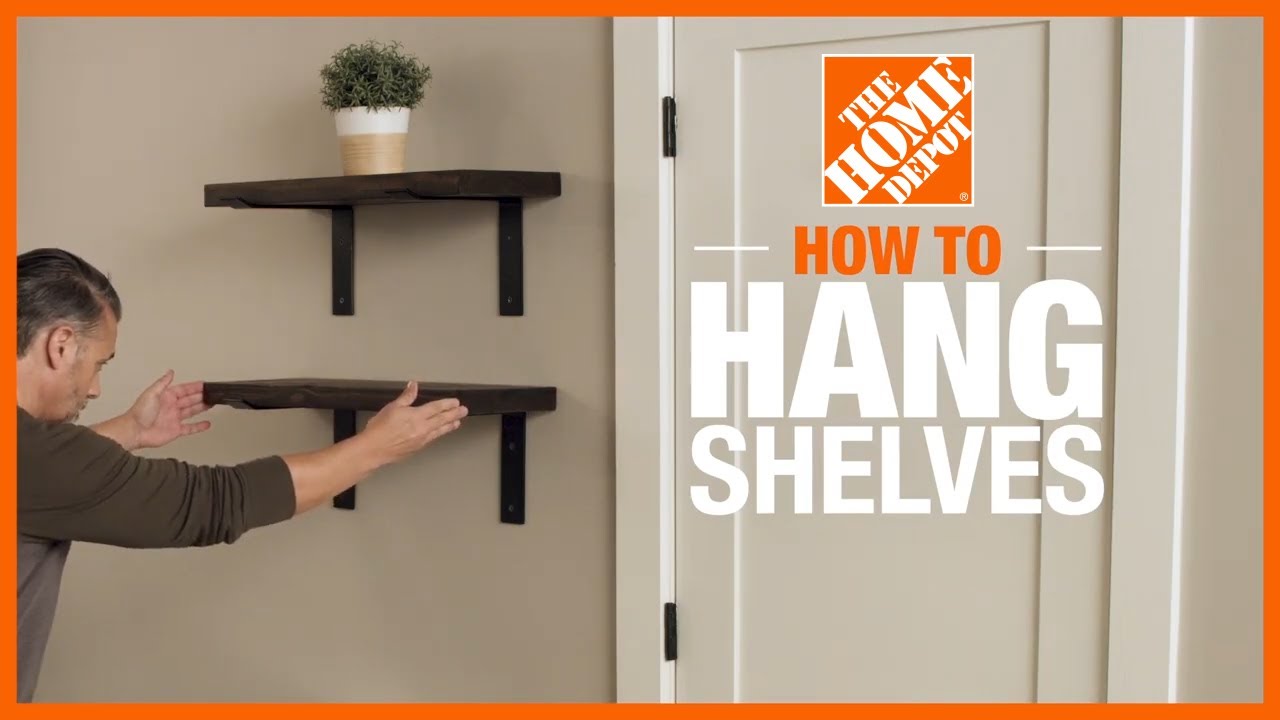
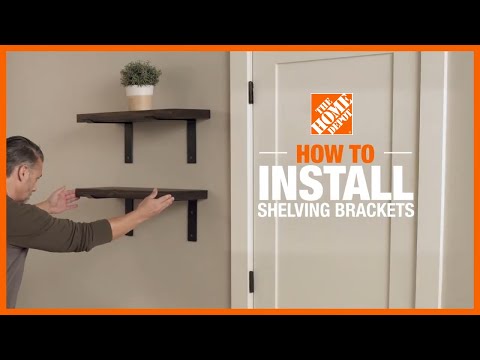
How to Install Shelving Brackets
Last updated September 7, 2023
Shelving brackets make
installing
wall shelves easy. The brackets can be either subtle or decorative and will ensure that your shelves are sturdy and can support whatever you store on them. With the right tools, brackets can be installed on drywall, masonry or tile, so you can learn how to put up shelves with brackets in your living room, kitchen, garage or anywhere else in your home.
This guide will teach you how to install shelving brackets
to wall studs, masonry walls and tile walls.
Difficulty:
Beginner
Duration:
Under 2 hours
Table of Contents
Choose Shelving Brackets
Find and Mark Wall Studs
Plan Shelf and Bracket Placement
Drill Pilot Holes
Secure Brackets
How to Install Shelving Brackets to Masonry Walls
Choose Shelving Brackets

Before learning how to install shelving brackets, choose the right brackets for your project.
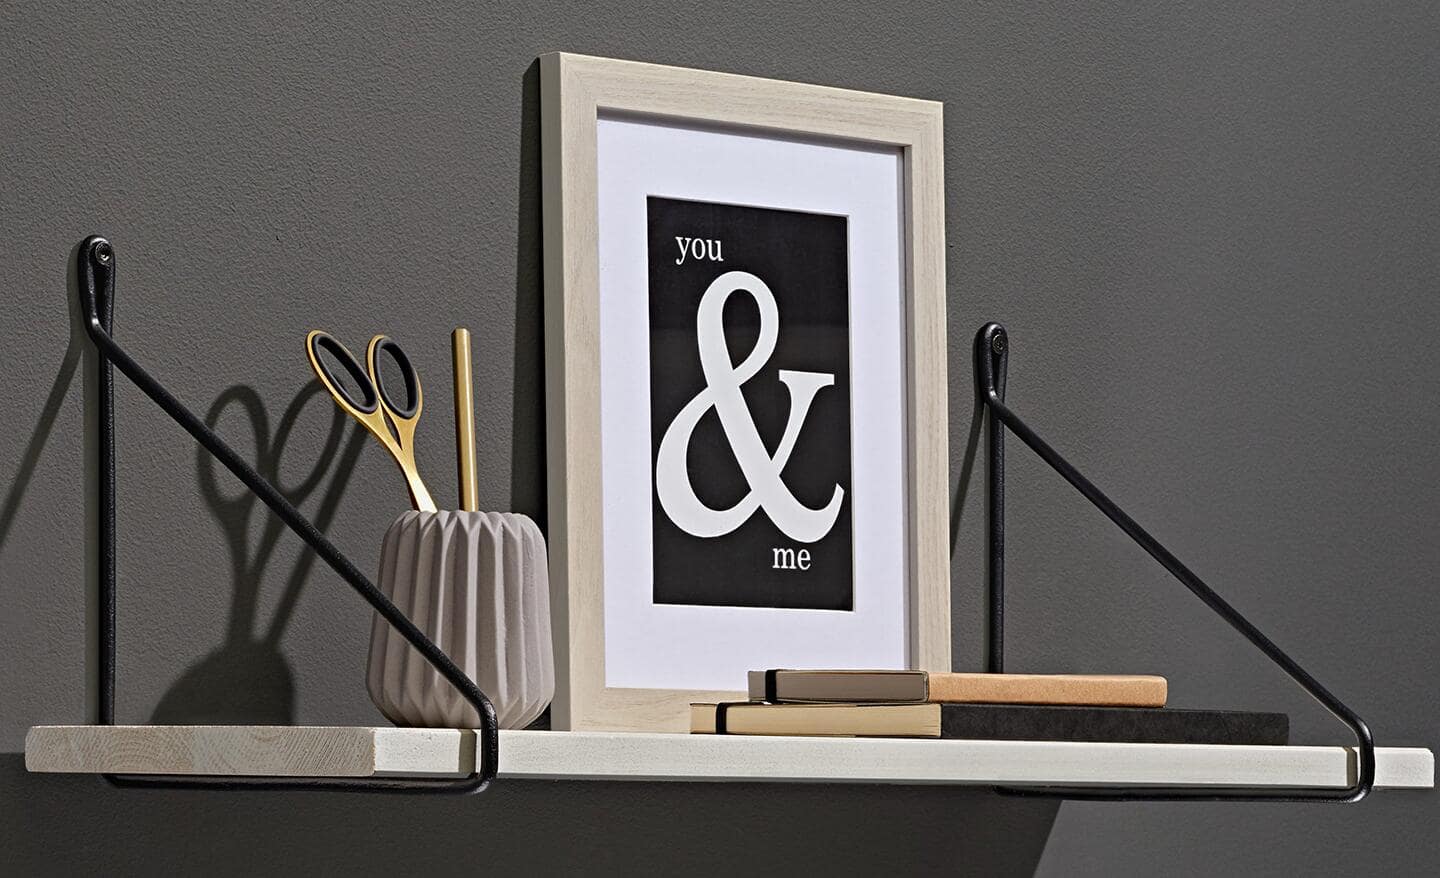
- If your shelves will hold mostly lightweight objects, use L-brackets.
- If you need additional support and durability
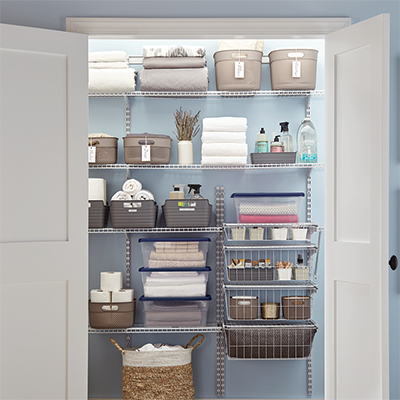
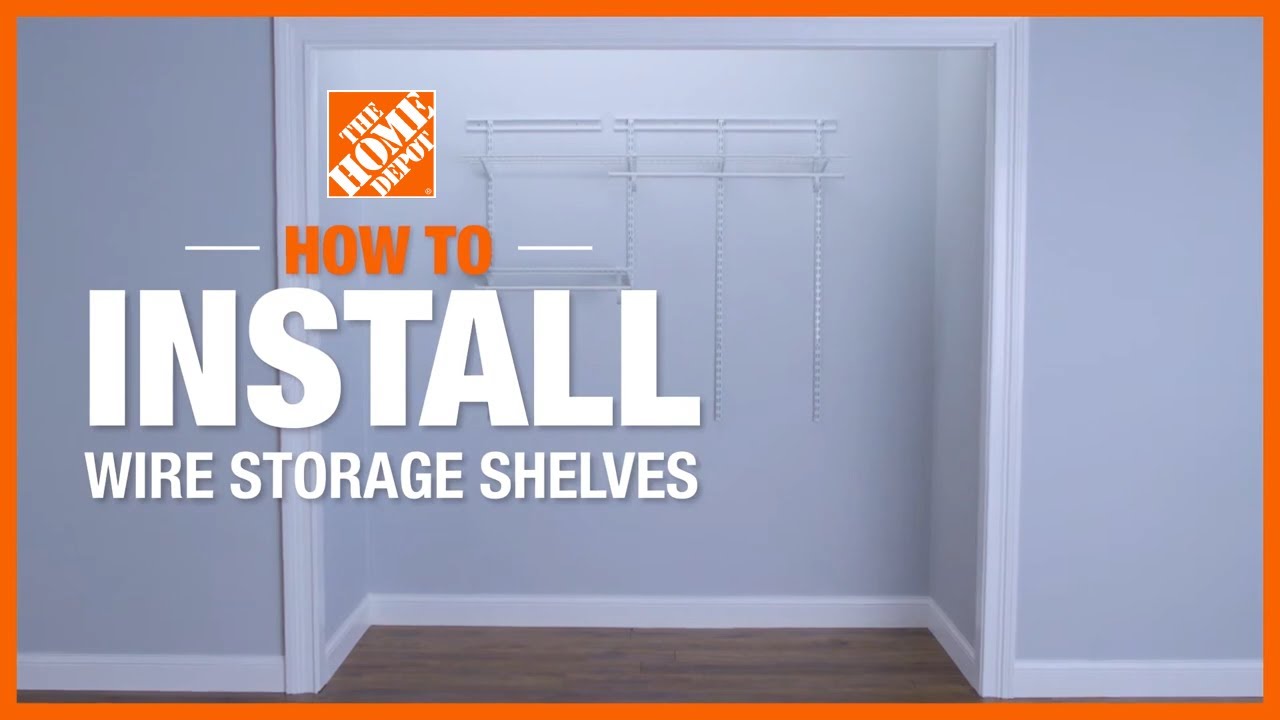
for holding heavier objects, choose brackets with an additional diagonal support. - Consider installing shelf brackets with standards, also called shelf tracks,
if you want to install a column of
adjustable shelves. - Many shelving brackets
will have a manufacturer recommended weight capacity. Remember to account for the
weight of the shelves you put on the brackets, not just what you plan to display on the shelves. - Make sure you have the right number of brackets for the length, weight and load of your shelves. For light to medium loads, shelving brackets should be spaced no more than 24 inches apart. For longer wire shelving, attach a bracket at least every 48 inches. For heavier loads, increase the size of your brackets and decrease the space between them.
Tip: Many shelving brackets include the necessary hanging hardware.
Find and Mark Wall Studs

If you’re installing shelf brackets on drywall, first find the wall studs.
- Use a stud finder to locate the wall studs.
- Mark the stud locations using a pencil or masking tape.
- If a stud is unavailable, or the studs are too far apart for the length of your shelves,
use toggle bolt anchors or another type of drywall anchor for fastening brackets directly to the drywall.
Plan Shelf and Bracket Placement

No matter what type of wall you’re installing brackets to, plan the placement of your brackets and shelves before drilling any holes.
- Use a pencil or masking tape to mark the planned location of each bracket. On drywall, the brackets should be secured to the wall studs, so the bracket locations should line up with your marked wall studs.
- Use a level to make sure your planned
bracket locations are
along a straight, level line. This will ensure your shelves are level after installation.
Draw a level line on the wall with pencil or mark a line with masking tape. - If necessary, hold the level on a straight 2 x 4 for shelf spans that are longer than the 3 or 4-foot length of the level.
Drill Pilot Holes

Next, use a power drill to pre-drill the holes for the brackets.
- If you’re not drilling directly into a wall stud, pre-drill holes for the toggle bolts. Follow the manufacturer’s instructions to determine how large the hole must be for your size toggle bolts.
- When drilling into a wall stud, pre-drill the holes using the screws that come with the brackets.
- Remove the screws from the wall.
- Double check that the holes are still level.
If not, you may need to patch these holes with spackle and try again, slightly above or below your first attempt.
Secure Brackets

Finally, secure the shelving brackets with their included hardware.
- Insert screws into the brackets and
use the drill to screw it into the wall
until each bracket is secure. - When using toggle bolts, first insert the screw into the bracket. Then place the toggle bolt on the end of the screw. Push the toggle bolt and screw firmly through the pre-drilled hole until you hear the toggle bolt spring open on the other side of the drywall. Tighten the screw by hand as much as possible, then finish tightening with a screwdriver.
- Don’t overtighten or use a high-speed drill, as this can strip the screws.
- If your brackets come with bolts and nuts, fasten them
by hand and finish tightening with a wrench. - Finish by placing the shelf onto your brackets. Wood shelves will typically need to be fastened to the bracket arm that extends from the wall. Pre-drill holes into the underside of the shelf beforehand to make fastening easier.
How to Install Shelving Brackets to Masonry Walls

The process of installing brackets to masonry walls, such as brick or concrete walls, differs only slightly.
Here’s how to install shelving brackets to masonry walls:
- Plan your shelf and bracket installation according to step 3 of this guide.
- Pre-drill 1/4-inch holes using a masonry drill bit.
- Secure the bracket with concrete anchors, rather than typical screws.
How to Install Shelving Brackets to Tile Walls

If you want to know how to put up shelves with brackets on a tile wall, like a bathroom wall or kitchen backsplash, follow these steps:
- Find the wall studs using a stud finder.
- Plan to fasten your brackets through the tile and into the wall studs. Mark the bracket hole locations with an X of masking tape.
- Pre-drill holes through the masking tape X’s using a masonry drill bit. Drilling through the masking tape will help prevent the rest of the tile from cracking.
- Start drilling at an angle until you make an indent in the tile. Then straighten the drill bit and drill directly through the tile and into the wall studs.
- Check and recheck the level of the holes as you go.
- Remove the masking tape.
- Secure the brackets to the tile wall using lag bolts.
Knowing how to install floating shelf brackets
on any type of wall gives you the freedom to add
storage or display space anywhere you need it. Remember to check the level of your shelving brackets multiple
times throughout the installation process to ensure your shelves are flat and even.
Ready to find the supplies you need to install
new shelves? Use The Home Depot Mobile App to locate products and check inventory.