How to Install Shut-Off Valves

Last updated September 7, 2023
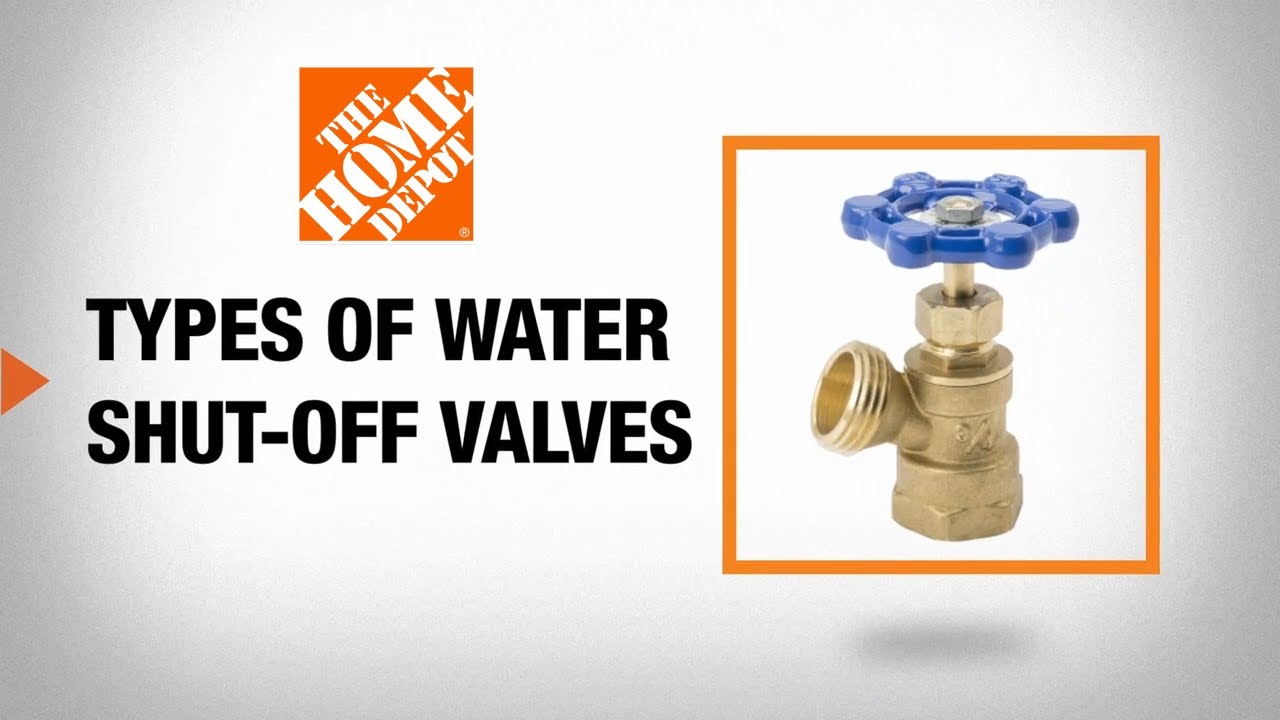
Shut-off valves, also called supply stop valves, allow people to connect supply lines to sinks and toilets. They also help isolate and repair leaks near fixtures without shutting off the water supply to the entire house. Depending upon the age of the house, the existing valve may be connected to the pipe via threads, solder or a compression fitting. This guide reviews the different methods for how to remove and install shut-off valves on copper supply lines.
Tip: New supply valves are similar to ball valves in that they turn only in one direction – on or off. They do not need to be tightened or open fully.
Difficulty:
Intermediate
Duration:
Under 2 hours
Table of Contents
Identify the Existing Valve
Remove the Old Valve
Prep the Pipe
Install the Valve
Attach Supply Lines
Check for Leaks
Identify the Existing Valve

Determine whether the valve to be replaced is connected to the pipe using solder, a compression fitting or threaded fitting. This is the first step in learning how to replace water shut-off valves.
- Soldered connections are often marked by discolored pipe and fitting. There will be a smooth end on the fitting where it connects to the pipe and silver solder around the joint. This valve can be replaced using a solder-type, compression-type or push-to-connect type stop valve.
- Compression fittings are marked by a large compression nut where the valve connects to the pipe. This valve can be replaced using a compression-type or push-to-connect type valve.
- A threaded connection is marked by visible threads where the fitting connects to the pipe. The pipe will be copper or galvanized. This valve needs to be replaced using a threaded valve.
Remove the Old Valve

- Shut the water off to the fixture. Do this at the closest, most accessible in-line shut-off valve that feeds it (if available) or at the main water supply valve.
- If working on a hot water supply line, it’s a good idea to turn gas water heaters to the pilot setting and turn off electric water heaters.
- Open the faucet to drain the line.
- Place a bucket under the old valve.
Removal methods vary according to valve type:
- If removing a solder-type valve, cut the supply line with a pipe cutter. Leave enough room between the escutcheon plate and the cut to allow installation of the new valve fitting. Deburr the pipe with a deburring tool. Alternatively, if there isn’t much room to make a cut, heat the fitting with a propane torch until it’s loose. Protect any flammable surfaces with a heat shield. Pull the valve off the pipe, twisting it gently using a pair of pliers.
- If removing a compression-type valve, loosen the compression nut with an adjustable wrench. Use a second wrench to steady the valve if it wants to turn with the nut. Push the nut away from the ferrule, then cut the ferrule with a hacksaw. Be careful not to damage the pipe. Once the ferrule is cut, use a flat-head screwdriver to pry it loose from the pipe.
- If removing a thread-type valve, hold the pipe steady with a pipe wrench and twist the valve off using an adjustable wrench.
Prep the Pipe

- If installing a solder-type valve, clean the pipe with a sanding cloth. Remove as much solder as possible, ensuring that the pipe is clean and smooth. Clean the inside of the valve with the sanding cloth as well. Next, apply flux to the fitting and the joint.
- If installing a push-to-connect type valve, clean the pipe with the sanding cloth, ensuring that the pipe is clean and smooth.
- If installing a compression-style valve, slide the compression nut over the supply pipe. Slide the nut as far back on the pipe as possible to give yourself room to work. Then place the ferrule (also known as a compression ring) over the end of the supply pipe. The ferrule should completely cover the end of the supply pipe.
- If installing a thread-type valve, remove any existing thread seal tape from the threads and clean them using a wire brush. Wrap the threads with thread seal tape or pipe thread compound.
Install the Valve

- If installing a solder-type valve, place the valve onto the pipe to ensure a tight fit. Twist it to distribute the flux evenly. Open the valve completely to keep the internal washer from melting. Next, heat the fitting using the propane torch. When the flux begins to bubble, apply the solder at the joint. Use about 1/2-inch of solder for 1/2-inch of pipe diameter. Wipe the joint clean with a dry cloth before the solder dries.
- If installing a push-to-connect type valve, press it squarely and evenly onto the pipe until it bottoms out. Pull it slightly to ensure that it is locked in place. The fitting type is an internal mechanism that ensures a water-tight seal and can only be removed using a special tool.
- If installing a compression-style valve, thread the valve into the compression. Make sure it slides squarely and snugly over the ferrule/compression ring. Hand-tighten the nut onto the valve. Finish tightening the nut using one adjustable wrench to hold the valve squarely and another to turn the nut. Do not overtighten the nut. This will over-compress the ferrule.
- If installing a thread-style valve, thread the valve onto the pipe and hand tighten. Use a pipe wrench to secure the pipe and tighten the valve using an adjustable wrench. Do not over-tighten. This could crack the valve or damage the threads.
Attach Supply Lines

- Attach the supply lines to the valve.
- If you are reattaching the old lines to the new valve, follow the same procedure you used to install the valve.
- If you are replacing the old supplies with new braided flexible lines, you will have to remove the old supplies from the faucets before you proceed.
Check for Leaks

- Turn on the main water supply and open the newly installed supply valves.
- Let the water flow through the faucet to clear air in the lines. Check for leaks by feeling the fittings by hand or using a paper towel.
- Tighten as necessary.
Follow these steps to replace water shut-off valves in your home. Knowing how to install valves can help you find leaks and troubleshoot other issues to avoid water damage in your home.
When you’re ready to find supplies in your local store, use The Home Depot Mobile App to locate products and check inventory. We'll take you to the exact aisle and bay. For help with toilet shut-off valve replacement and other heavy duty plumbing services, let our trusted professionals do it for you.