How to Install Split-Jamb Interior Doors
Published September 5, 2023
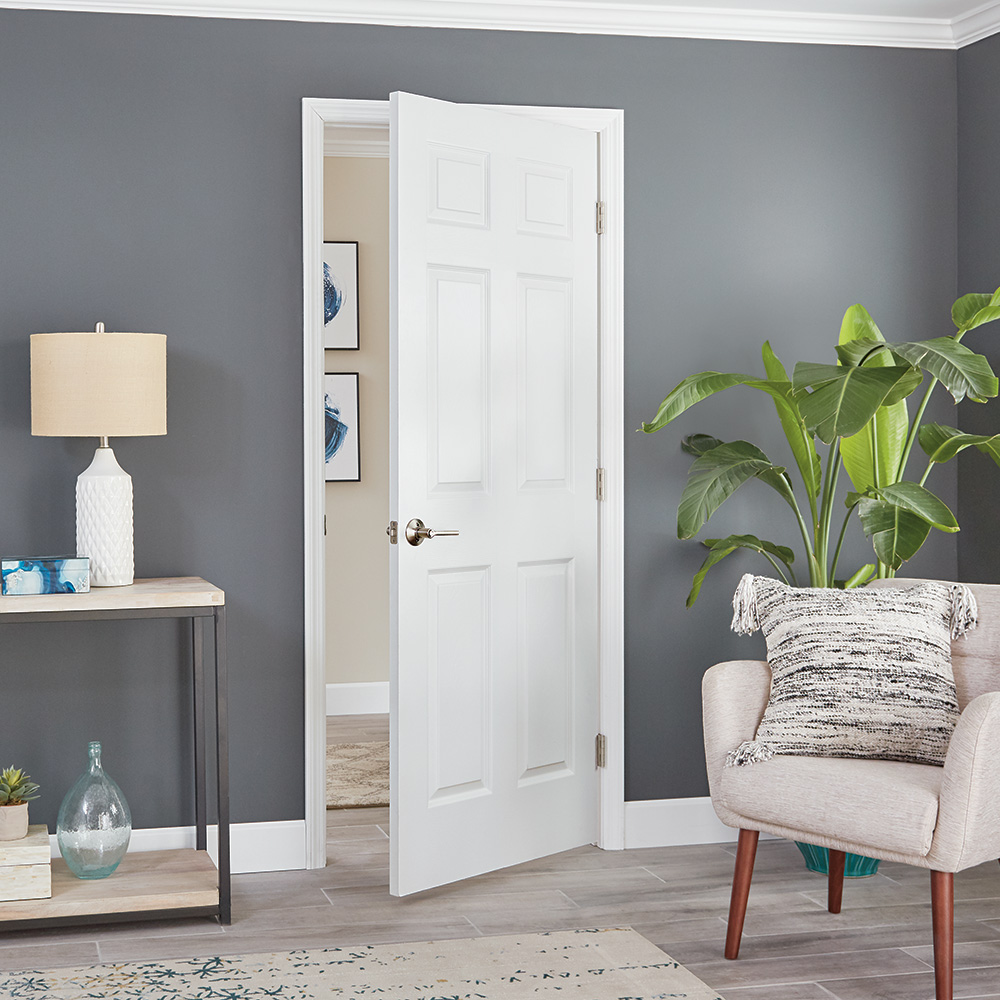
Split-jamb prehung doors work well when the rough frame is wider than standard openings. They feature jambs that are split in half lengthwise. The trim casing is already attached to each edge of the jamb. This means no mitering is necessary.
Split-jamb interior door installation is different from other interior doors. Each half of the jamb is installed separately, starting with the side with hinges. This guide explains how to install split-jamb doors in your home.
Difficulty:
Intermediate
Duration:
Under 2 hours
Table of Contents
Choose a Door and Determine Door Swing
Measure Rough Opening
Place the Door into the Opening
Secure Shims into the Frame
Nail into the Frame
Secure the Frame Center
Choose a Door and Determine Door Swing

The first step to installing a prehung door is choosing the correct door to install. Like slab doors, split-jamb interior doors come in a variety of styles and sizes. Measure your door opening and choose one that fits your space.
Next, determine the "handedness" of the door. In a doorway from a hall to a bedroom, the door should swing into the bedroom. Inside a room, the door should swing towards the room part that makes the best use of space. The actual "handedness" of the user isn't important. The door should swing toward a wall or into the least used part of a room. This ensures it doesn't block traffic.
Measure Rough Opening
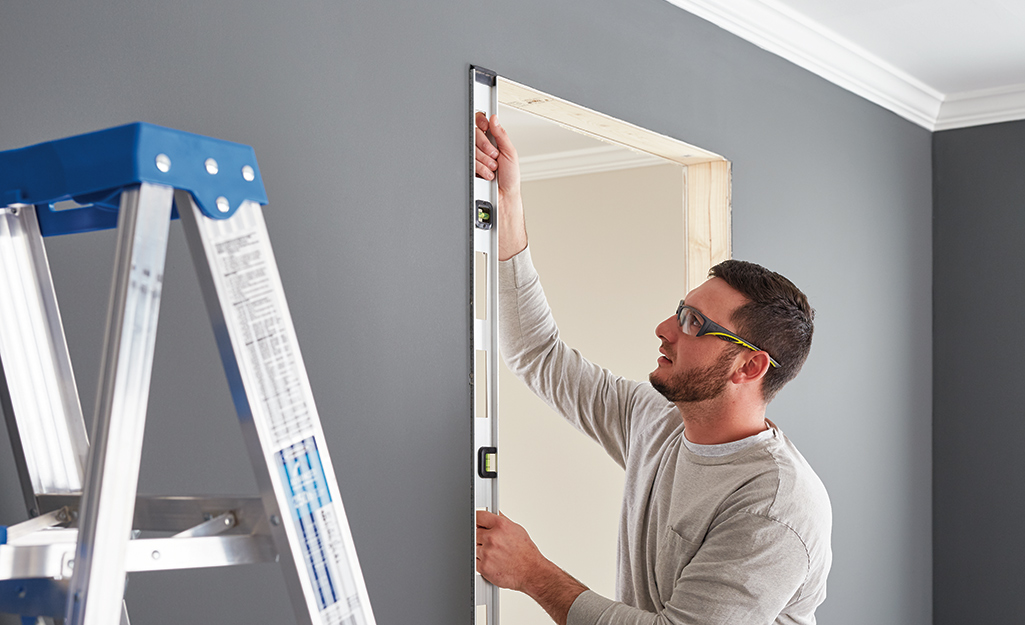
Measure the split-jamb interior door's rough opening width at the top and bottom of the frame. Measure the height on the right and left sides. The smallest measurements should be 2 inches larger than the size of the door.
Next, check the rough opening for squareness. This is done by measuring across the diagonals of the door. Check to make sure the floor is level and that the walls are plumb. The squareness, level and plumb doesn't have to be perfect. But, the more accurate they are, the easier installation will be. The height and width variances can be adjusted. They can also be covered by door trim when the door frame and door are cut to length.
The variances in the walls being plumb are the most difficult to adjust. If it's within 3/8 inches, you can adjust the difference when you install the trim. Just fill the gap with caulk. For greater variances, trim the drywall that's hidden by trim or case molding. A drywall or foam rasp is a good tool to use for this job.
Finally, extreme variances in the walls being plumb can be fixed. Move the bottom of the wall with a block of wood and sledgehammer. Note: this is only an option if floor coverings have not been installed. It's a job that's best to tackle only if you have door hanging expertise.
Place the Door into the Opening

Remove the staples, strapping, nails and plastic clips. Remove all materials holding the door frame and door together, including the door knob and lock set. Separate the door frame carefully.
Working with a partner, have one person center the door into the opening. Insert the bottom first, then lift the top into place.
When installing doors, it’s not uncommon for the door length to be trimmed. For instance, if the rooms have thick carpet, the door will need to have some length cut from it. The door and the ends of the jamb may need to be cut to length to accommodate a floor that isn't level, floor coverings of different thickness on either side of the door, or a door opening height that isn't standard. The amount that can be cut off would depend on the specific door but anything less than an inch should be OK. If you are unsure of trimming length capability, check with an associate from The Home Depot.
Secure Shims into the Frame
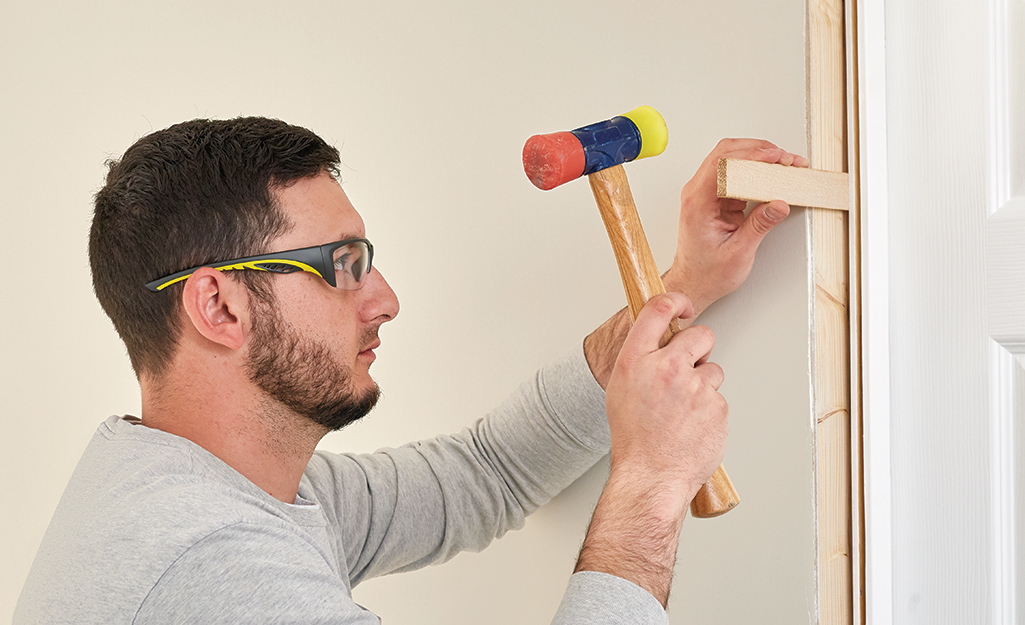
Shims secure the door frame so that it doesn't move when the door opens and closes.
- Open the door and work from the inside.
- Support the door with an air wedge or a rolled-up towel.
- Block and shim the jamb at the hinge locations.
- If your door is larger with more hinges than a standard door, you need extra shims. You will have to use additional shims above each hinge.
- Double-check to make sure that the door is still square and plumb. Adjust the shims as needed.
- Replace one screw per hinge with a 3-inch screw. This makes the door installation more secure. It also reduces the number of nail holes.
- Secure the shims with 8d finishing nails.
- Follow these same steps to shim the jamb on the lock side of the door.
- Secure the remaining shims with finishing nails.
- Use tapered shims inserted opposite of each other so that the jamb doesn't twist.
- Score the shims with a utility knife. Break off, so they are even with the face of the finished wall surface.
Nail into the Frame
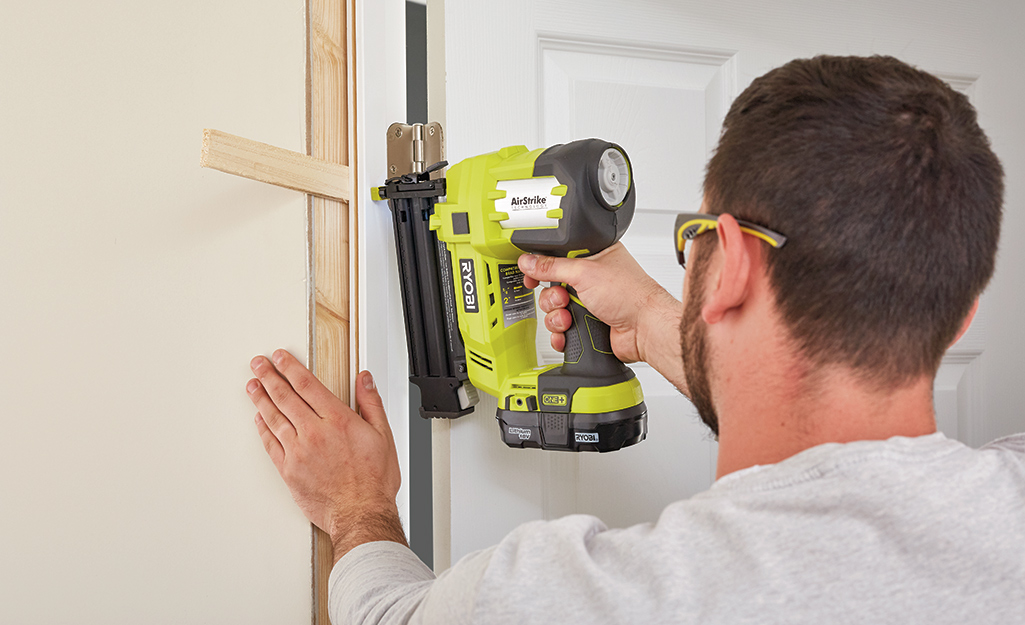
Measure 6 inches below the top of the frame. Here, drive 8d finishing nails into the hinge side of the frame. If using a power nailer, use 2 1/2-inch, 15 or 16 gauge nails.
- Penetrate through the jamb and shim, making sure the frame remains square and plumb.
- Drive another nail roughly 6 inches above the bottom of the frame. Drive a third nail into the middle.
- Follow these same steps to secure the lock side of the door.
- Use a shim behind each nail and trim them with a utility knife. Test opening and closing the door; adjust as needed.
Secure the Frame Center
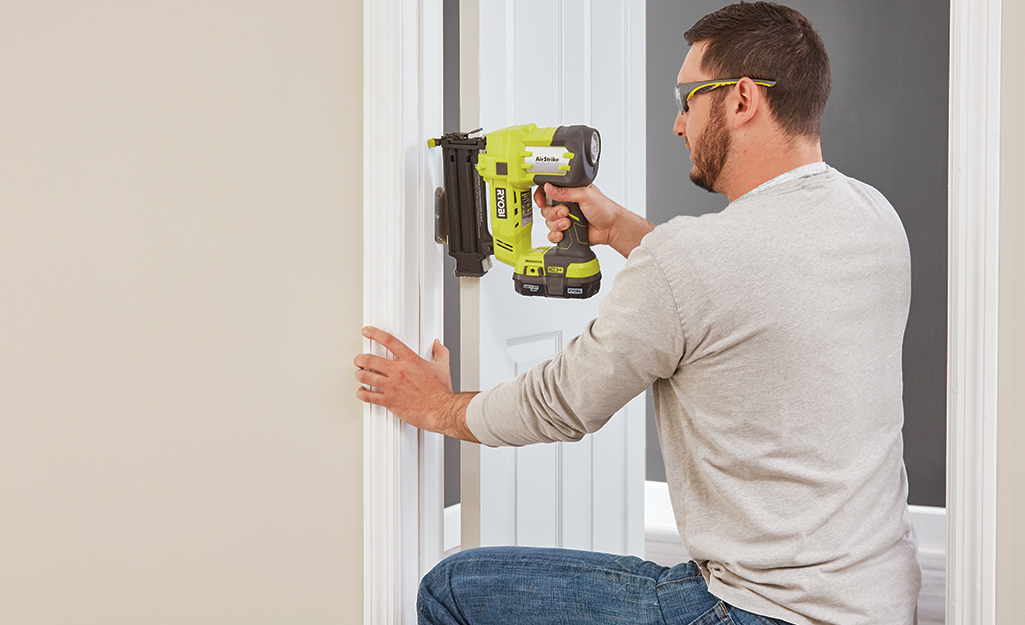
Finally, slide the second part of the frame into place.
- Use a rubber mallet or a block of wood and hammer to tap in place.
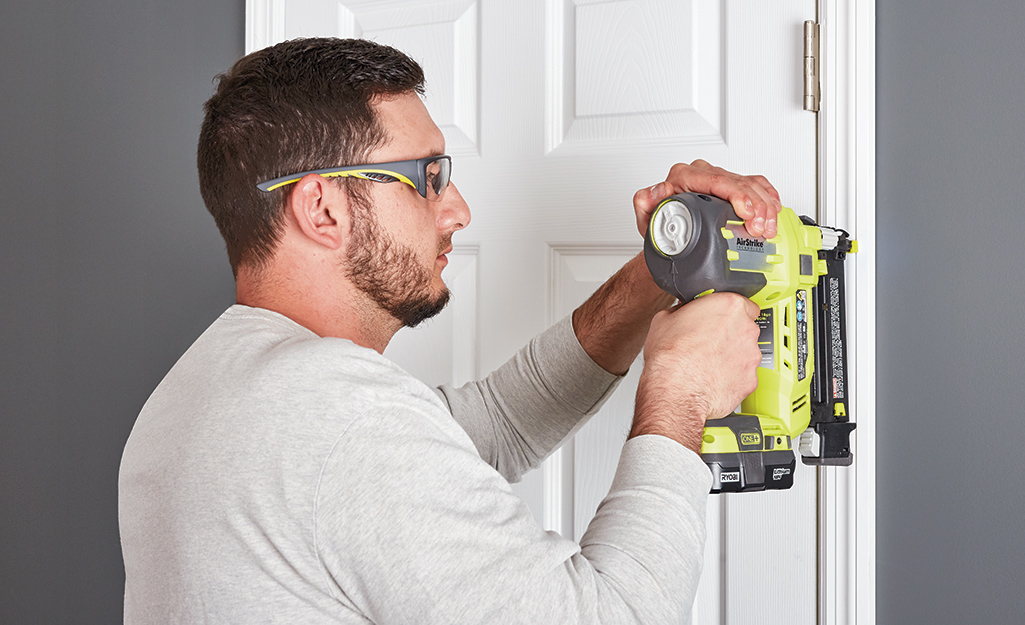
- Nail through the jamb stop and secure together.
- Secure the trim to the wall with two side-by-side nails every 12 inches from top to bottom.
Make Finishing Touches
Once you've finished installing the doors, Install the doorknob and lock set to finish. Prehung doors ship with a plastic piece to hold the door in shipping. Remove the plastic piece after the door is stood into place. If you install the knob and lock set early, it can slow down your process.
Are you staining or painting your door after installation? Seal it with two coats of paint on all six sides, including the edges. This prevents moisture from seeping into and buckling the wood. If needed, grease all hinges, so the door opens and closes smoothly.
Learning how to install split-jamb doors can be made easier with the right tools. The Home Depot is your DIY headquarters. Looking for a tool to complete your project? The Home Depot delivers online orders when and where you need them.


