How to Install Vinyl Siding

Published February 6, 2024
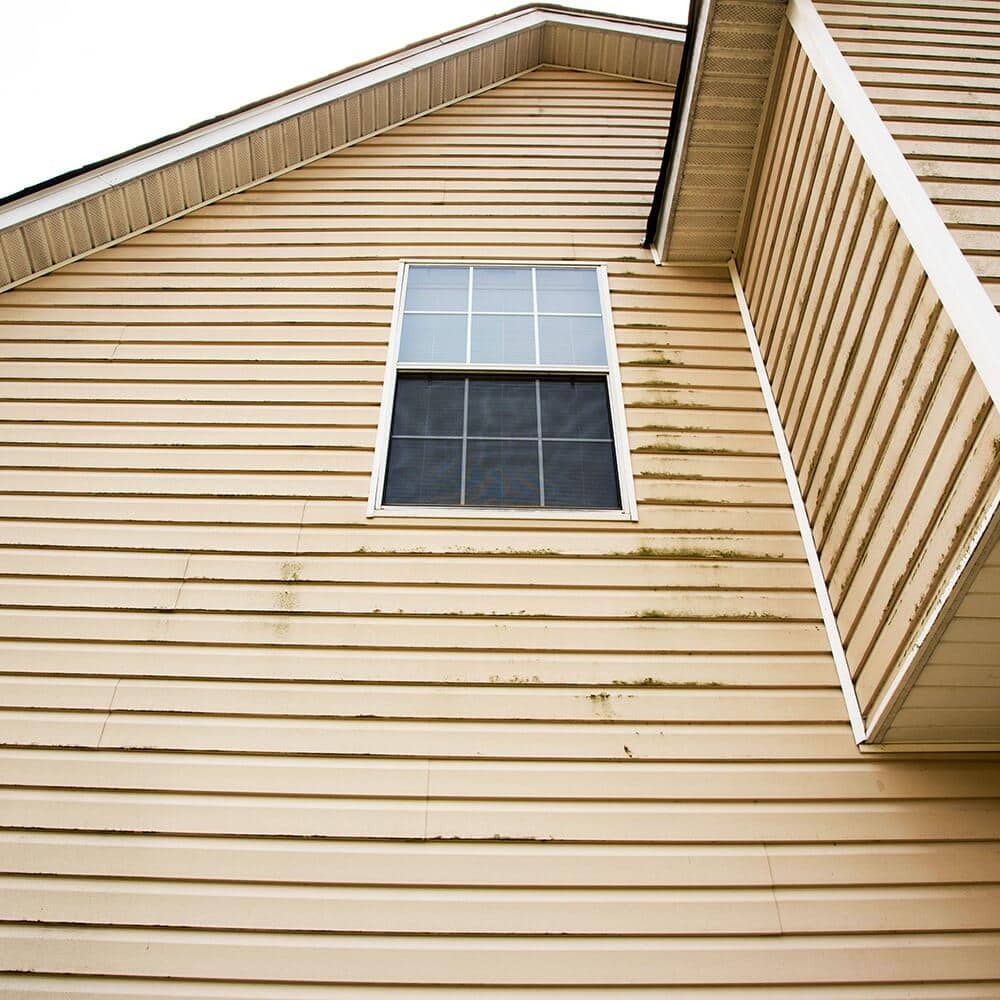
Vinyl siding is a popular choice for homes today. It’s attractive, durable and long-lasting. A major reason to choose vinyl is that it never needs to be painted, and can be cleaned with a brush or pressure washer.
This guide will introduce you to the concepts needed to plan, install and repair vinyl siding with all of its various accessory parts, like corner posts and utility strips. For detailed information, refer to the installation manual that is available with the product, or download from the product information page on homedepot.com.
Difficulty:
Advanced
Duration:
Over 1 day
Table of Contents
Prep and Planning for a Vinyl Siding Install
How to Measure for Vinyl Siding
How to Cut Vinyl Siding
Tools and Materials
Installation Tips
Trim and Other Accessories
Prep and Planning for a Vinyl Siding Install

- Siding a house is a big project that requires planning and preparation.
- Find out how much help you will have and estimate your working speed. Consider the time the house will be without siding and how weather will affect your ability to work.
- Go around the house and move anything that can be moved away from the work area.
- Trim or tie back any trees or shrubs that will be in the way of working.
- Decide if scaffolding or ladders will work best for your situation. Leveling feet can be added to ladders for uneven ground.
- Determine the scope of the job. Will you be installing siding only or doing soffits and facia, too?
- If there is siding already on the house, it may need to be removed first – or maybe just the trimwork. Anything that protrudes from the flat plane of the wall will be an issue. Permanent items like power meters will be surrounded with J-channel, like a window.
- Any rotten or damaged wood needs to be replaced.
- If the wall surface is uneven, furring strips and foamboard can be added to “plane out” for installation.
- Vinyl siding isn’t completely weatherproof by itself. The building should be weather sealed and housewrap should be in place. Housewrap is required by code in many areas.
- Mostvinyl siding parts will be in 10 to 12 foot lengths. Transportation and storage should be planned in advance. Parts should be stored flat, with support along the entire piece.
- Hanging vinyl siding will be much easier if there are at least two people working.
How to Measure for Vinyl Siding

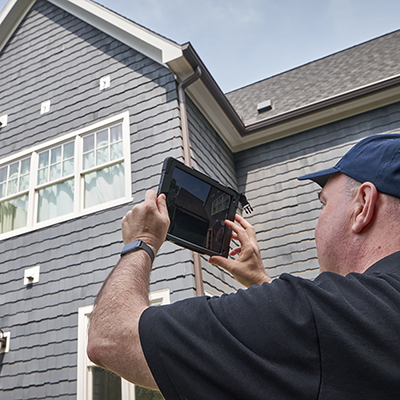
The first step is to measure the house and do a little bit of counting. You need to know the number of windows and doors, as well as the number of inside and outside corners.
- Finding the square footage of the siding is fairly simple. Measure the length and height of each wall in feet. Round up to the nearest foot. Multiply those numbers to get the area of that wall in square feet. The formula is A=LxH.
- Doors and windows aren’t subtracted from the walls. This extra material accounts for the normal overage percentage.
- Gable ends and dormers, which are triangles, can be figured by measuring the width of the widest span and the height of the tallest span. Multiply these two numbers, then divide the answer by two. The formula is A=1/2 BxH.
- Once each wall has been measured, add all the square foot numbers to find the total square footage of the vertical walls to be covered.
- Measure the overhangs in the same manner as the walls to find how much soffit material will be needed.
- Count each inside and outside corner.
- Measure the perimeter of the house to find the amount of starter strip, which is a piece that the first row of siding on each wall hooks into.
- J-channel will be needed for the entire roofline, including the angled portions of gables and dormers.
- Every opening in the walls will be surrounded by J-channel. Things like windows, vents and power meters will be surrounded on all sides while doors will be surrounded on all sides except the bottom.
A utility strip, also called an undersill strip, will be needed any time the nailing strip is removed. For example, when cutting to fit around a window, the nailing strip may not land in the right place, so it’s removed where the siding piece goes underneath. A utility strip is added to the cut section of the siding to make it the correct thickness to lock into the J-channel.
The same holds true for the top course of siding where it meets the roofline. This piece will usually need to be cut along the entire length in order to fit, so the entire perimeter of the roofline will need a utility strip in addition to the J-channel.
How to Cut Vinyl Siding

- Vinyl siding is easy to cut by several methods.
- Straight lines can be scored with a utility knife and snapped off over a straightedge.
- Vinyl siding cuts easily with snips intended for sheet metal. These tools work with a scissor action and are often called “aviation snips.” If cutting curved lines, there are right and left cutting versions of these tools.
- Other types of scissor-action metal cutters, like tin snips, can be used as well.
- Woodworking tools like circular saws and miter saws will cut vinyl siding, but use a fine-toothed blade and cut carefully. A blade with coarse teeth can grab and break siding, especially if pushed too fast.
- An angle grinder with an abrasive cutting wheel can also be used.
Tools and Materials

There is quite a bit of measuring and cutting involved in this job, as has been discussed.
- Measuring tape is indispensable. A measuring job like this is made easier with a wide tape that has a long standout and big numbers.
- A laser measurer may save the effort of moving a ladder for some measurements.
- Take stock of the cutting tools you already own and determine which cutting method you’ll use based on what is available.
Other tools needed are:
- Hammer with a smooth face
- Flat pry bar
- Level
- Carpenter’s square
- Rafter square
- Chalk line
- Ladder
- Work table or sawhorses-Siding tools
- Snaplock punch – used to form locking details on cut edges
- Nail hole punch – used to make new nail slots or elongate existing nail slots
- Unlocking tool – used to unlock two pieces of siding after they’ve been installed
Materials:
- Starter strip
- Siding
- J-channel
- Utility strip
- Outside corner posts
- Inside corner posts
- Window and door framing pieces, optional
- Soffit material
- Corrosion resistant roofing nails, screws or staples
Fasteners should be long enough to go at least 3/4 inch into the framing. Take the thickness of any materials that are on top of the framing into account. Roofing nails are most common. Pan head screws may be used. Staples must have a crown wide enough to span the nailing strip.
Fasteners must be corrosion resistant. Galvanized or stainless steel are best. If using aluminum parts, like starter strips, use stainless steel for them.
Installation Tips

- Installation should begin at the back of the house and work towards the front.
- The starter strip will be installed below the chalk line, so measure the starter strip to see how wide it is. Find the lowest point where siding will go. Measure up from this point by the width of the start strip. Partially drive a nail to make an anchor point for the chalk line. Go to the other end of the wall and use a level to find the place to hold the chalk line. Snap a line. Move on to the net wall and around the house, snapping level lines.
- Overlaps should be made to face away from the street and entryway. The lines on the end of each piece are more visible, so this makes the house look better from the street.
- Pieces that overlap should overlap by at least one inch.
- Vinyl siding will expand and contract with temperature changes. When pieces butt against each other, like the end of a siding piece going into a J-channel, leave a 1/4 to 3/8-inch gap to allow for movement.
- Nails should be driven in straight, taking care not to hit the siding with the hammer. Nails should be left slightly loose, with about 1/32-inch space. Nails should be driven through the center of a nailing slot. The slot can be widened with a slot punch tool.
- The bottom lock of the next piece should click into the top lock of the previous piece. After they click together, don’t pull the siding so tight that it’s deformed. Allow the locks to hold it up while you make sure it isn’t bowed outward before nailing.
- Make left and right templates in areas where a consistent angled cut will need to be repeated, like the gable end of a wall. Figure out the angles one time on a scrap piece, cut it, then use this as a template to mark the remaining angle pieces. A rafter square will help you find and mark the angle.
Trim and Other Accessories

- Siding trim for doors and windows are available from simple surrounds and lineals to ornate mantels.
- Dentil molding and soffits can work with vinyl siding or other exterior finishes like wood or masonry.
- Covers and vents are made in colors that match the siding and trim options.
How to Replace Damaged Vinyl Siding

- As durable as vinyl siding is, it can be damaged. Animals, falling limbs and debris thrown by lawnmowers are only a few of the things that can cause damage.
- Due to the interlocking and overlapping nature of installation, most parts will require removal or loosening of several pieces surrounding the damage.
- The unlocking tool is used to unlock one piece of siding from another.
- In some cases, other parts can be loosened without complete removal. Vinyl siding is flexible but it shouldn’t be bent or kinked. It’s more flexible when warm. In very cold weather, it will not be flexible at all, and damaged areas should be patched temporarily, waiting for warmer temperatures.
- Pry against a block of wood when removing nails. A nail puller, claw hammer or prybar are all good tools for pulling the nails that hold the siding in place.
- A flat prybar can be worked behind courses of siding or other accessory pieces, if needed.
- In some cases, replacement parts can be worked into existing installations by removing a few fasteners at the ends instead of removing an entire section.
Whether you are installing or repairing vinyl siding, The Home Depot has everything you need to get the job done and delivers online orders when and where you need them.