How to Install Wire Shelving
Last updated January 9, 2025
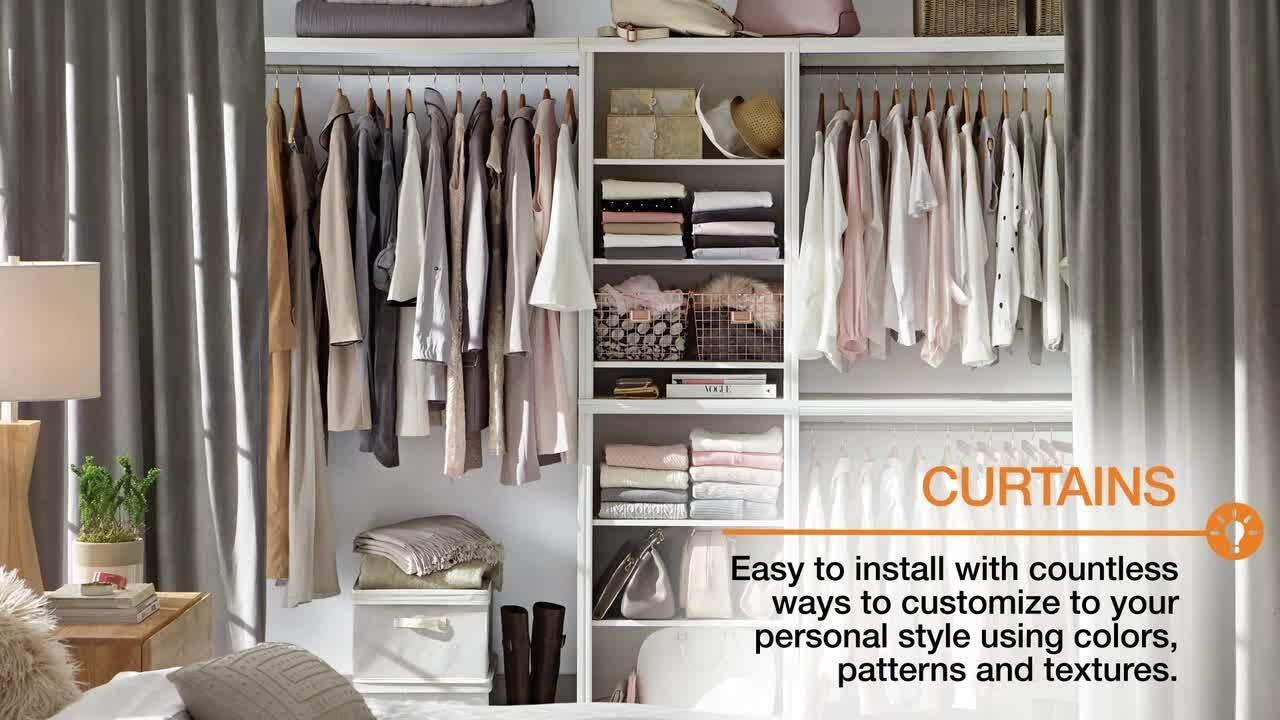
Create a well-organized space with easy-to-install wire shelves. Wire storage shelves are a budget-friendly and low maintenance closet shelving option. Wall-mounted wire shelves are ideal for organizing laundry rooms and pantries too. Many people prefer to install wire shelving for the versatility. Most wire shelving sets accommodate baskets and drawers. These options expand the storage possibilities of the system. Read on for how to install wire shelving and get your closet under control.
Difficulty:
Beginner
Duration:
Over 1 day
Table of Contents
Mark Stud Location in Wall
Install the Hang Track
Level the Hang Track
Hang the Shelf Standards
Install Hanger Bars
Attach Shelves
Mark Stud Location in Wall

Wire closet shelving is ideal for both storing boxes and hanging garments. Installing wire shelving requires making sure it's sturdy enough hold the weight.
- Use a stud finder to locate the studs in the wall where you're hanging shelving. Mark the position lightly with a pencil.
- Locate the first stud and measure to find the rest. The center of one stud will be 16 inches or 24 inches from the center of its neighboring studs.
Install the Hang Track

- If you are using a system with a hang track, install that first.
- Hang tracks run parallel to the ceiling and screw into the studs. While the hang track can be hung at any height, running it across the top of the wall is recommended.
- Using a #12 pan-head screw, screw the hang track through the middle into the top plate. The top plate is a piece of framing that runs the length of the wall. It extends about 1 1/2 inches below the ceiling.
Level the Hang Track

- Before driving in the rest of the screws, use a level to make sure the line is straight.
- If the ceiling is uneven, drop the entire track 1/2 inch and reinstall.
Hang the Shelf Standards

- Hang the shelf standards from the track. The standards should be no more than 24 inches apart. Follow manufacturer’s recommendations.
- Wherever possible, put each standard directly over a stud. Drive screws directly into this stud.
- Verify that the standard is plumb or straight. Draw a straight line along it before screwing it in place.
- Screw the standard into place along the line. Use the screws the manufacturer recommends.
Tip: Use the appropriate size toggle bolt if driving screws into a spot with no stud.
Install Hanger Bars

- Install the shelf brackets on the back of the hanger. Put them into the slots in the standard. Push down until they snap in place.
- If you're planning on including baskets or other hanging elements, double-check that you've allowed enough space for them.
Attach Shelves

- Place the shelves on the hanger bars.
- Once the shelves are firmly in place, put end caps on the exposed ends of each shelf.
Tip: If you need to shorten the length of your wire shelves, use a bolt cutter or a hacksaw. Cut the ends. Round the desired length down to the next lower full inch. The cut wires should extend far enough to hold a plastic shelf end cap. This will help you to avoid cuts and snags.
Install Clothing Bar

- If you want to add a clothing bar, hang bar supports from the shelf. The design varies by maker and style.
- The bar supports in the system pictured slip through the space between the wires and lock in place.
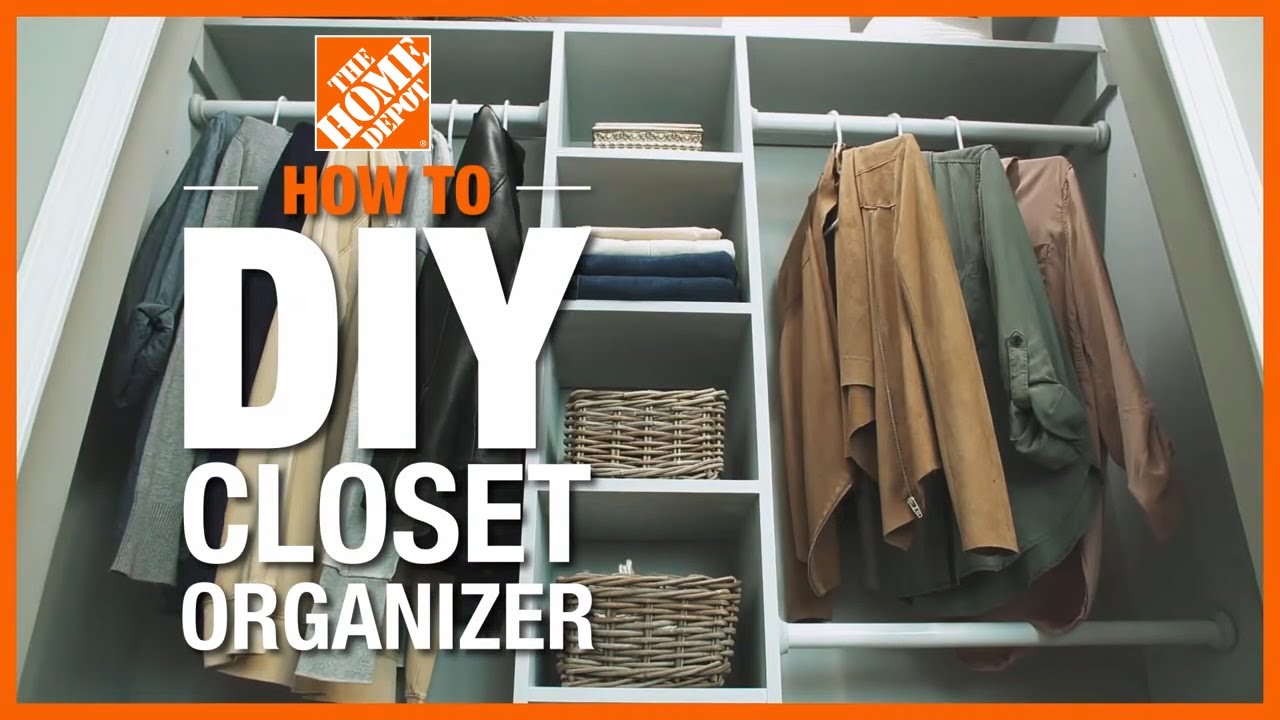
There are many styles and brands of closet organizers. Nearly all of them are comprised of wire shelves and supports that can be screwed together quickly and easily. Installing wire shelving is a simple way to get any space better organized. Customize your new shelving with baskets. You can clip hanging baskets to the wire shelf. Or use floor-based baskets that slide away like drawers. Once you know how to install wire shelving, you can do it yourself. Or if you prefer, use our closet installation services.