How to Lay a Brick Path

Last updated April 2, 2025
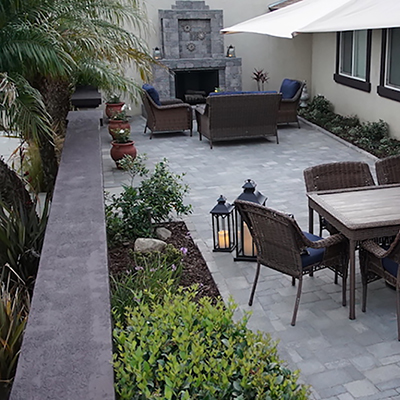
If there are muddy trails in your yard from walking over the same sections, maybe it’s time to add a garden path. In addition to keeping your feet dry, a path can make your garden more beautiful. Installing a path doesn’t have to mean calling the pros. This guide will teach you how to lay a simple brick path in a day.
Difficulty:
Intermediate
Duration:
Over 1 day
Table of Contents
Measure Distance
Calculate Materials & Gather Tools
Layout the Path
Mark Path
Dig the Path
Line Path
Measure Distance

Before you can start laying a path, you need to decide where it will go and how big it will be. Most front and back walkways are 3 to 4 feet wide, but pathways can be much narrower. For this project, we’ll be creating a 14-inch-wide brick path. You can make yours wider if you wish.
The length will depend on how far you want your path to travel. Use a measuring tape to determine the distance.
Tip: If you’re planning a long path, have someone help you measure the length.
Calculate Materials & Gather Tools

Now that you know the dimensions for your path, you can determine the amount of materials you’ll need for your project. Here’s a rough estimate:
- Stacked bond (pictured): Divide the length of the path by the size of the bricks.
- Herringbone: If you are using 4-inch bricks, every two bricks will add 2.5 inches to the length. To determine the number of bricks you need, divide the total length by 2.5.
- Basketweave: Each square foot of path will need eight bricks.
- Enough gravel for a 1- to 2-inch layer that covers the full length and width of the path.
- Enough sand for a 1-inch layer that covers the full length and width of the path.
You’ll also need a shovel, tamper, mallet, landscape fabric, sod staples, wood stakes and grass paint.
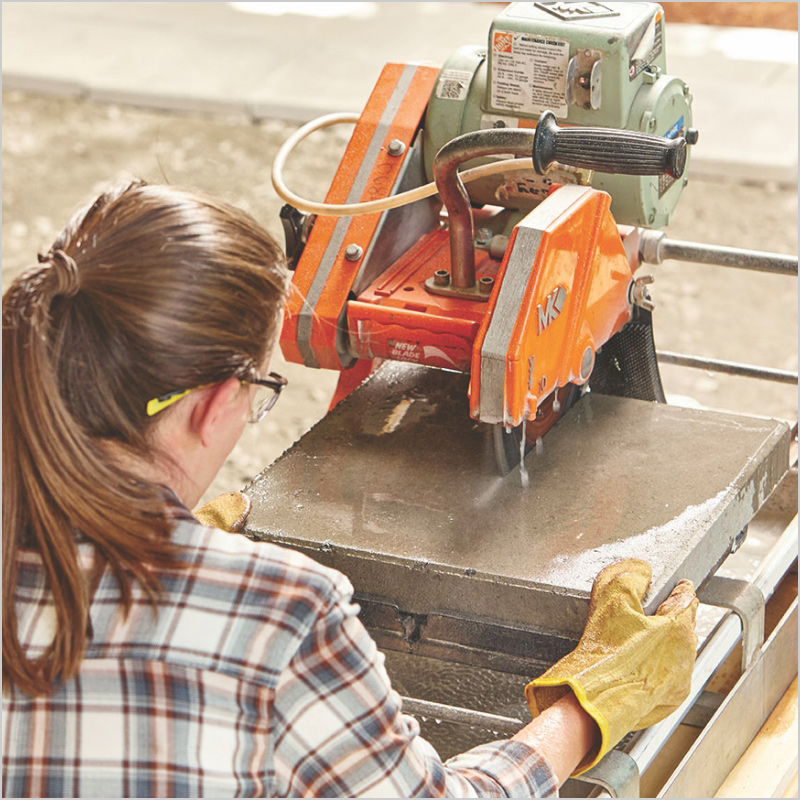
Tip: Use the Paver Calculator to quickly calculate the number of bricks and the quantities of gravel and sand based on the dimensions of your path. Be sure to add an additional 10% overage for errors or if you need to cut any bricks.
Layout the Path

Use the measuring tape to check the distance as you position the stakes to maintain a consistent width. Plan out your path to curve gently. Try to avoid sharp turns. To build the project pictured here:
- Place your wood stakes in the ground 3-4 inches past the path's edge. This will allow room for edging on each side.
- Put the stakes 16 inches apart.
- Check the distance as you position the stakes to maintain a consistent width.
Mark Path

Once you stake your path out, use grass-marking paint to outline the path on the ground. Having the markings will make the next step much simpler.
Dig the Path

The first step in building a solid foundation for your path with gravel and sand is to dig a trench for your path.
- With a square shovel, square off the sides of the trench.
- Following your markings, dig a trench 6 inches deep inside the trench.
- Measure the depth as you dig periodically to keep it as consistent as possible.
- Remove and set aside any top layer of grass as you work. You can use it to fill in areas around the path or in your yard.
Line Path

A good ground barrier system will keep your brick path looking great for longer. It will help prevent water, soil, and other debris from seeping in from below and causing structural damage.
Start your ground barrier by lining the trench with landscape fabric.
- Measure the length and width of your trench to calculate how much you will need.
- Cut your landscape fabric slightly larger than the size of the trench. It should overlap the edges by about 1-2 inches.
- Place the material firmly in the trench.
- Hammer in pins or sod staples to secure the fabric to the ground.
Spread Gravel

Gravel will serve as the base of your garden path, so it goes in the trench first.
- Spread a layer of gravel 1 to 2 inches deep along the entire length of your path.
- Use a tamper to compact the gravel and form a solid foundation. Go slow and use the tamper in short, firm strokes.
- Make the gravel layer as level as you can along the entire path. If you see noticeable dips or bumps, tamp more. Add or remove gravel as you go and use a level if need be.
Spread Sand

A sand layer can make bricks less likely to shift and sink over time. Adding sand on top of gravel for a ground barrier also helps to level out the trench's surface and make it more compact. Sand will fill in all the small gaps between larger pieces of gravel.
- Spread a 1-inch layer of sand along the entire path with a shovel.
- Use the tamper to press down and compact the sand layer into an even, smooth surface.
Fill in Edges

Next, lay bricks according to your desired pattern. Tap bricks evenly into sand with a rubber mallet or a
4- x 4-inch laid on its side. Work your way slowly. Check your bricks regularly with a level. If necessary, add or remove sand so that the tops of the bricks are even with the surrounding soil.
Tip: As you’re laying your new brick pathway, loosely install edging on one side. This will provide a guide to follow, especially when going around curves.
Fill Gaps

Once you’ve completed adding all the bricks, it’s time to fill the gaps between the bricks with sand. This will help keep the bricks in place and stop water from the foundation.
- Start by pouring a light layer of sand over the bricks.
- Using a push broom, sweep the sand into the gaps between the bricks.
- Keep repeating the process until you’ve filled all the gaps in the path. Work in small sections for the best results.
Finish & Clean Up

- Sweep excess sand or dirt off the top of your path.
- Clean up any excess soil or sand around the path.
- Plug any holes around the exterior of the path with soil. Cover bare areas with pieces of the grass you dug up earlier or use sod.
- Water the transplanted grass to help it take root and grow.
Installing your own brick path is a DIY project that will beautify your outdoor space. Plus, it adds a practical way to walk around your property without tracking dirt in. Ready to get started?
From bricks to a shovel, get everything you need. Use the Home Depot Mobile App to locate products and check inventory. We’ll take you to the exact aisle and bay. Consider tool rental to get your project done. Use a rented too and then bring it back. There's no maintenance required, and no storage needed.