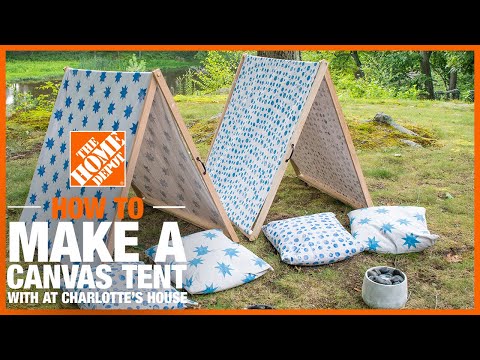
How to Make a Canvas Tent
Last updated September 7, 2023
Presented by Charlotte Smith of At Charlotte’s House
A canvas tent is a fun way to turn an ordinary day in the yard into a backyard adventure. With just a few tools and materials, you can help kids create their own foldable tent that they can use as a reading spot, play area or the perfect spot to eat s'mores. This guide will show you how to make a canvas tent where your kids can create memories.
Difficulty:
Beginner
Duration:
2-4 hours
Table of Contents
Cut Angled Pieces
Cut Bottom Pieces
Drill Holes in Angled Pieces
Connect Boards and Insert Dowels
Insert the Dowel
Hand Stamp the Canvas
Cut Angled Pieces

To begin, measure and cut the angled pieces of the tent. Measure and cut four pieces of wood 4-feet long. Then set a miter saw to 28 degrees and cut an angle on one end of each piece of wood.
Tip: The tent will work just as well if you don’t make this angled cut. The cut allows the legs of the tent to sit flush to the ground.
Cut Bottom Pieces

Measure and cut the cross pieces that will sit on the ground.
In order to make sure the tent can fold relatively flat, one side of the tent will fit inside the other side of the tent. To achieve this, cut one piece of wood to 46 1/2 inches. Then cut the other pieces to 45 inches.
In order to make sure the tent can fold relatively flat, one side of the tent will fit inside the other side of the tent. To achieve this, cut one piece of wood to 46.5-inches. Then cut the other pieces to 45-inches.
Drill Holes in Angled Pieces

With your forstner bit, drill 3/4-inch circles in the top of the 4-foot angled pieces of wood.
Connect Boards and Insert Dowels

Screw the two bottom boards into either end of the angled boards. Use a kreg jig to make pocket holes in either end of the bottom boards.
Alternately, you can predrill and use wood screws from the outside of the angled boards.
Next, line up the bottom boards with the angle of the side boards and attach with 1 1/4-inch kreg screws.
Insert the Dowel

Hammer the dowel into the holes at the top of the tent. Begin by hammering the dowel into the inner sides of the tent, and then tap the boards on the outer side of the tent in place. The dowel should be fairly snug.
Hand Stamp the Canvas

Use a canvas painter's drop cloth for the tent itself but add a little decorative flare by hand stamping a pattern with DIY rubber stamps.
Sketch out the stamp pattern onto a piece of craft foam and then cut it out. Stamps made of two or three layers of craft foam work best, so trace the shapes and cut out a second layer. With a hot glue gun, adhere the foam shapes to a piece of scrap wood.
Dip the stamp into the paint, making sure there isn’t excess, and then carefully place it onto the canvas.
Optional step: You can also sew the tent fabric. Once the paint has dried, cut and hem the fabric so that it’s 45 inches wide. Don’t worry about the length as you can trim it later.
Tip: Protect your work surface and pour a thin layer of latex paint onto a paper plate.
Attach Canvas to the Frame

With the right side of the fabric face down, staple one end of the canvas along the bottom piece of wood. Make sure the hem of the fabric is facing inside the tent and slightly overlapping the edge of the 1 x 2. To make a clean and taut edge, place a thin piece of lath on top of the fabric and nail it in place.
Now, bring the fabric up and over the dowel at the top of the tent and staple as tightly as you can along the opposite bottom board. Again, make sure the hem of the fabric is facing inside the tent. Add the second piece of lath to help make the tent fabric taut.
Use a razor blade or scissors to trim off excess drop cloth.
To make it easier to move the tents when folded, add a hook and eye closure to hold the legs in place and add a handle.
Enjoy

You did it! Now that your canvas tents are built, set up a few pillows and enjoy a fun afternoon or evening in the backyard.
Make a DIY Fire Pit

Nothing goes better with a DIY tent than a DIY fire pit.
To make yours, fill a ceramic pot with small gravel until it’s an inch below the lip of the pot. Then, place a food-safe sterno burner in the middle and fill in around it with decorative river rocks.
Once you're ready, light the sterno and make s'mores.
A great way to spend time as a family, making a canvas tent allows kids to be creative while making something for themselves. Ready to start your family project? Shop our wide selection and get everything you need to get the job done. The Home Depot delivers online orders when and where you need them.