How to Make a DIY Copper and Wood Monitor Stand

Last updated September 7, 2023
Presented by Anika Ghandi of Anika’s DIY Life.
If you study or work from home, you want your computer monitor at eye level to reduce the stress on your eyes and back. This guide shows you how to build a simple stand that will lift your monitor. Plus, it will give you more space to work on your desk. Watch the video for detailed instructions or use the steps below.
Difficulty:
Beginner
Duration:
2-4 hours
Table of Contents
Measure and Paint
Build the Copper Pipe Base
Arrange the Copper Pipes
Shine the Copper Pieces
Build the Frame
Complete Copper Pipe Base
Measure and Paint
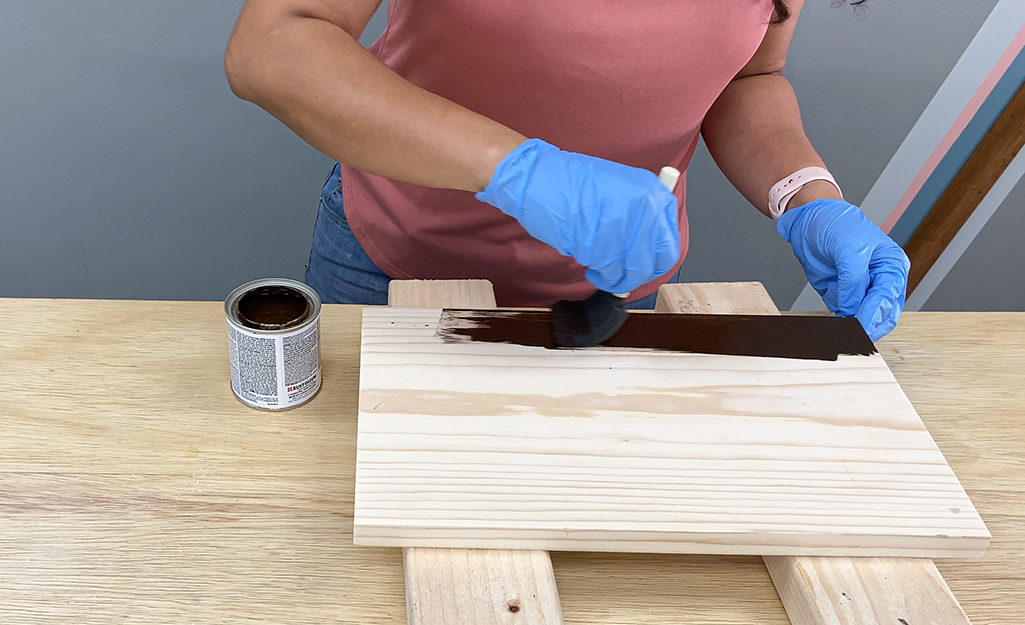
- Measure the base of the monitor to determine the size of the monitor stand.
- We used a 1-inch x10-inch wood board for the depth of the monitor stand, 15 inches for the width. You can adjust the size to fit your needs.
- Sand, clean and stain in the color of your choice.
- Allow it to dry.
Build the Copper Pipe Base
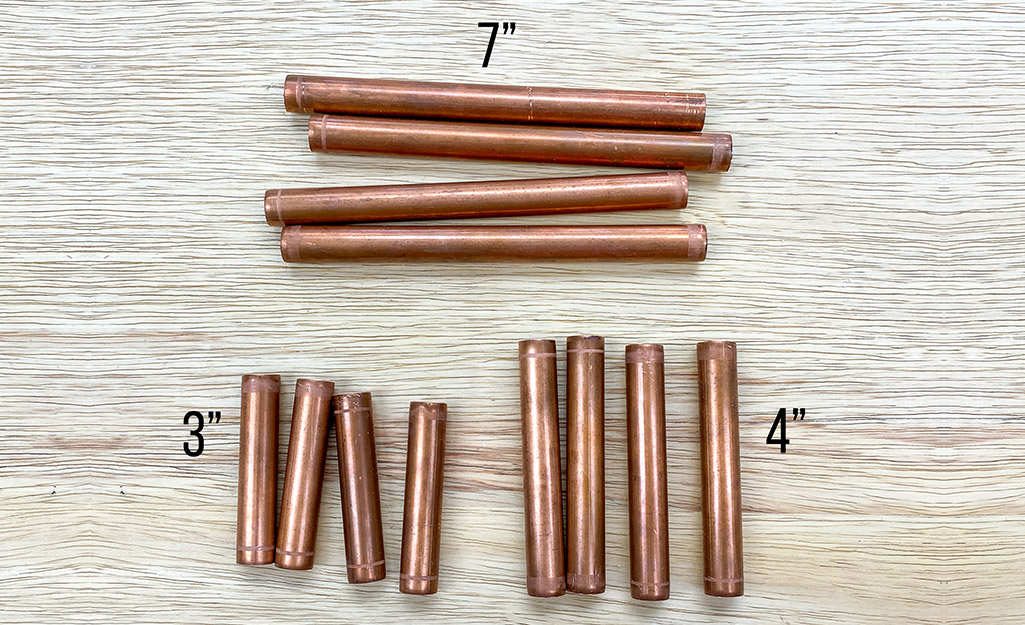
- Using a 1/2-inch copper pipe, measure and mark the lengths you need.
- Use a pipe cutter to cut them.
- The final lengths are 7-, 3- and 4-inches as shown above. There are 4 pieces in each length.
Arrange the Copper Pipes

Arrange the copper pipes and T-joints together as shown.
Side 1:
- Lay a 7-inch pipe in the middle with T-joints on either side.
- Followed by the 3-inch pieces on either side.
- Place the 1/2-inch 90-degree elbow joints on the ends, then the 4-inch pieces.
Middle: Lay the two 7-inch pipes across to attach to the 1/2" copper T-joints on the other side
Side 2: Repeat the layout of the first side.
Shine the Copper Pieces
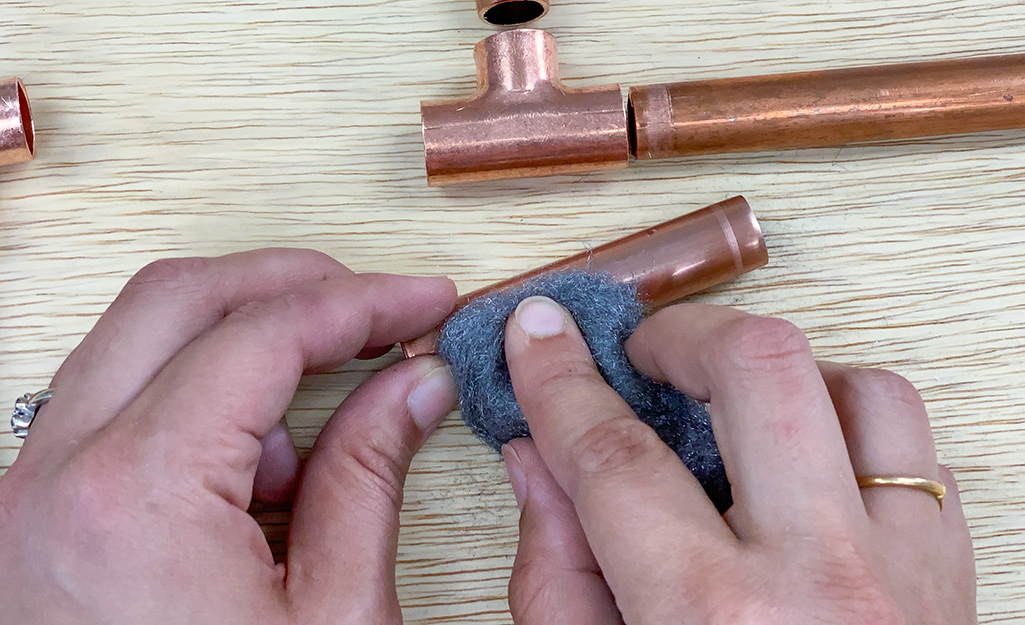
Buff copper pipes with 0000 steel wool to remove oxidation and restore the shine.
Build the Frame
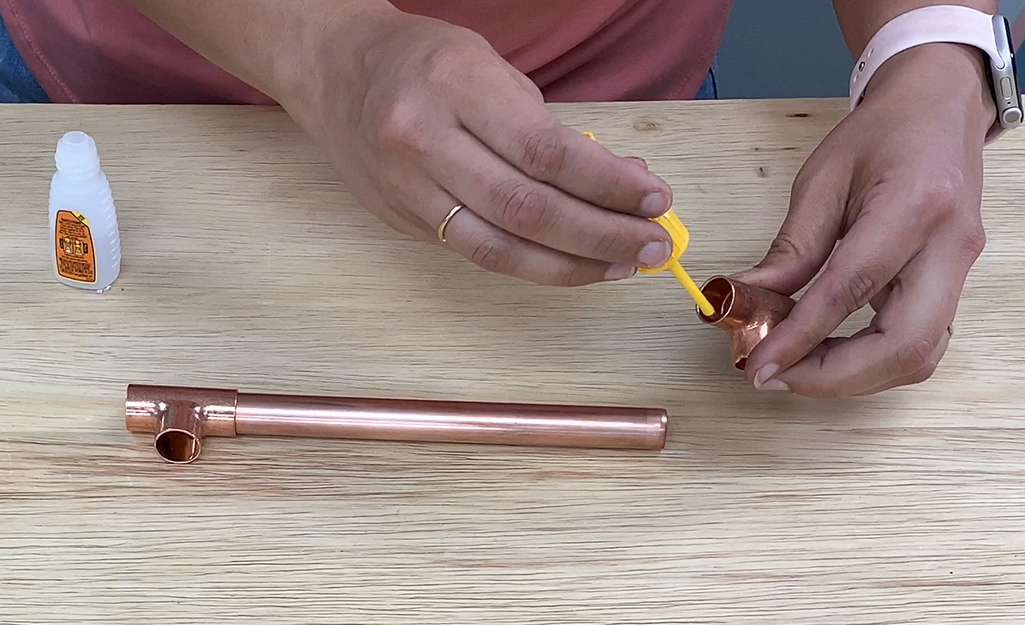
- Start with the center grid to make sure it is flat against the table.
- Use super glue or epoxy to put the pieces together.
- Apply and hold for a few seconds.
- Attach elbows on all four corners.
- Attach the 4-inch copper-pipe legs.
Complete Copper Pipe Base
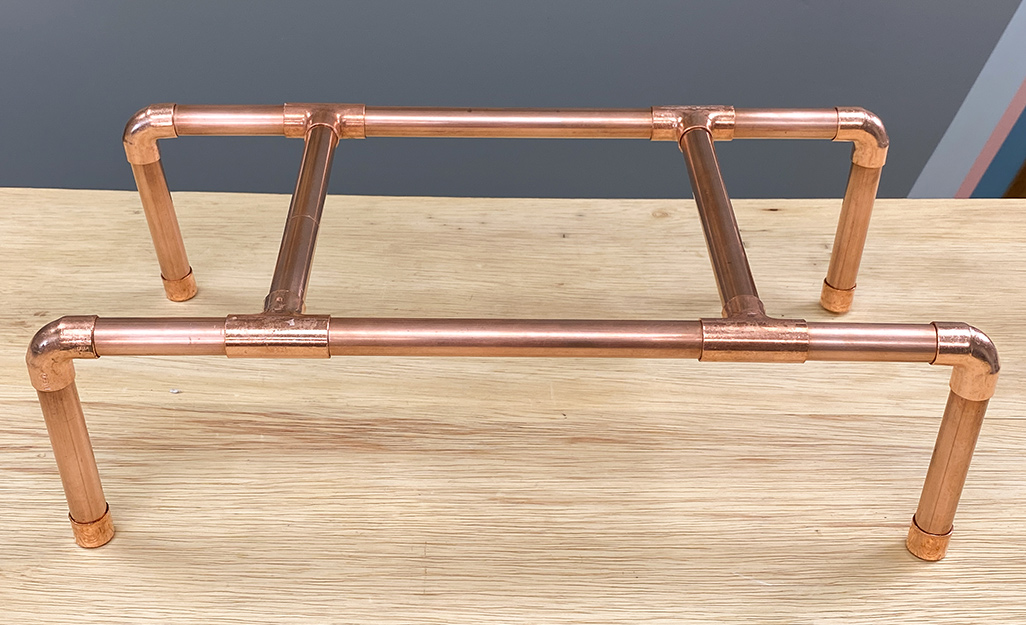
- Add end caps to the feet to complete the copper pipe base.
- Let dry. The base is ready.
Attach the Monitor Base
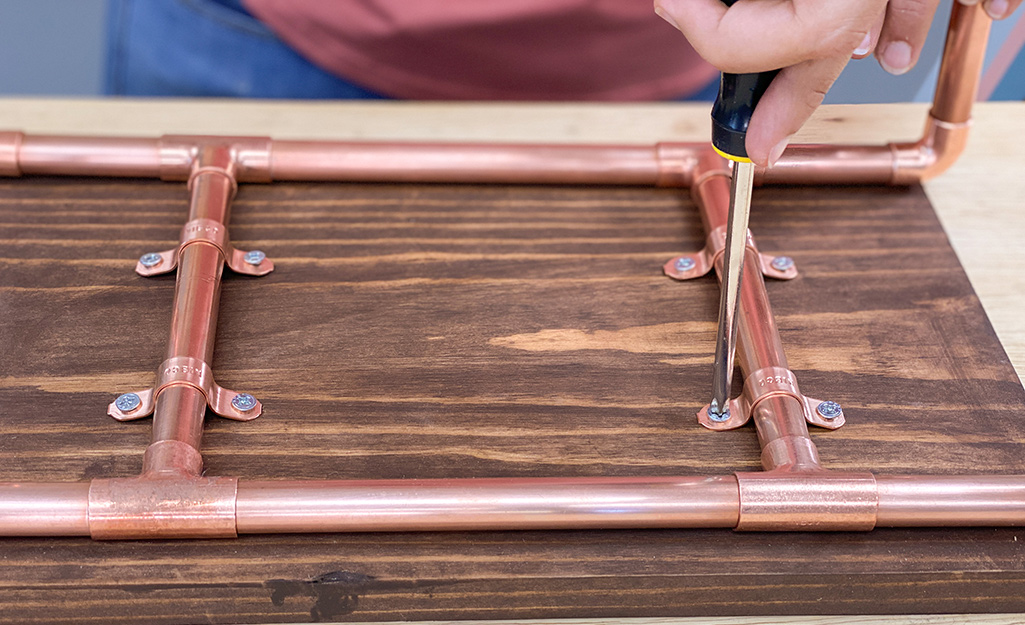
- Place the top board upside down on your workspace.
- Center the stand on the board.
- Attach the straps with 3/4-inch wood screws.
Preserve & Protect
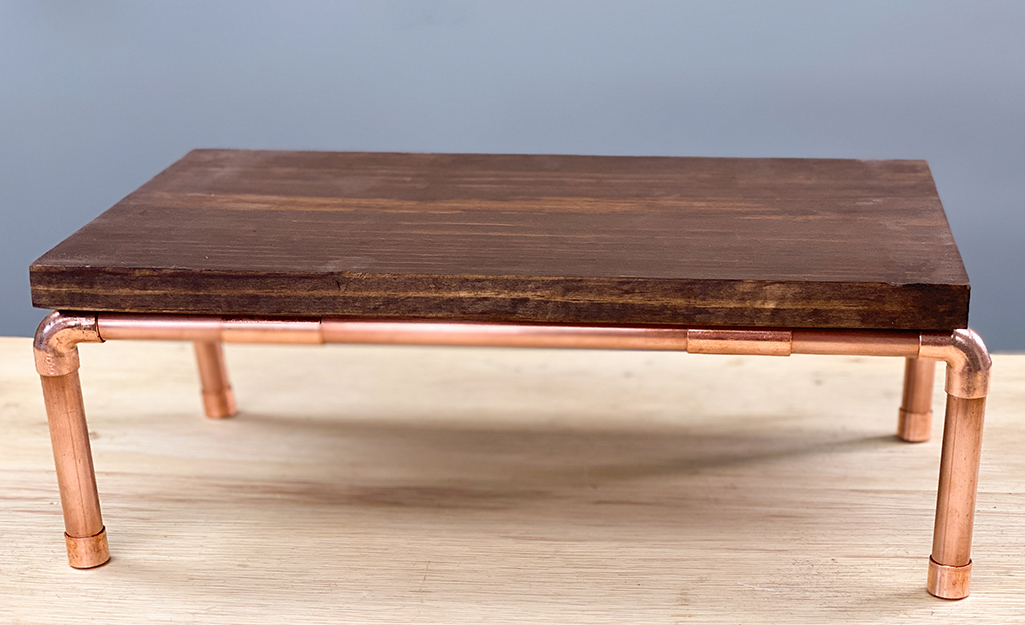
- Coat in clear spray sealer to slow copper pipe oxidation.
- This will preserve shine and protect the wooden top.
- Let the sealer dry.
Enjoy Your DIY Copper and Wood Monitor Stand
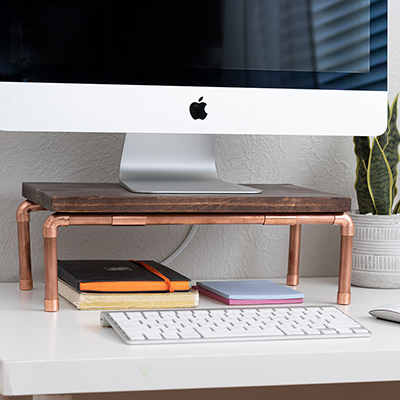
- Place your new monitor stand where you need it most.
- Enjoy the benefits of a raised computer monitor stand.
Anika is a physicist and electrical engineer turned DIYer and woodworker, sharing all of her favorite tips, DIY projects, and inspiration on her site, Anika's DIY Life. Find everything you need to complete this project at The Home Depot. Get your
online orders delivered when and where you need them.
