How to Make a DIY Drop Cloth Tent
Last updated September 7, 2023
Presented by Rebecca Propes
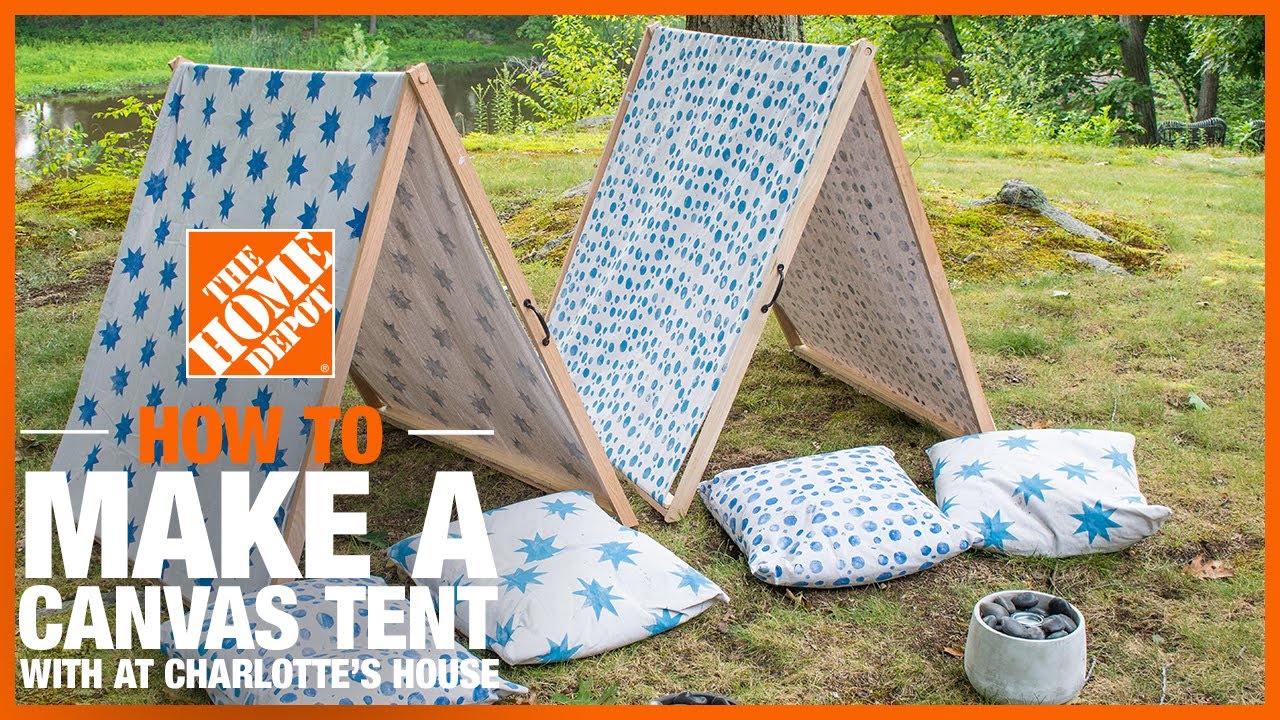
Creating a DIY drop cloth tent is fun for family members of all ages. Perfect for playrooms or backyards, this simple project provides hours of entertainment. Whether you follow this design or let kids paint a one-of-a-kind creation of their own, this guide will give you step-by-step instructions on how to make a DIY drop cloth tent.
Difficulty:
Beginner
Duration:
2-4 hours
Table of Contents
Gather Supplies
Drill Holes in Boards
Sand Boards
Create Design
Paint Boards
Cut Drop Cloth and Fit
Gather Supplies

Begin by gathering all your tools and materials for your project. Then, cut the following with the miter saw:
- 4 - 1 x 2, 48-inch common boards
- 3 - 3/4-inch round wooden dowels at 48-inches long
Using some sandpaper or a sanding board, sand any rough edges.
Drill Holes in Boards

Next, using your drill and a spade drill bit, drill the following holes:
- Drill one hole on the ends of all four 1 x 2 boards about 4 inches from the end.
- Flip the boards around and drill one hole on the other ends of all four boards about 1 1/2-inches from the end.
Sand Boards

Now using your sander and all of the 1 x 2-inch boards and the round dowels.
Create Design

Using two different widths of painter's tape, begin taping off your design. We went with stripes, but feel free to make a design all your own.
Paint Boards

Now it's time to paint your boards. Using latex paint and foam brushes, begin painting your design.
Cut Drop Cloth and Fit

While you wait for the paint on the boards to dry, start working on the drop cloth. Measure across the top dowel and the length of both sides. Cut the drop cloth to fit and make sure there is enough to wrap around the bottom dowels.
Paint Drop Cloth

Tape off decorative stripes on the drop cloth and paint using latex paint and a foam roller.
Tip: Make sure to protect the surface under the drop cloth to avoid paint bleeding through.
Secure and Assemble Tent

Once the paint is dry, use your glue gun to hot glue the drop cloth around the bottom dowels.
Secure one side first. Once secure, bring it over the top dowel and pull tight before securing the other side.
Enjoy!

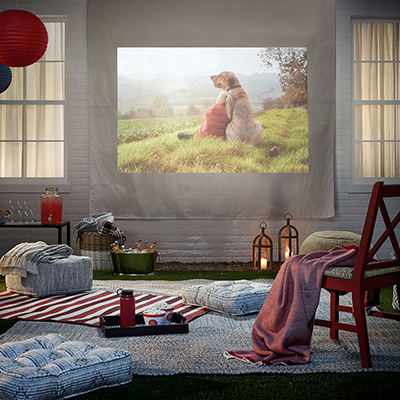
Move your drop cloth tent to the location of your choice. Shown is an outdoor patio spot complete with string lights, a throw blanket and pillows for a little extra comfort. However you design your tent, relax and enjoy!
The Home Depot is your DIY headquarters. Looking for a product to complete your project? We have options to deliver online orders when and where you need them.