How to Make a DIY Home Gym Organizer
Last updated September 7, 2023
Presented by Rebecca Propes.
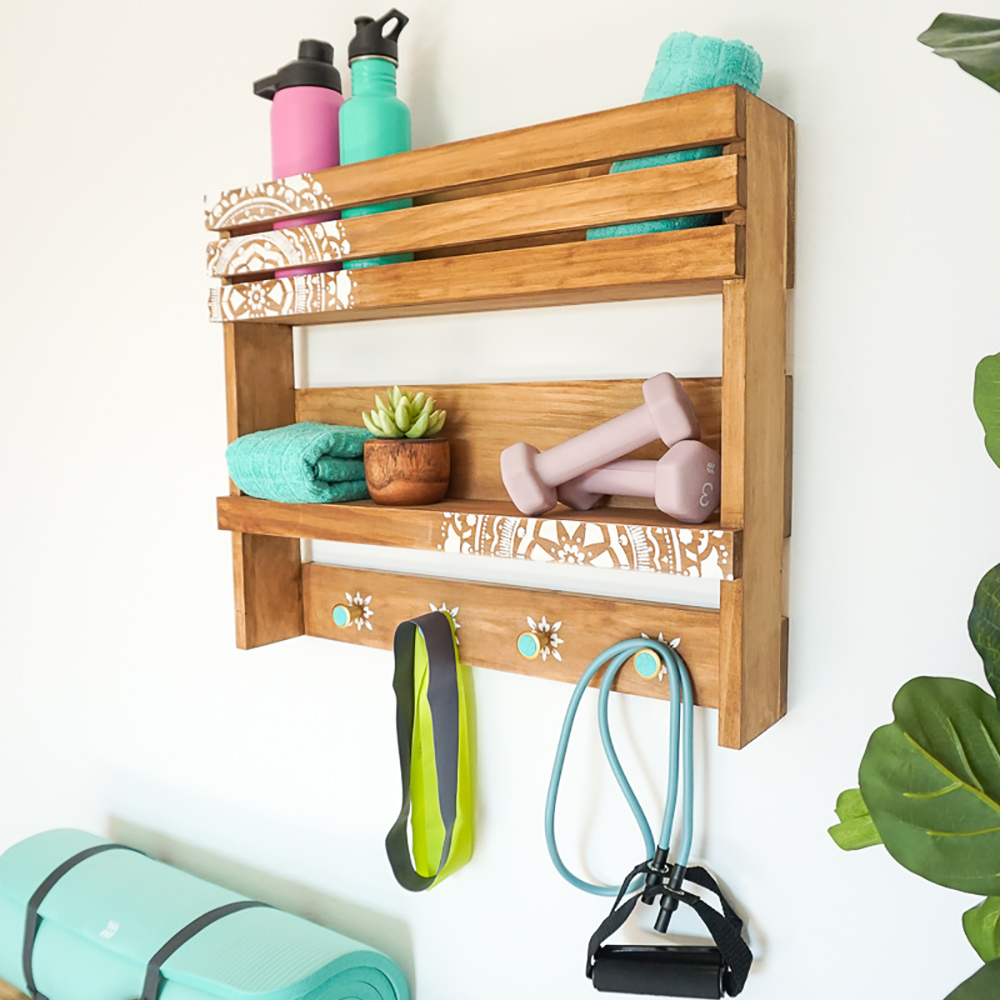
From resistance bands to weights, this DIY home gym organizer can hold it all. Place it anywhere you need to have all the items you want at hand for your at-home workouts. Not to mention, this handy organizer can also hold keys and other assorted items.
Difficulty:
Beginner
Duration:
2-4 hours
Table of Contents
Cut List, Tools and Materials
Line Up Cuts
Attach Pieces
Fill in Holes
Pre-Treat the Wood
Stencil a Design (Optional)
Cut List, Tools and Materials
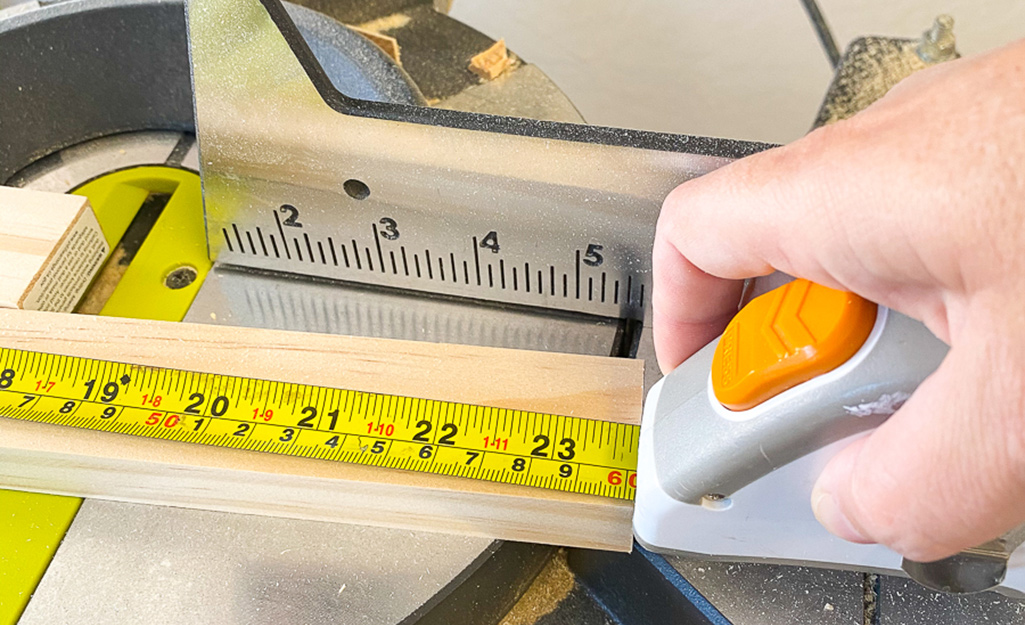
Cut the following with a miter saw:
- 2 - Common board (or select pine): 1-inch x 6-inch cut at 24 inches
- 1 - 1-inch x 4-inch cut at 24 inches
- 2 - 1-inch x 4-inch cut at 22 1/2 inches
- 2 - 1-inch x 4-inch cut at 20 inches
- 4 - 1-inch x 2-inch cut at 24 inches
Materials used:
- 4 decorative knobs or hooks stencil (optional)
- Wood glue
- Wood filler
- Paint or stain
- Paint brushes
Tools used:
- Miter saw
- Brad nailer with 1 1/4-inch brad nails
- Tape measure
- 220 grit sander
- Sanding block safety goggles
Line Up Cuts
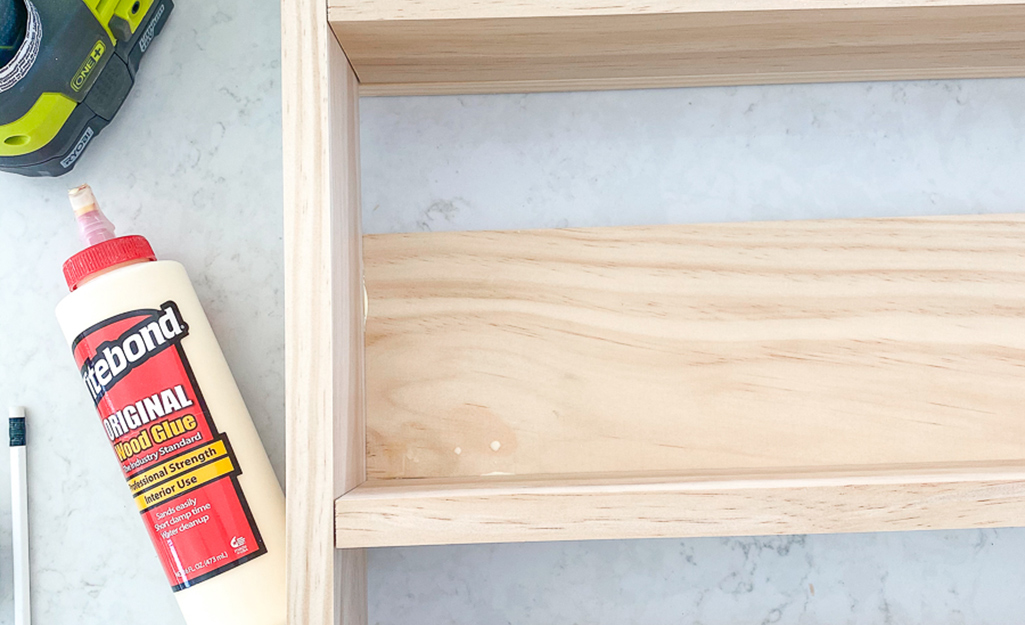
- Lay out the two 1-inch x 6-inch and one 1-inch x 4-inch 24-inch board flat.
- Line up the two 20-inch board vertically on top of the the flat pieces and align the top and bottom like pictured. Once lined up, flip over, glue and nail the three back pieces to the side supports.
Attach Pieces
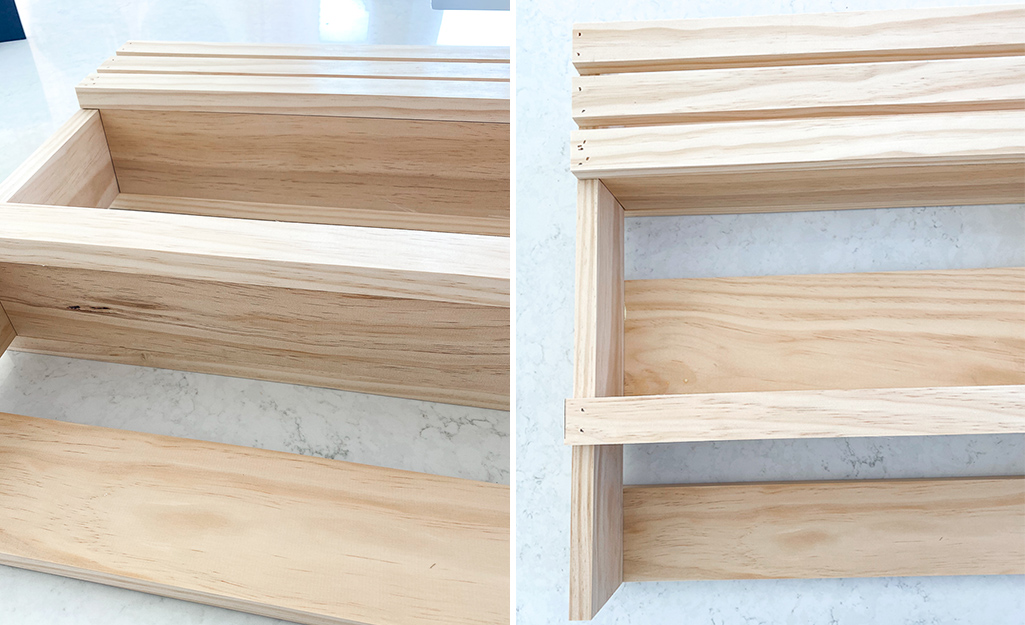
- Next, add the two 22 1/2-inch cut 1-inch x 4-inch in as the bottom of the the top two shelves. Glue and nail to secure.
- Now, take the three cut 1-inch x 2-inch 24-inch boards and place them across the front shelf and the one 1-inch x 2-inch 24-inch cut board to place across the middle shelf to create a ledge.
- Attach using wood glue and brad nailer.
Fill in Holes
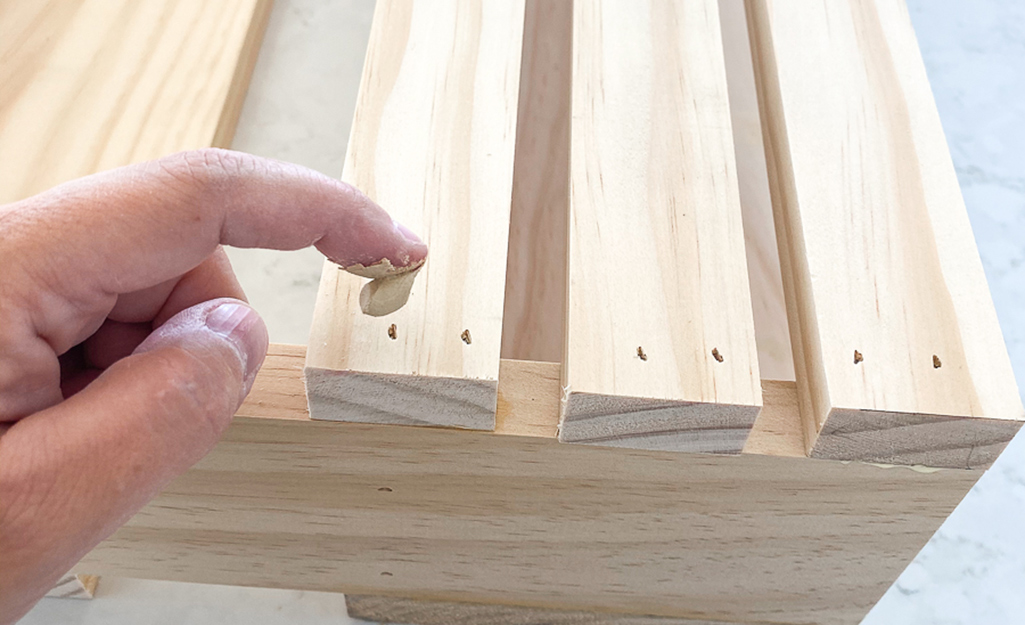
Use wood filler to fill any holes and sand the entire piece using a sanding block.
Pre-Treat the Wood
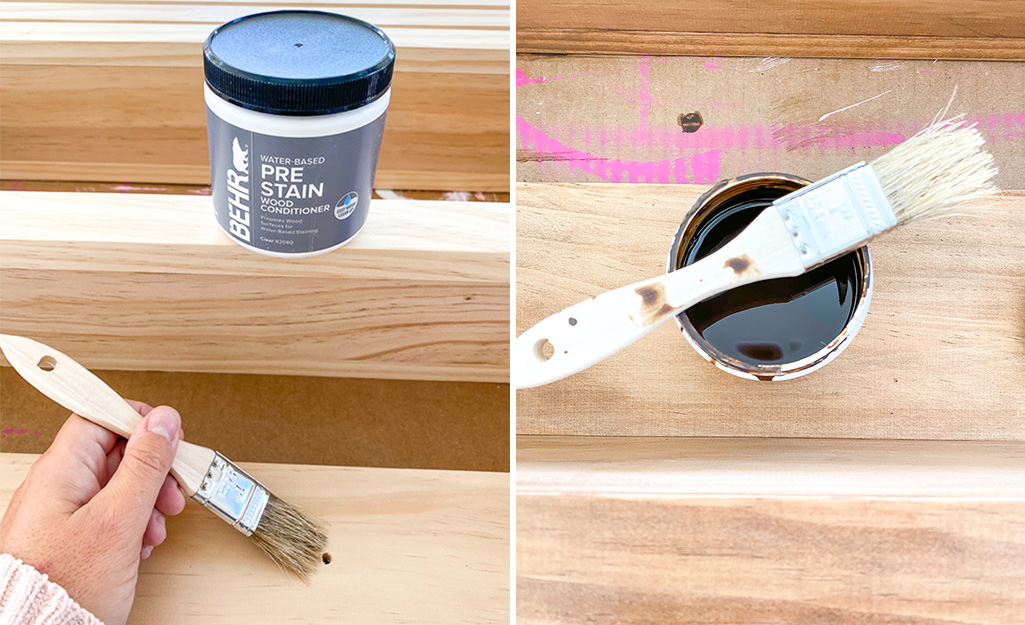
Use wood conditioner to pre-treat the surface before applying the stain to ensure even coverage.
Stencil a Design (Optional)
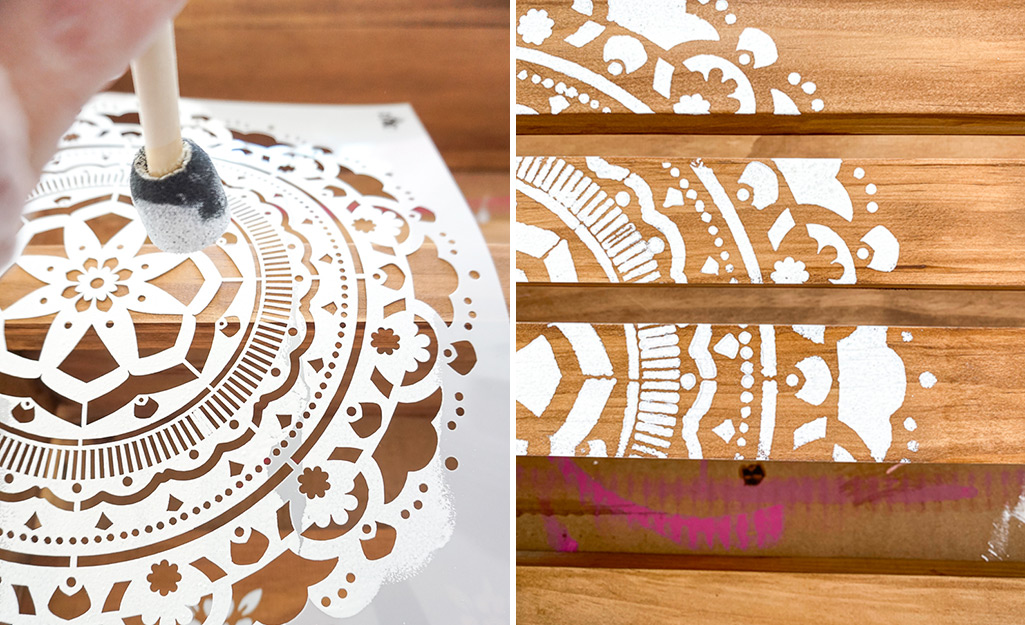
Use a craft stencil to apply a design to the front of the organizer using a flat latex paint.
Add Knobs
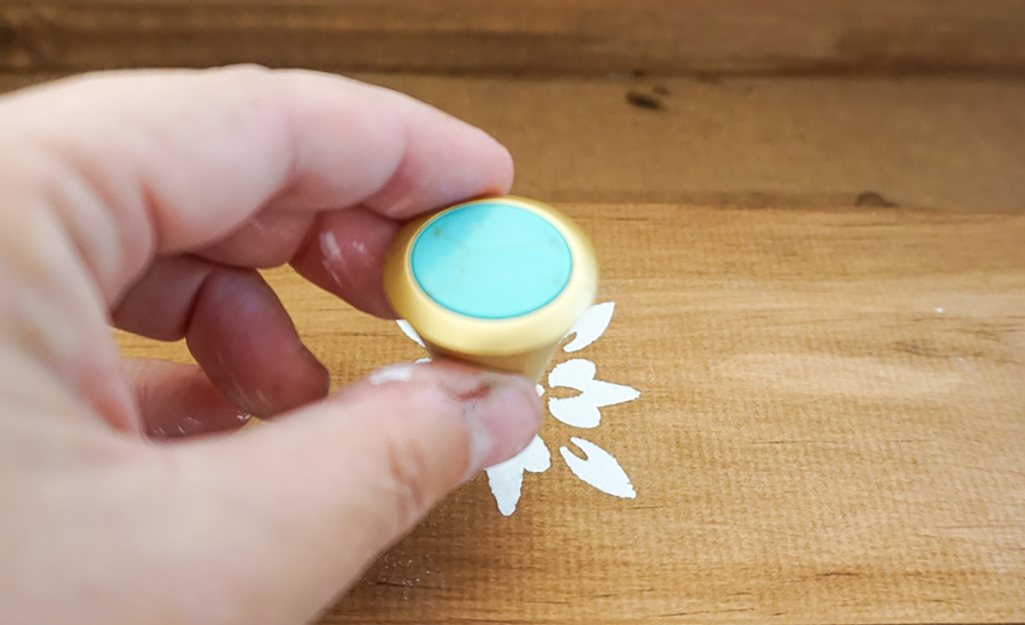
- Drill holes on the bottom horizontal slat and attach decorative knobs.
- Flip over and attache D-Rings to hang onto the wall.
Complete!
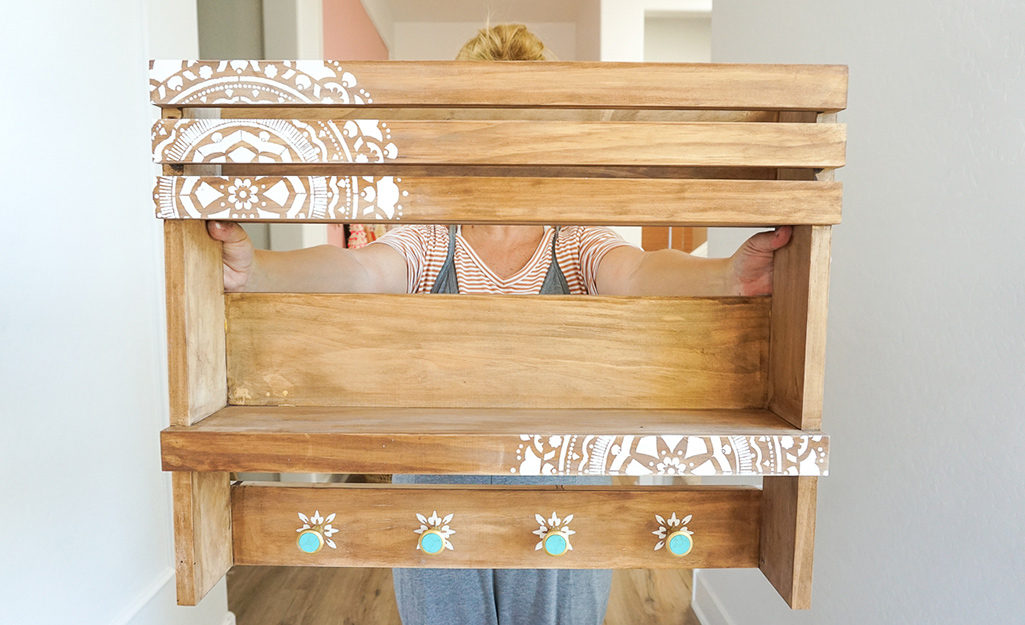
Once complete, it's time to hang and accessorize!
If you're looking for storage or more, The Home Depot delivers online orders when and where you need them.
