How to Make a DIY Tiered Organizer
Last updated September 7, 2023
Presented by Anika Gandhi of Anika's DIY Life.
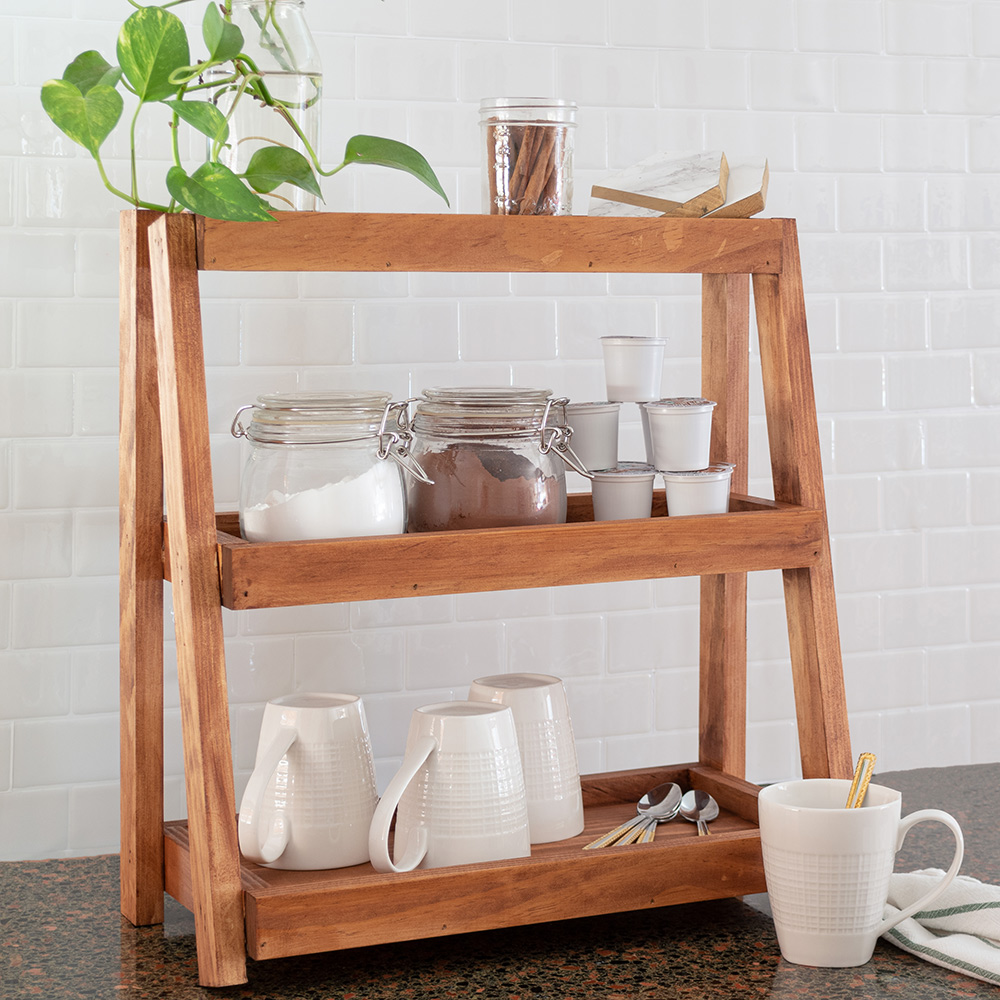
A DIY tiered organizer is a great addition to any home. Read this guide for instructions on how to make your own wooden DIY tiered organizer with a few simple tools and materials.
Difficulty:
Beginner
Duration:
2-4 hours
Table of Contents
Cut and Attach
Finish the Frame
Space the Trays
Attach the Back Leg
Attach the Final Piece
Finish and Enjoy
Cut and Attach
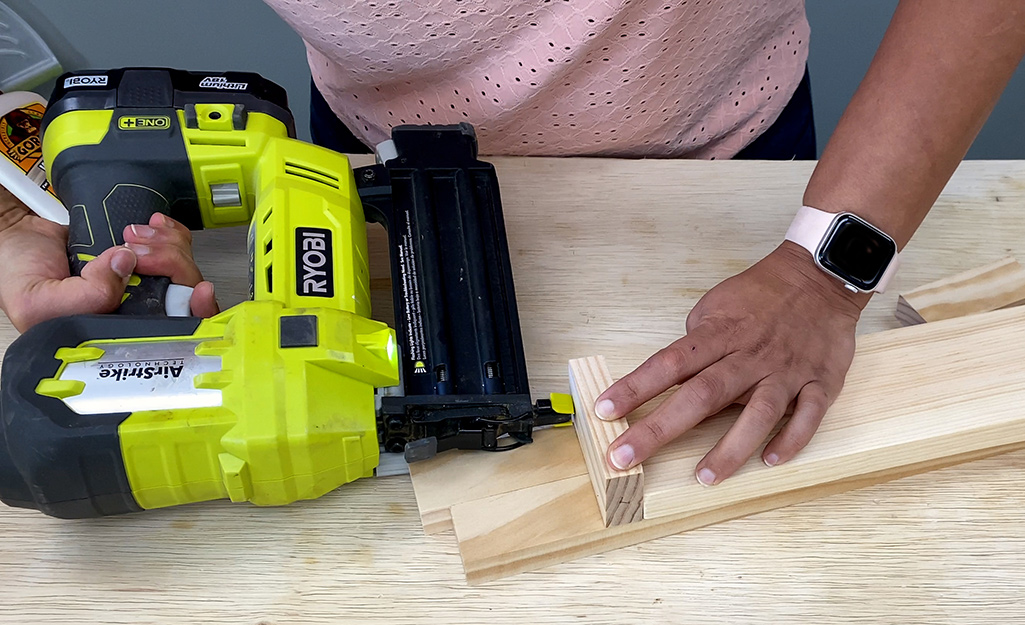
Cut List:
- (1) 1x4 board at 15 inches
- (1) 1x6 board at 15 inches
- (1) 1x8 board at 15 inches
- (6) 1x2 board at 16 1/2 inches
- (2) 1x2 board at 18 inches
- (2) 1x2 board at 18 3/4 inches
- (2) 1x2 board at 3 1/2 inches
- (2) 1x2 board at 5 1/2 inches
- (2) 1x2 board at 7 1/2 inches
Attach the short 1 x 2 boards to the respective wide 15-inch boards using wood glue and finish nails.
Finish the Frame
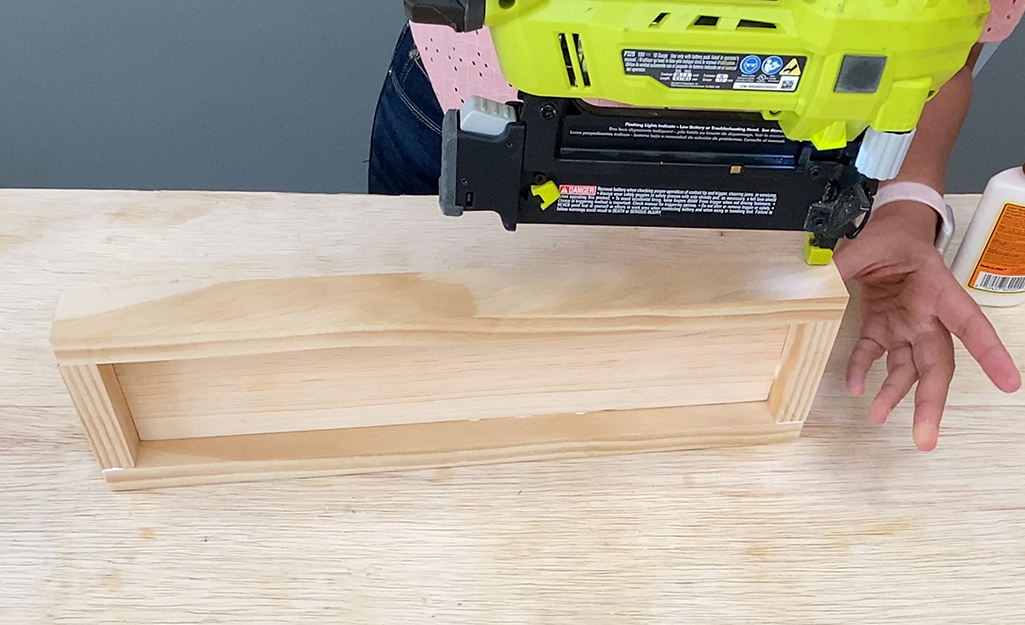
- Attach the 15-inch 1 x 2 boards to the long sides of the wide boards using wood glue and finish nails.
- If you do not have a nailer, use 1 1/4-inch trim head screws for any of these steps.
- Remember to pre-drill holes to prevent splitting.
- Repeat for the three wide boards. This makes three
trays or shelves.
Space the Trays
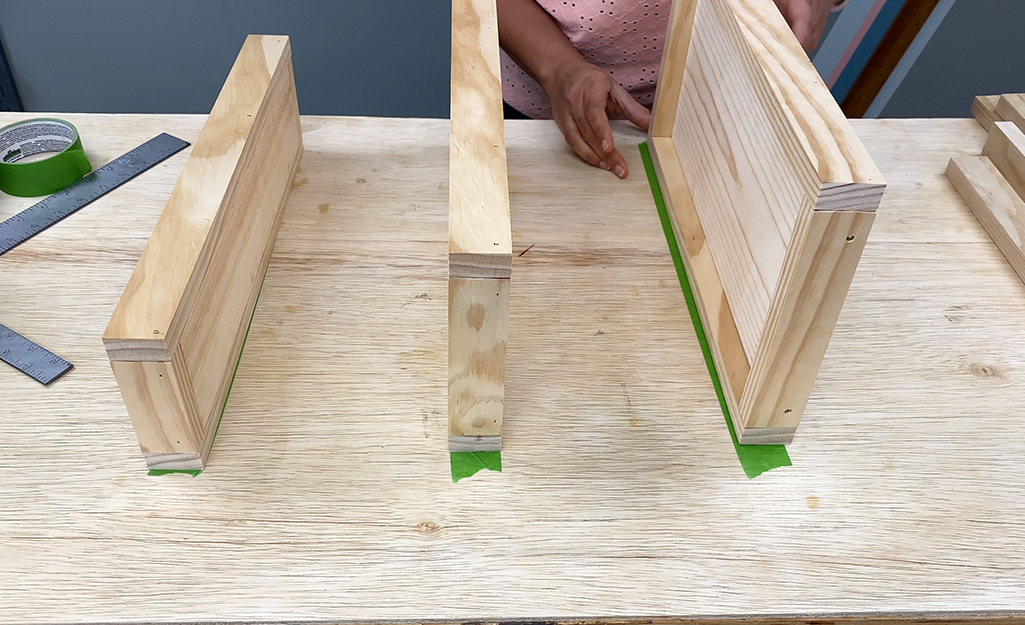
- Create a template for the tray spacing on a table using masking tape and align the tray over it.
- The trays are 16 inches apart from each other.
Attach the Back Leg
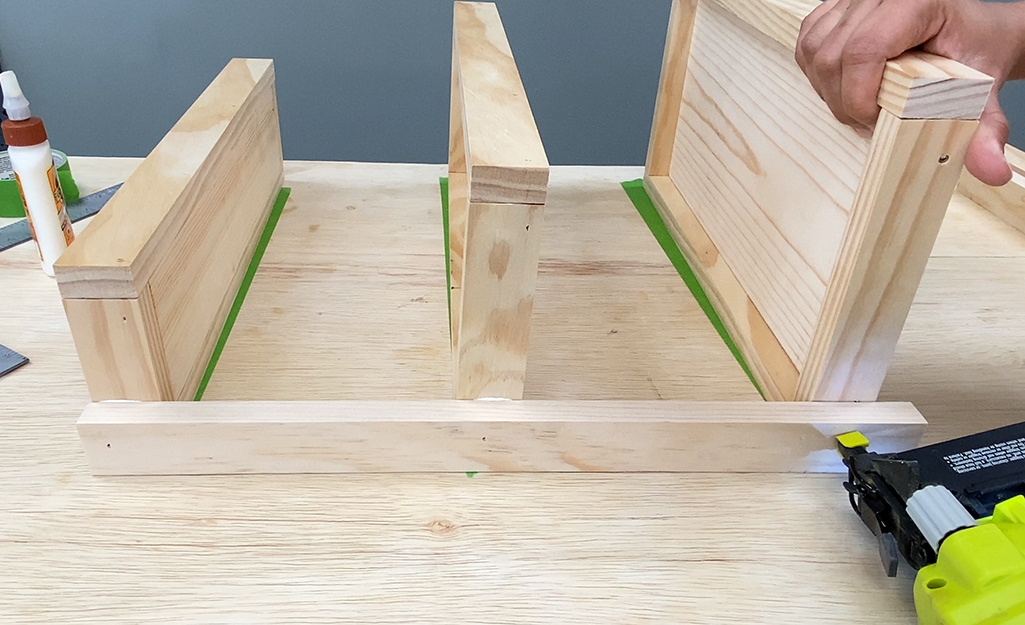
Align the 18-inch long 1 x 2 with the trays and attach using wood glue and finish nails to form the back leg.
Attach the Final Piece
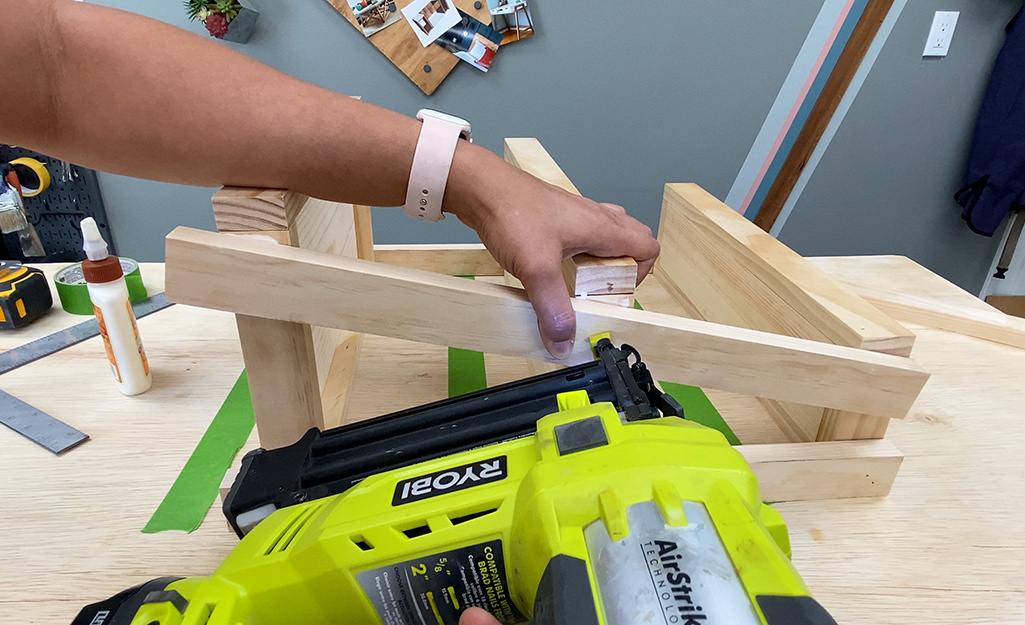
- Attach the 18 3/4-inch long 1 x 2 at a slanted angle.
- It is aligned with the top and 3/4 inches from the edge of the middle and bottom shelf.
Finish and Enjoy
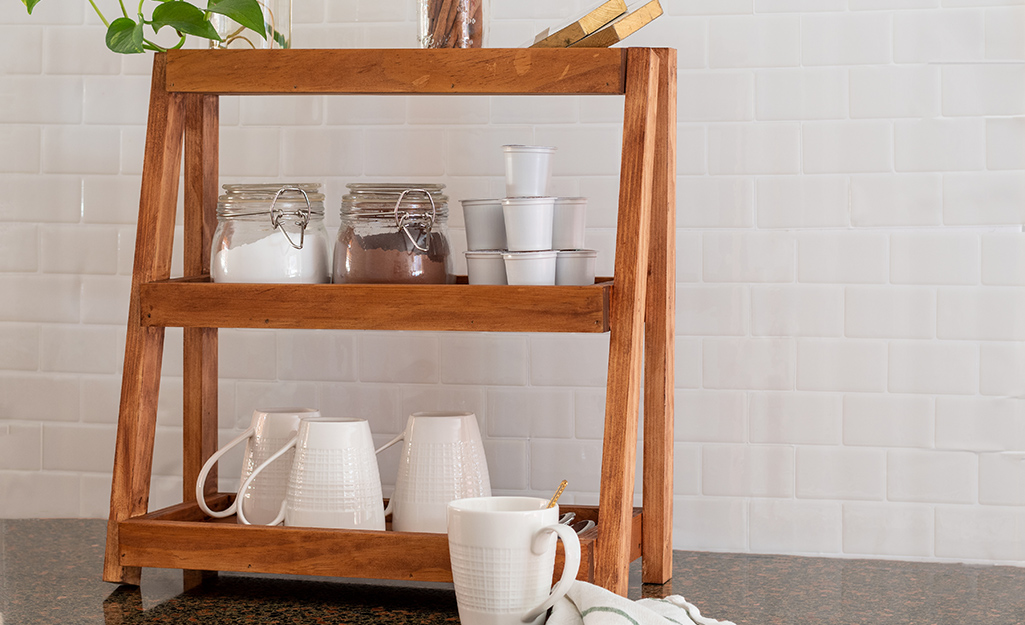
- Fill nail holes with wood putty and paint or stain in color of your choice.
- Use as an organizer in any space!
Shop our selection for all the tools and materials required for this project. The Home Depot delivers online orders when and where you need them.


