How to Make a DIY Wood Tiered Tray

Published September 5, 2023
Presented by Rebecca Propes of Rebecca Propes Blog.
Keep guests entertained and satiated with your very own DIY tiered tray. It has classic elegance with its wood design and holds various snacks with ease. Your guests will never go hungry!
Difficulty:
Beginner
Duration:
Under 2 hours
Table of Contents
Cut List
Clamped & Glued
Add the Frame
Cut & Drill
Add the Leg
Attach the Top Tray
Cut List
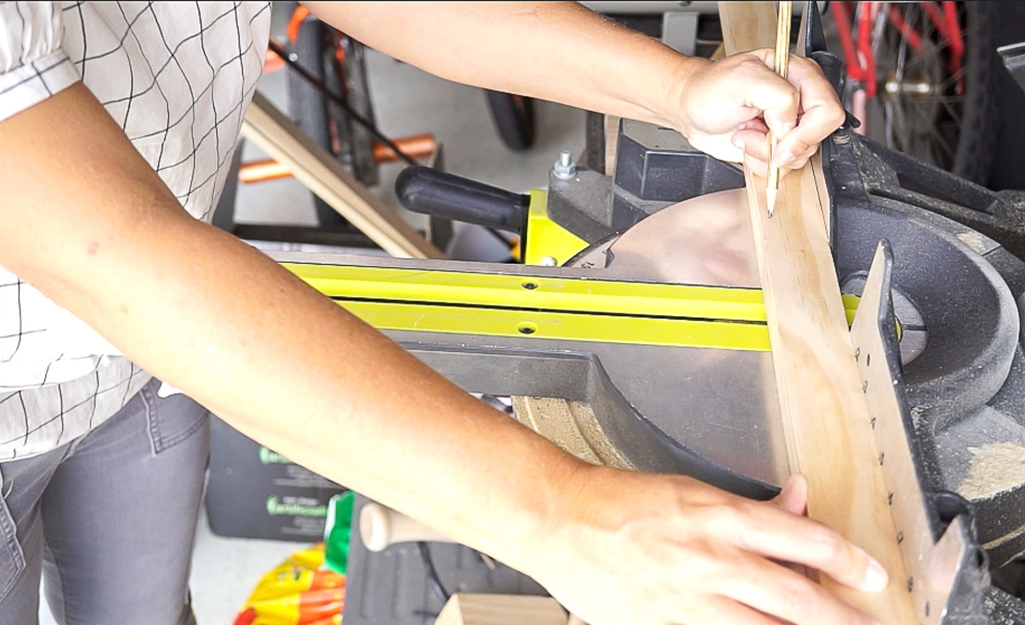
Cut the following with the miter saw:
1-inch x 4-inch x 8-foot Common Board:
- 3 at 10 1/2 inches
- 4 at 14 inches
1-inch x 2-inch x 8-foot Common Board:
- 2 at 10 1/2 inches
- 2 at 9 inches
- 2 at 14 inches
- 2 at 12 1/2 inches
Using wood glue, assemble the bases of the
trays.
Clamped & Glued
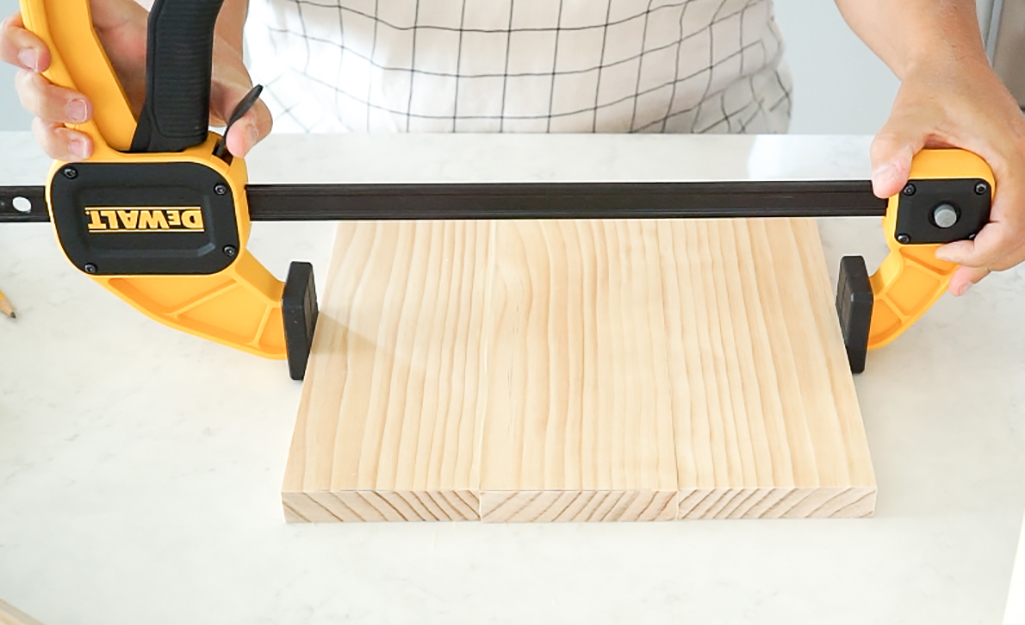
- Three 10 1/2-inch boards glued and clamped.
- Four 14-inch boards glued and clamped.
You should end up with one 14-inch square for the bottom tier and one 10 1/2-inch for the top tier.
Add the Frame
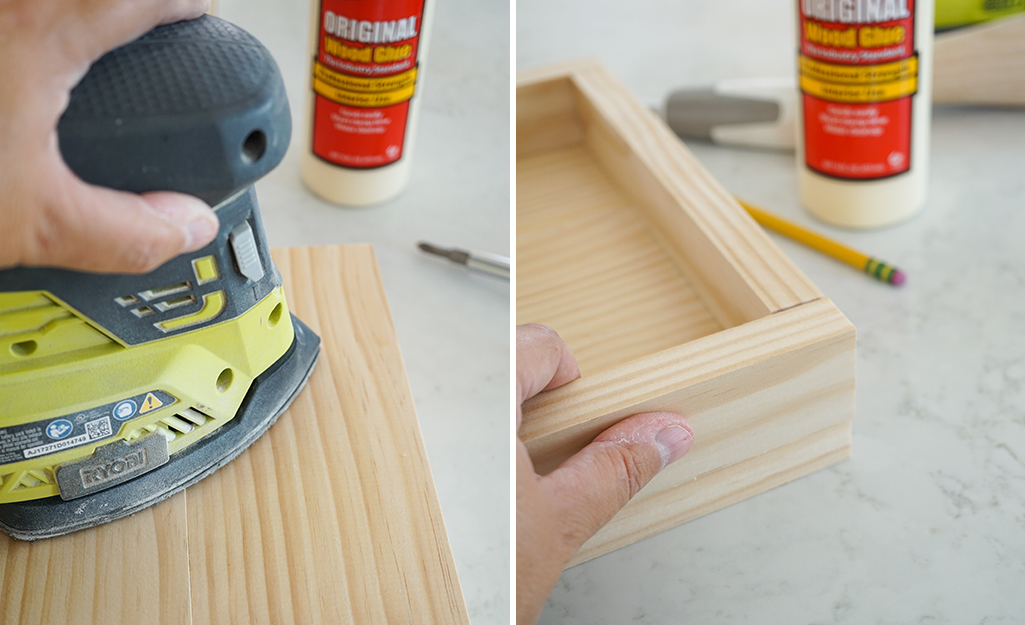
- Once the glue is dry, sand both of the bases and start framing.
- Using wood glue, frame the 10 1/2-inch square using the 9-inch and 10 1/2-inch boards.
- Next, frame the 14-inch square using the 12 1/2-inch and 14-inch boards.
Cut & Drill
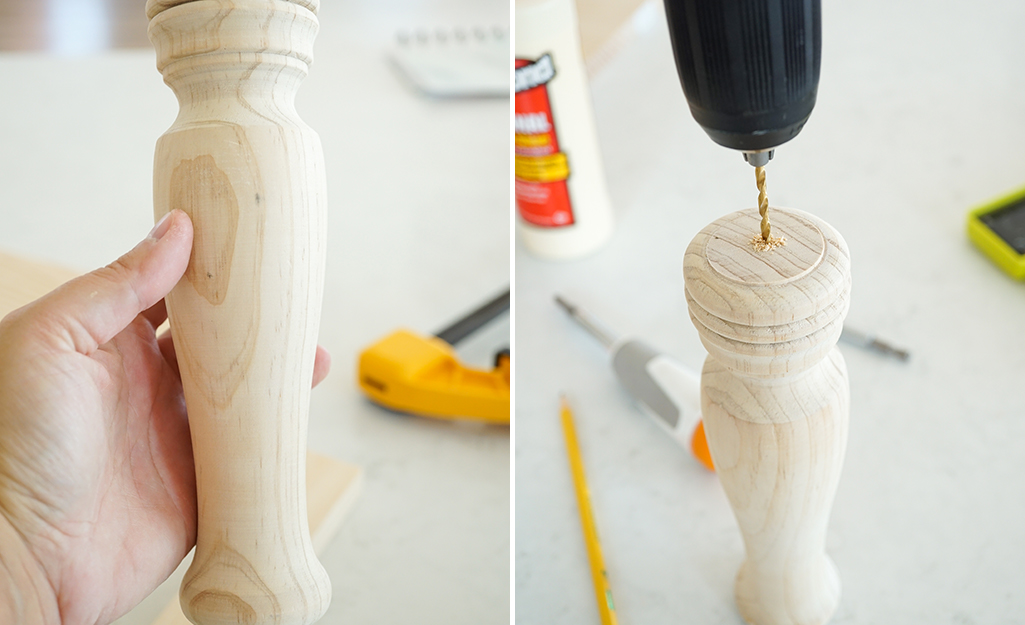
- Now cut down the furniture leg to approximately 8 inches long.
- Drill pilot holes in the top and bottom of the furniture leg.
Add the Leg
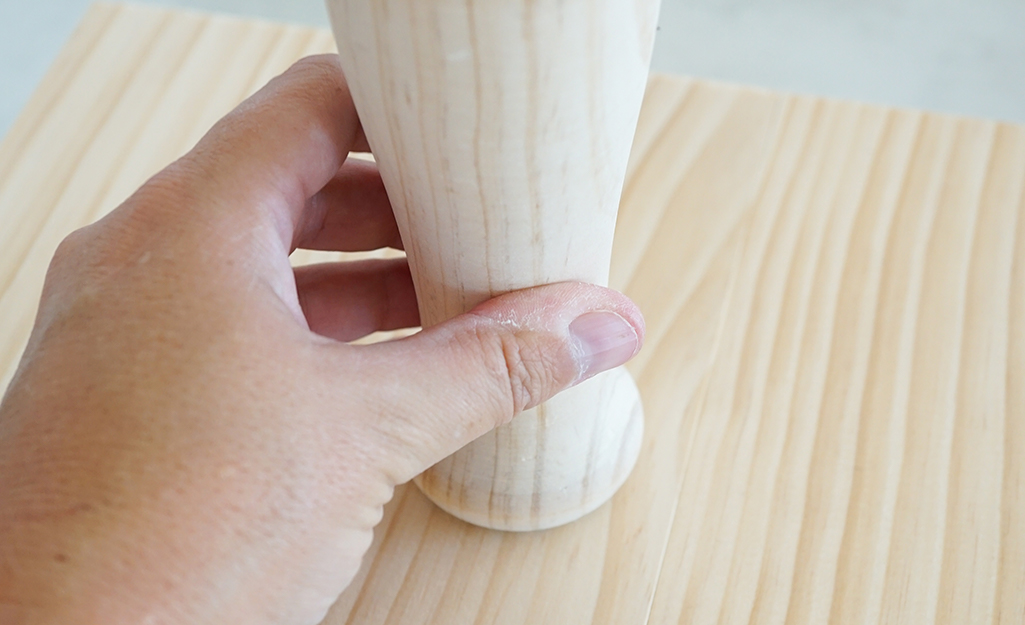
Measure the center on the bottom of the trays and drill a pilot hole through both bottoms. Add a screw through the bottom tier and hand tighten the furniture leg onto the top of the tray.
Attach the Top Tray
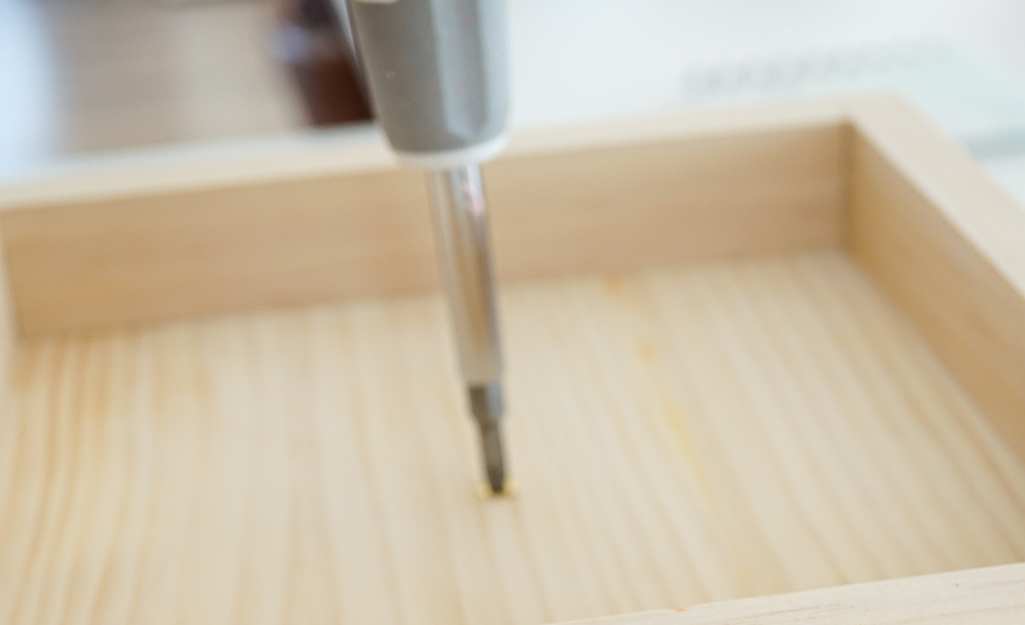
Attach the top tray to the furniture leg using a wood screw.
Attach the Feet
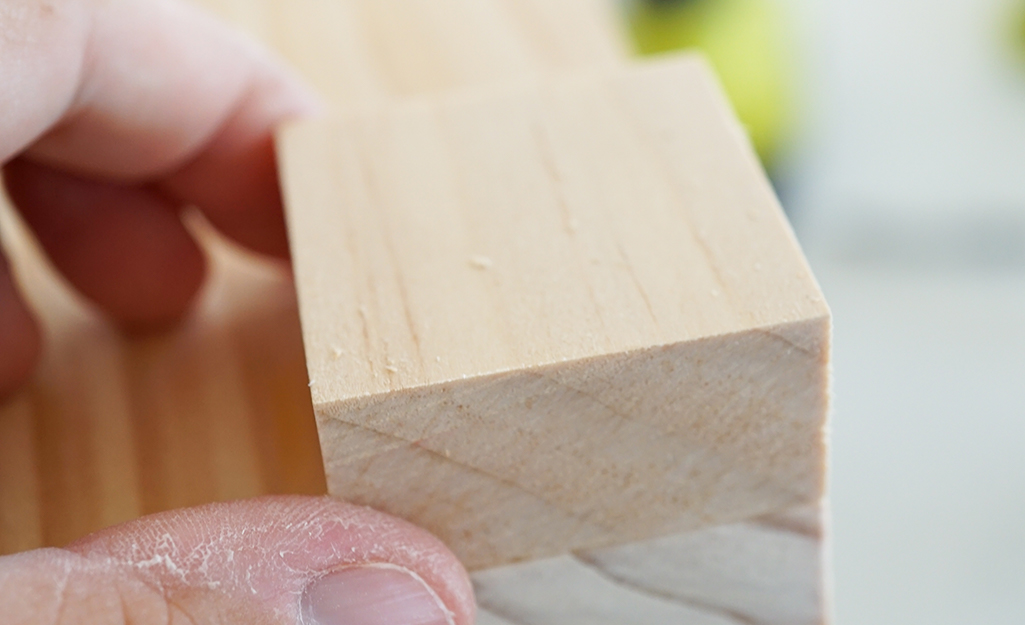
Using wood glue, attach the 1 1/2-inch squares to the bottom tier tray for feet.
Finished!
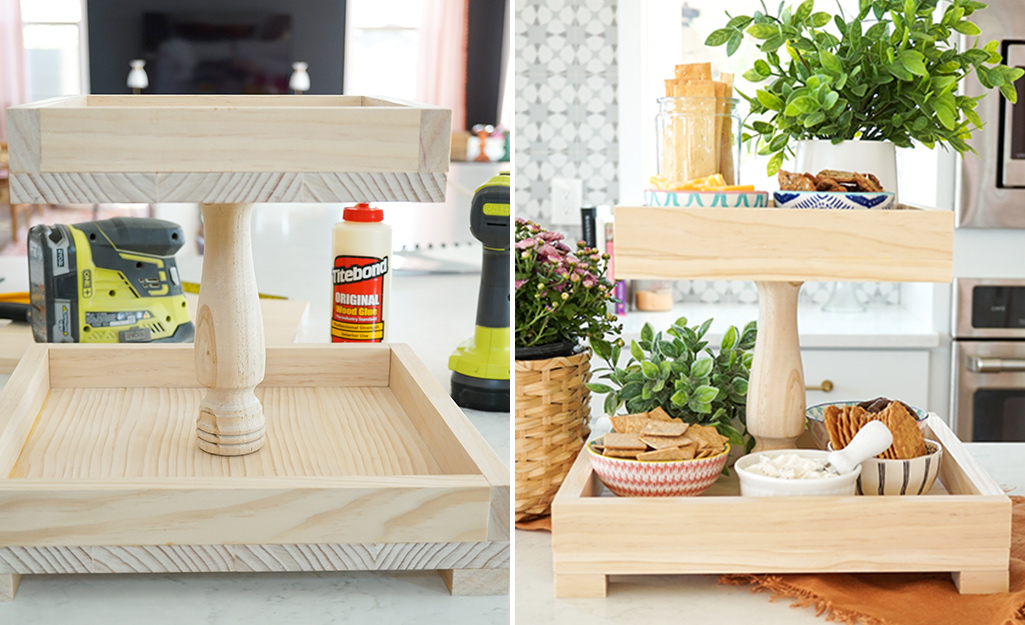
Stand back, admire your work and add snacks!
If you're looking for dinnerware, glassware or more, The Home Depot delivers online orders when and where you need them.


