How to Make a Dry Erase Wall
Last updated September 7, 2023
Making a dry erase wall in your home office, family learning area or other space can help you keep track of family schedules, get creative with homework or capture important notes for work. Whether you use it for learning, playing or working, this guide will show you how to transform an ordinary wall into a dry erase wall in just a few steps.
Difficulty:
Beginner
Duration:
Over 1 day
Table of Contents
Protect the Area
Gather Your Materials
Prep the Wall
Clean the Wall
Tape the Area
Mix and Paint
Protect the Area

- Before you get started, you'll want to protect the floors in the room from paint.
- Lay down a drop cloth, making sure to cover the entire area where you'll be working to be sure paint splatter doesn't land on carpet or other flooring.
Gather Your Materials

Once your drop cloth is down, gather all of your materials in the space.
You'll need:
- Paint roller, foam recommended
- Paint roller frame
- 2-inch paint brush
- Roller tray
- Sandpaper
- Stir stick
- Rags
- Eraser
- Spackle
- White dry erase paint kit
- Primer
- Dry erase markers
- Drop cloth
- Disposable gloves
Prep the Wall

- Check to make sure the surface is smooth before painting.
- Patch any holes with spackle and use a fine grit sandpaper to even out any rough spots on the wall.
Clean the Wall

- Next, wipe down the wall using a damp cloth to clean and remove and dust.
- If necessary, clean along the baseboards as well to remove any buildup.
Tape the Area

- Using painter's tape, tape the area around the wall such as baseboards, light switches and more to protect them from paint.
- If you aren't painting the entire wall, use painter's tape to create the border for your dry erase wall.
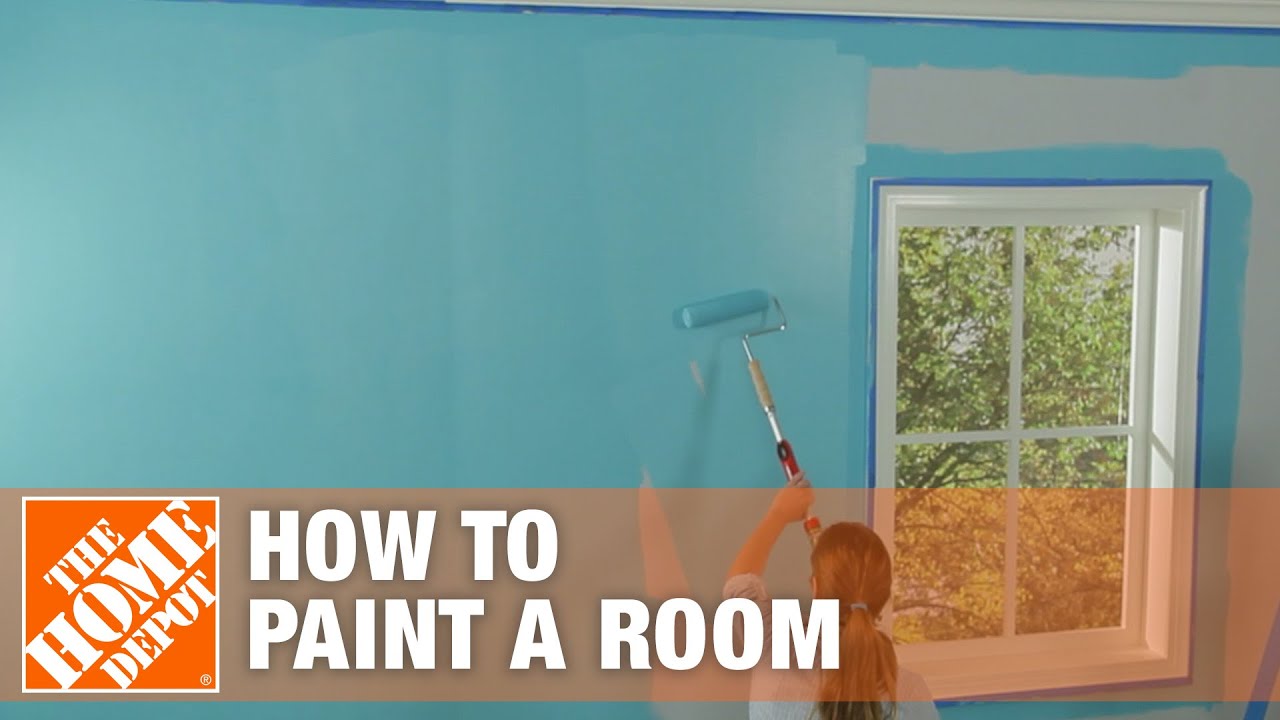
Mix and Paint

Once the wall has been taped off, it's time to mix your dry erase kit paint.
- Stir part A and part B of your dry erase kit separately.
- Now, pour part A into part B, making sure to mix until the paint is a uniform color. This should take about two minutes.
- Begin painting, cutting in and around moulding and other tight areas with a brush.
- Then, use a foam roller brush to apply the dry erase paint to the wall.
- Allow the first coat to dry for about 15 minutes and then apply a second coat of paint.
- Let dry for 72 hours.
Tip: Use light even strokes for an even finish.
Use Your Wall

When the wall has completely dried, typically in 72 hours, remove the painter's tape and enjoy!
Learning how to make a dry erase wall is simple and can help create space for the entire family to create and work. Need help identifying paint supplies? Find products fast with image search in The Home Depot App. Snap a picture of an item you like, and we'll show you similar products.