How to Make a Holiday Photo Booth
Published October 31, 2024
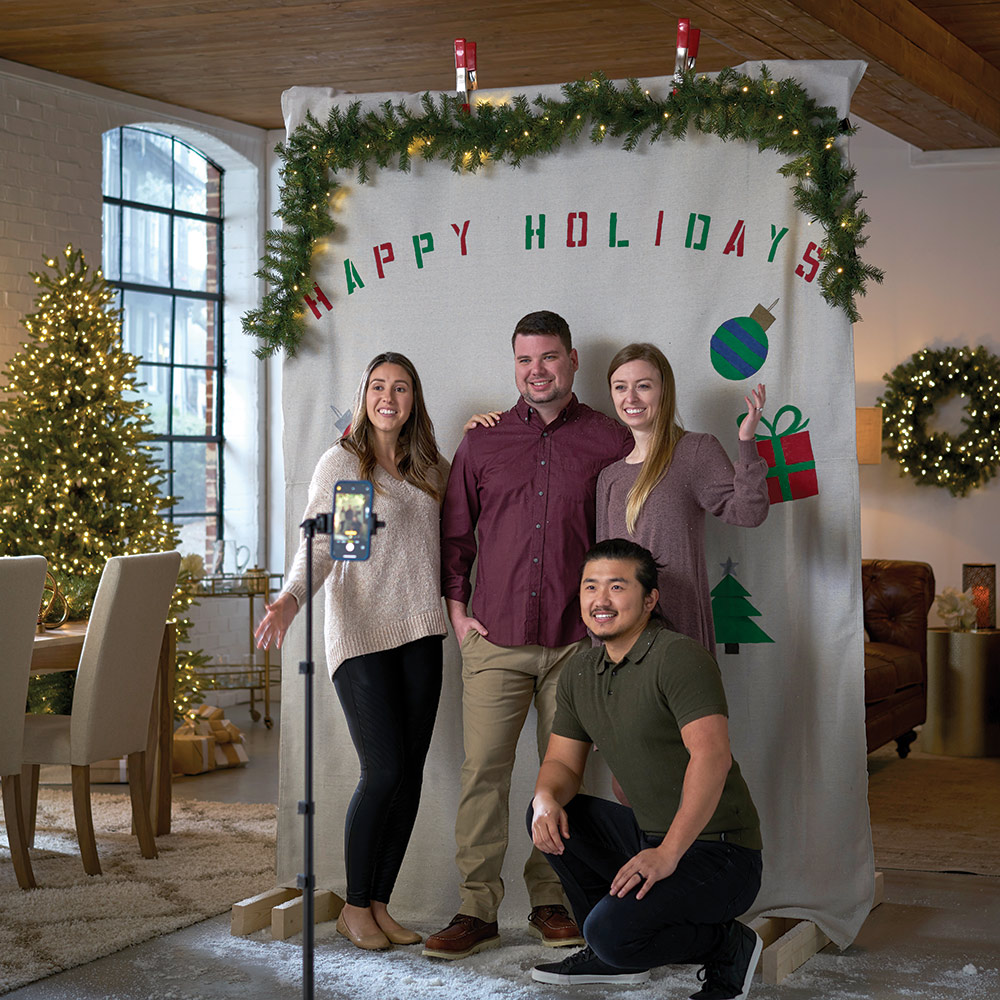
Create your own unique, personalized photo booth for memorable holiday parties. It takes only basic woodworking and crafting skills to build a sturdy frame for a decorated photo backdrop. This step-by-step guide shows you how to make a holiday photo booth.
Difficulty:
Intermediate
Duration:
2-4 hours
Table of Contents
Gather Tools and Materials
Cut the Boards
Assemble Boards to Create Frame
Attach Feet to the Frame
Add Lettering to the Backdrop
Paint Decorations on the Backdrop
Gather Tools and Materials
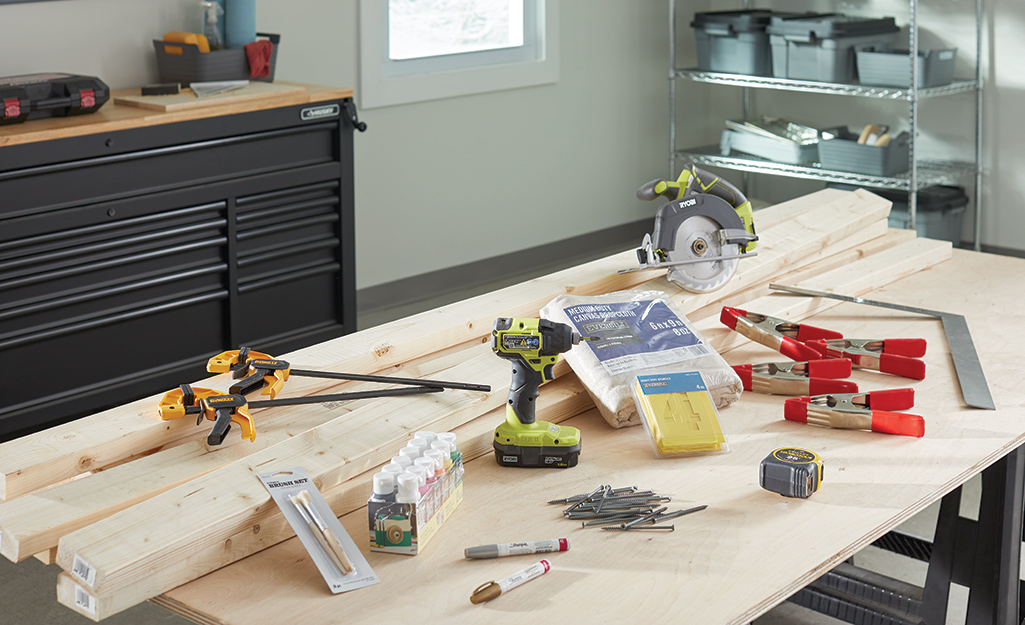
Before you start building a holiday photo booth, you’ll need to get the supplies for the project. You will need:
Tools:
- Circular saw
- Measuring tape
- Pencil
- L-square
- Cordless drill
- Sawhorses
- Canvas dropcloth
- Acrylic paint
- Letter stencils
- Stencil brush
- Paint brushes
- Spring clips
Materials:
- (7) 8-foot 2 by 4’s
- 3-inch deck screws or 6-inch carriage bolts
- Acrylic paint
- Paper plates
- Paint pens or markers
- Photo booth props, such as masks and feather boas
Cut the Boards
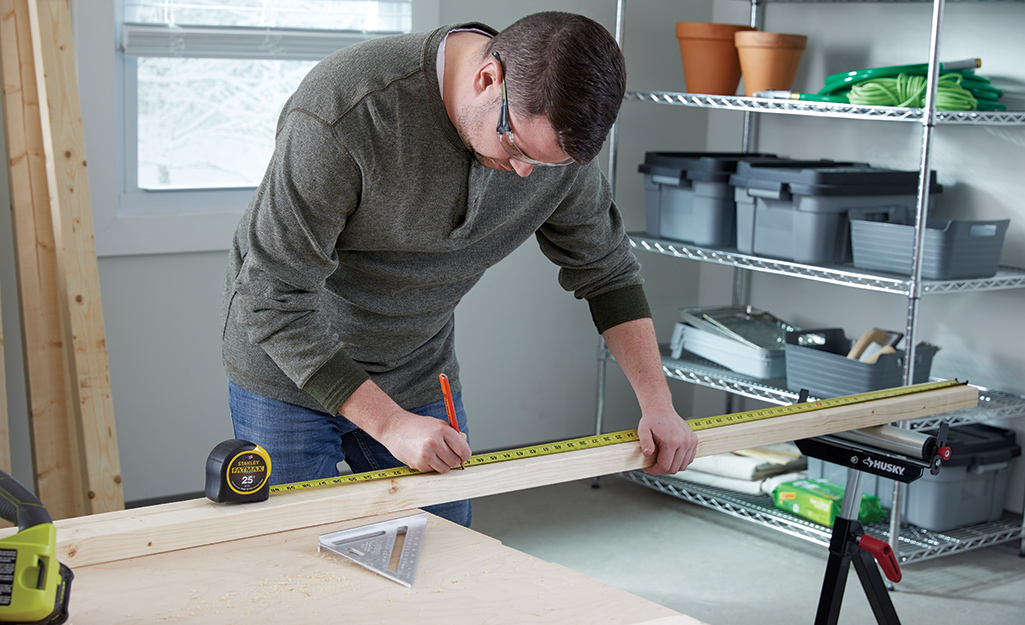
To start this DIY project, cut the wood you’ll need.
- First, cut two 2 inch x 4 inch x 8 foot boards in half. These cuts will give you four 4 foot boards.
- Next, cut another of the 2 inch x 4 inch x 8 foot boards down to 5 feet in length.
Leave the other four boards untouched. You’ll end up with this cut list:
- Four 2 inch x 4 inch x 8 foot boards
- Four 2 inch x 4 inch x 4 foot boards
- One 2 inch x 4 inch x 5 foot board
If you choose to paint or stain the boards for this project, it is easier to do so after they are cut and before assembly. If you apply paint or stain, be sure to allow for plenty of time for each wood piece to get totally dry. Drying times vary depending on the products you use. You may need to wait a few hours or even overnight.
Assemble Boards to Create Frame
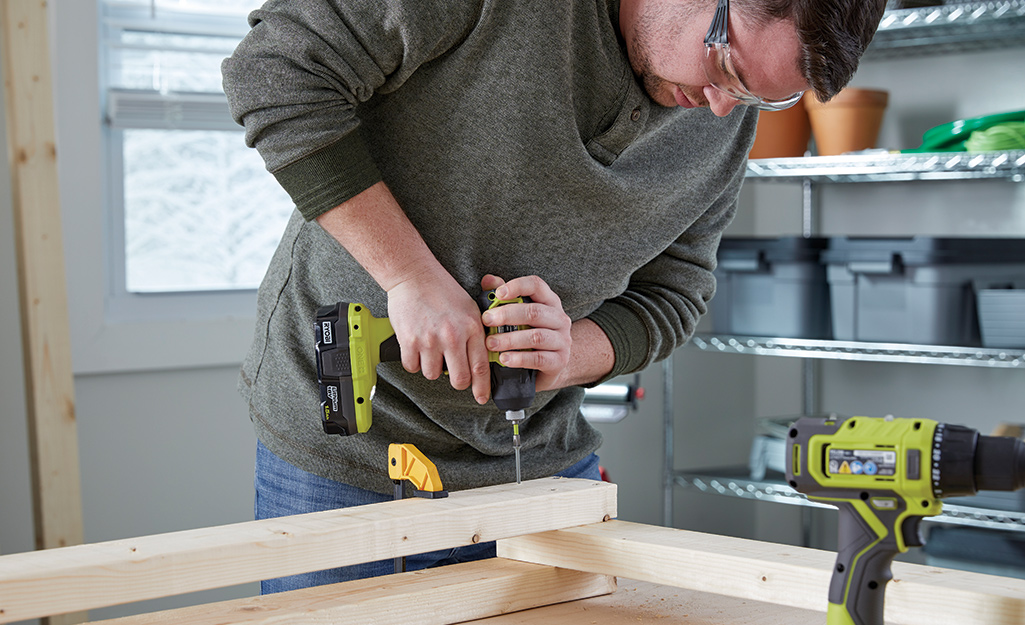
The main part of the photo booth is a large frame you’ll build out of wood.
- To make the frame, sandwich two 8-foot boards around one end of a 5-foot board.
- Use an L-square to ensure a right angle. Keep the boards at this 90-degree angle, then screw them together.
- Repeat this process on the other end of the 5-foot board, using the two remaining 8-foot boards.
Tips: As you attach the first 8-foot board, you can use your scrap wood to prop up the other end of the 5-foot board to make the process easier.
Attach Feet to the Frame
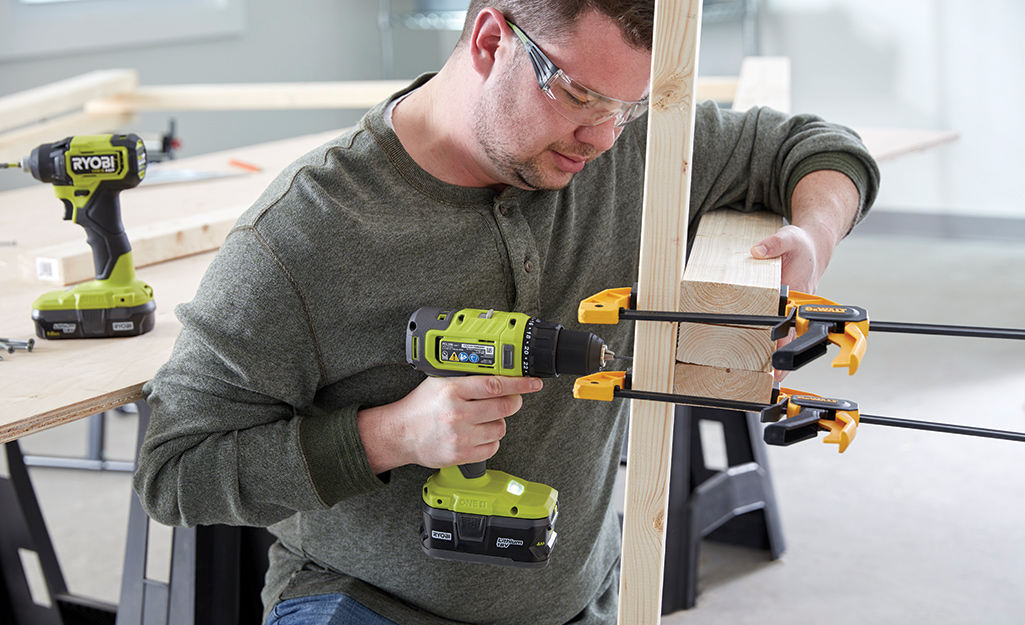
Adding feet to the frame of the photo booth will allow it to stand freely.
- Cut your 3-foot scrap wood in half. Use the wood as spacers at the bottom between the 8-foot boards on each side to keep them square. Then attach the feet to the frame.
- Sandwich two of the four 4-foot boards around each vertical post and screw or bolt into place.
- It's easiest to screw the bolts into place if you lay the frame horizontally onto a set of sawhorses for stability.
Add Lettering to the Backdrop
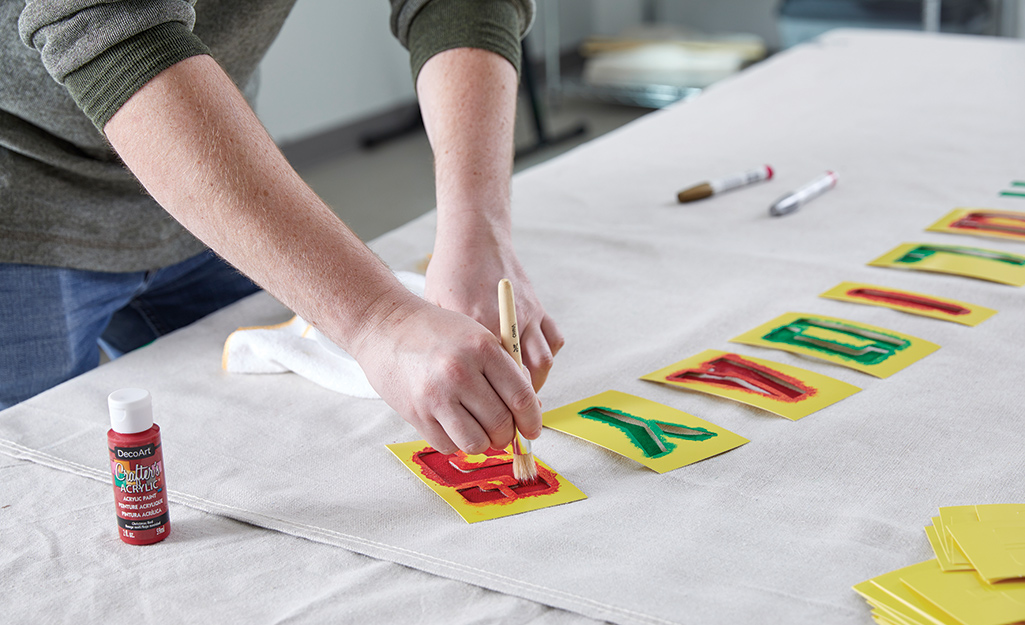
Place the canvas drop cloth into a clothes dryer with a wet towel to relax creases in the drop cloth. You can also iron the drop cloth if needed. Once removed, lay immediately on a flat surface.
- Choose a holiday message for the backdrop. Use stencil letters to spell out a phrase like “Happy Holidays” or “Happy New Year.”
- Measure approximately 6 1/2 feet up from the bottom of the drop cloth to map out your stencil placement. The words need to be high so they are visible above everyone's heads when photos are taken.
- Use stencils and a stencil brush to apply the paint.
- You can add a message to each side of the backdrop to use the photo booth for more than one holiday. Be sure to allow the first painted side to dry completely before turning the drop cloth over to work on the other side.
Paint Decorations on the Backdrop
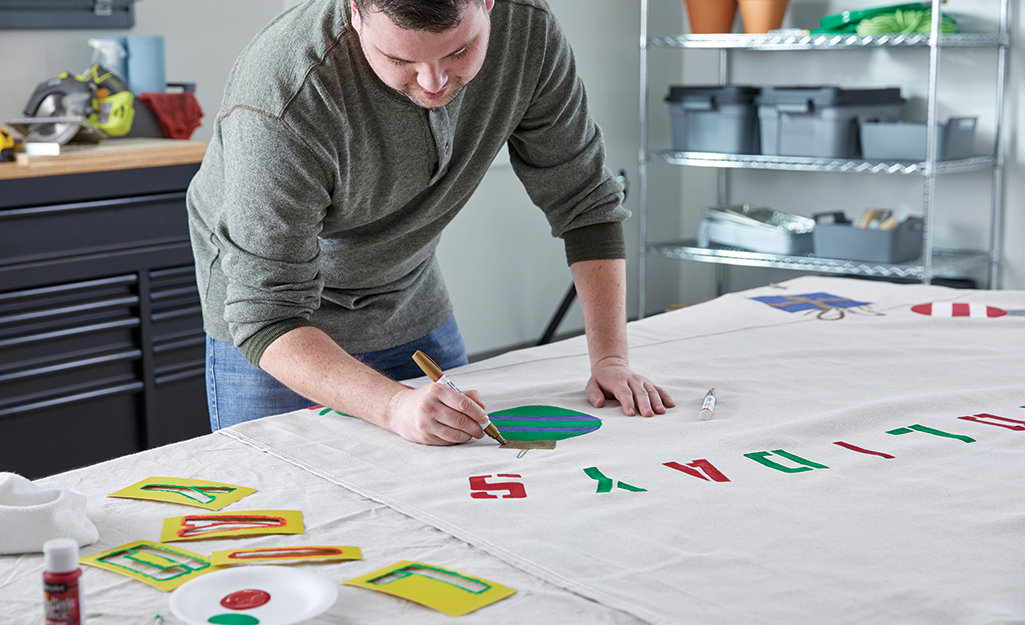
Painting graphics can give the backdrop a more festive feel.
- To create large, painted ornaments, outline 6 and 8-inch circles with a pencil on the canvas of the backdrop. Concentrate on placing the decorations at the top of the canvas where they will be visible in the photos.
- Paint each ornament shape a solid color. Let the paint dry. Then add decorative details such as polka dots, zig-zags or stripes. Be sure the solid color is completely dry before adding a pattern or details.
- Use paint markers to paint cap-loops on the top of the ornaments. Allow several hours for the entire backdrop to get dry.
Stand the Frame Up
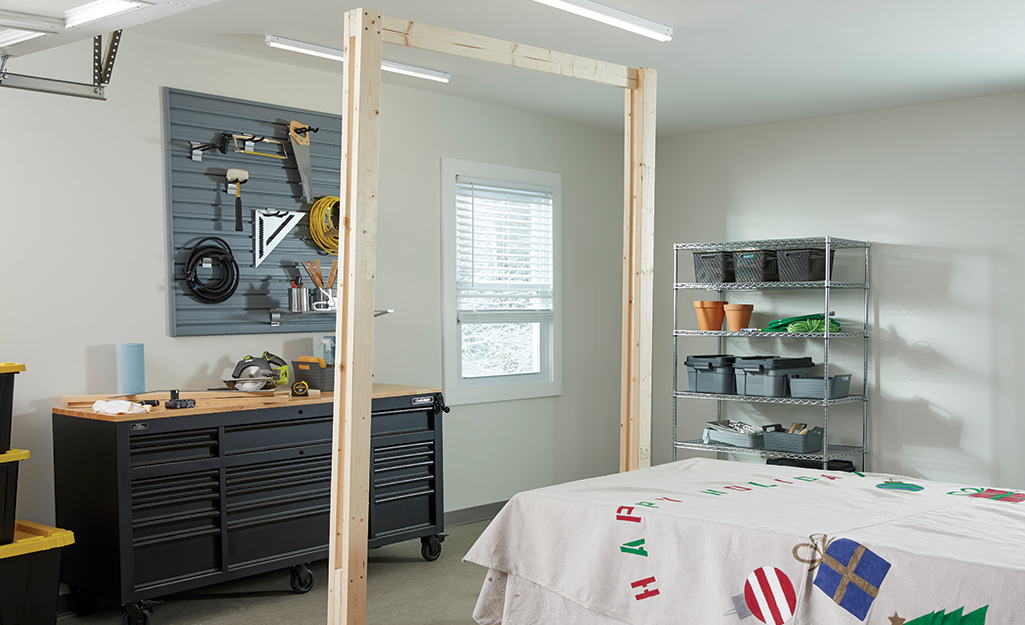
Figure out where you want to set up your photo booth. It should be easy to access without getting in the way of anything.
Stand the frame upright on its feet. It should be square and level.
The frame will be heavy and too wide for one person to carry comfortably. Ask a family member or friend for help when you need to move the frame.
Hang the Backdrop
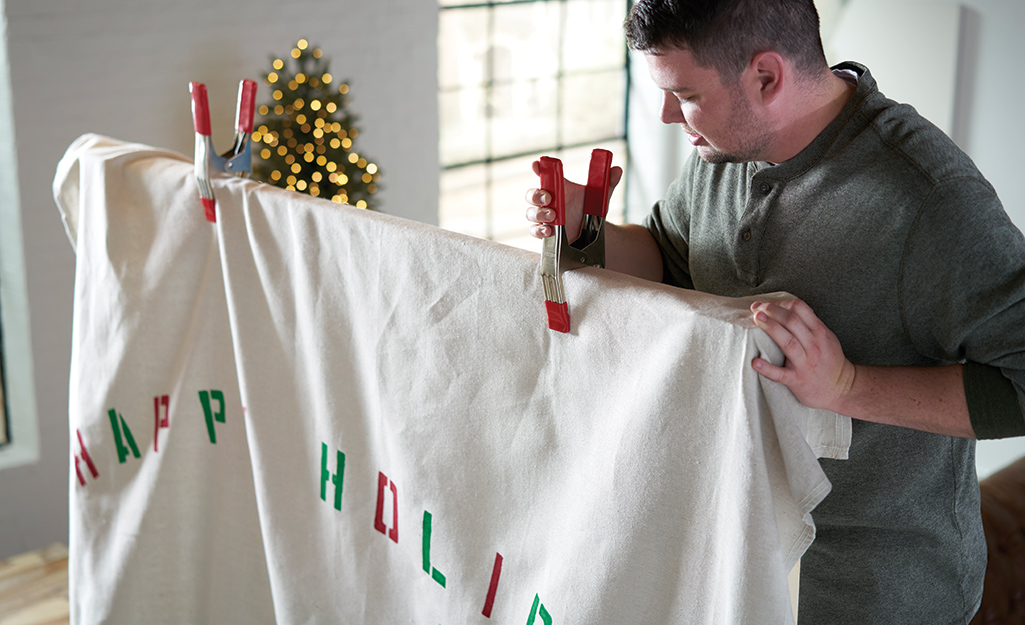
Once the cloth backdrop is completely dry, you can hang it from the wooden frame. Use spring clamps to clip the backdrop securely to the frame. Adjust as needed before taking photos during your event.
Take Photos
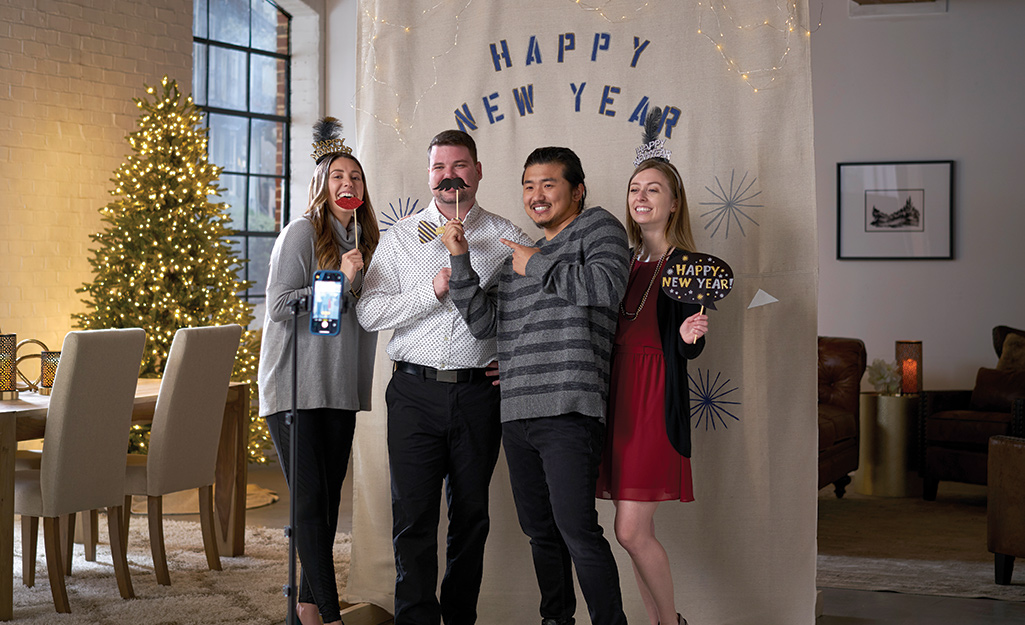
Lay out props that people can use as they pose in front of the backdrop. You can provide hats, feather boas, masks, flowers, greenery and more. When your guests arrive, encourage them to take selfies with the photo booth. You can also offer to use your phone or a camera on a tripod to take pictures of your guests.
If you entertain frequently, consider making different backdrops for different holidays and activities. All you have to do is change out the backdrop. Shop materials on The Home Depot Mobile App, or visit your local The Home Depot for other holiday decorations you can use to complement your holiday photo booth.


