How to Make a Ladder Golf Game
Last updated September 7, 2023
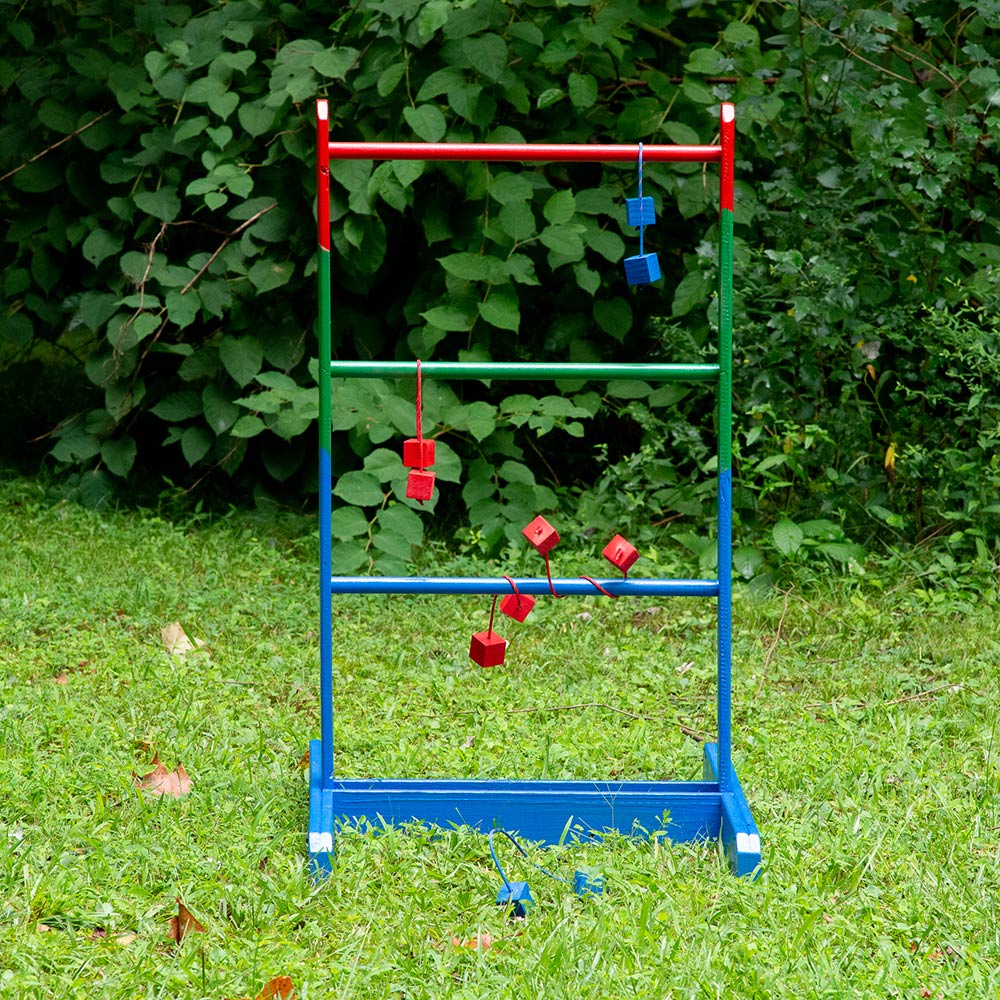
A great way to entertain the kids or add excitement to a game day get together, ladder golf is played by throwing golf balls, or "bolas," over rungs. This guide will show you how to make a ladder golf game, using some tools, paint and a bit of creativity, so your family can enjoy some friendly competition any day of the week.
Difficulty:
Intermediate
Duration:
2-4 hours
Table of Contents
Cut Wood
Mark Wood and Drill
Dry Fit the Side Supports
Assemble the Sides
Attach Cross Supports and Dowels
Make the Bolas
Cut Wood
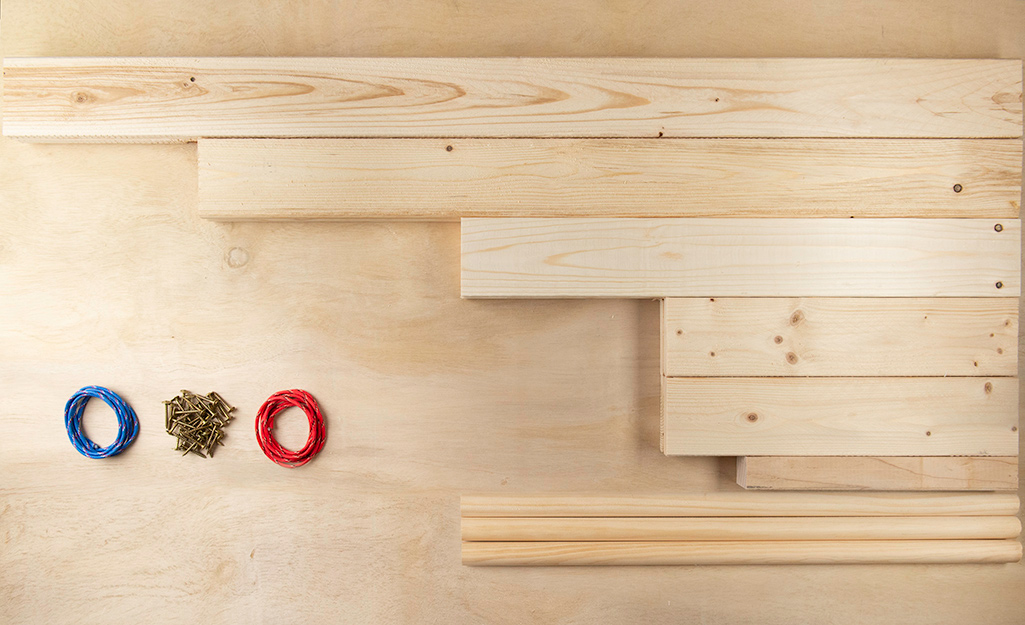
Using the cut list below, begin cutting the wood for your ladder golf game. Always wear safety gear such as masks, gloves and goggles when using a saw.
You'll need:
- Two 1 x 4 x 45 1/2-inch boards
- Two 1 x 4 x 36-inch boards
- Two 1 x 4 x 24 1/2-inch boards
- Four 1 x 4 x 15 1/2-inch boards
- Three 1 x 23 15/16-inch dowels. The dowel is 48-inches long. Measuring to 24-inches would make one longer than the other, due to the thickness of the saw blade. To end up with two dowels of equal length, measure to 24 inches and cut directly on the line instead of to the waste side like normal.
Dog ear option: While this step isn't neccessary when cutting, dog earring the upright, or vertical post, and the feet of the structure can make the finished product look nicer.
- Dog ear the top end of the 45 1/2-inch uprights by making a 45 degree cut on each corner.
- Dog ear both ends of the 36-inch feet, only on the side that will be the top.
- Dog ear one end of each 15 1/2-inch 1 x 4, only on the side that will be the top.
Tip: Always wear proper safety gear.
Mark Wood and Drill
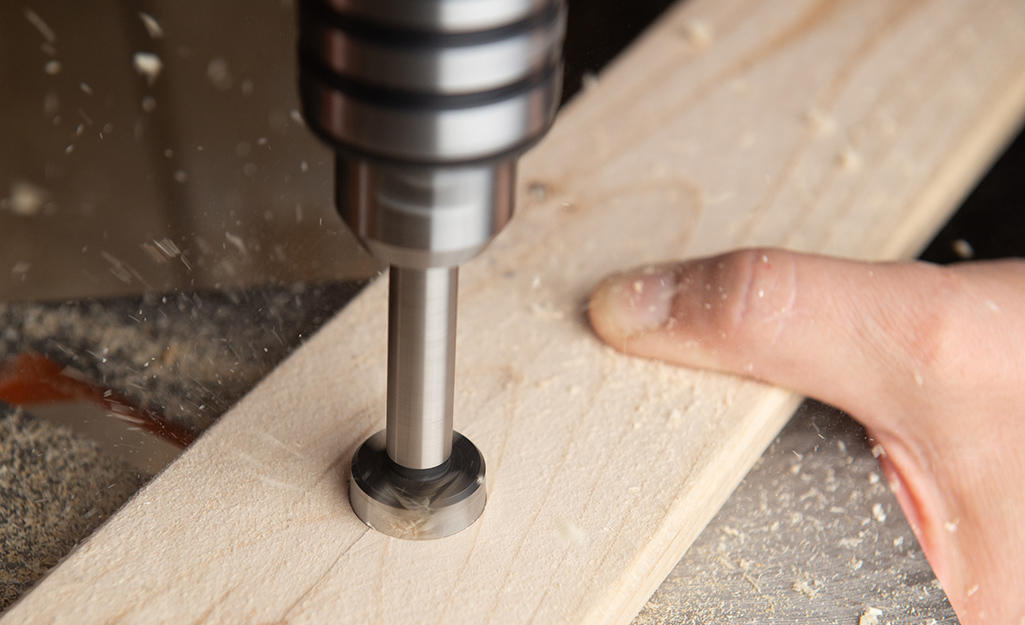
- Starting from the dog-eared end of each 45 1/2-inch 1 x 4, make marks at the 3-inch, 16-inch and 29-inch points in the center of the board.
- Drill each of these marks but do not drill all the way through. This step is making mortises for the dowels to lock into. Using a 1-inch forstner or spade bit, drill a 1/2-inch deep hole. The point of the 1-inch bit will mark the center of the hole. Use the 5/32 inches bit to finish that hole all the way through, if necessary; it will be the pilot hole for the screw.
- Use the 5/32 inches bit to drill a pilot hole in the center of each end of the dowels.
Dry Fit the Side Supports
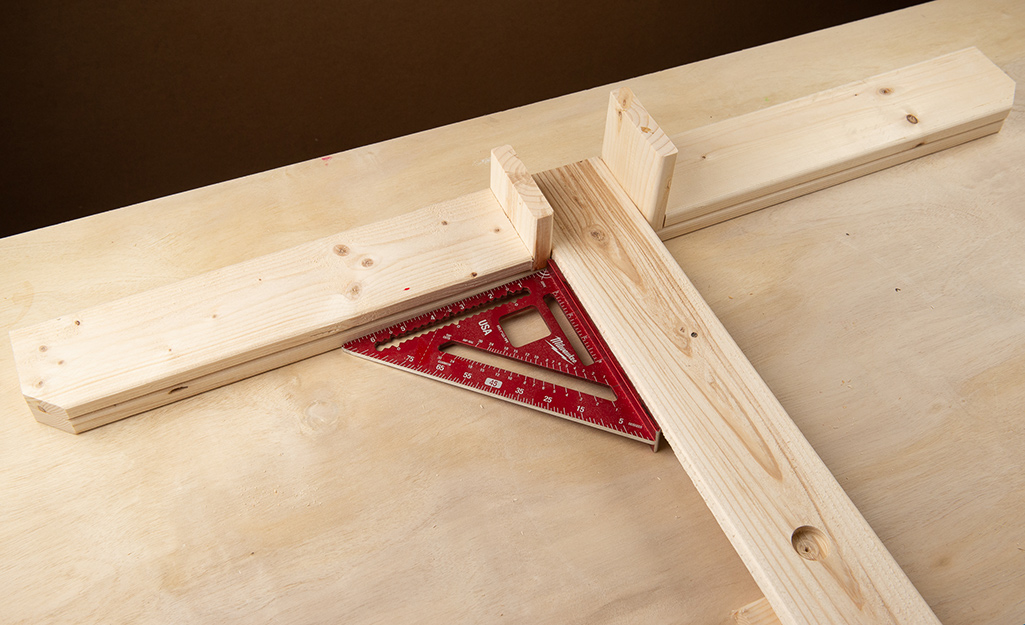
- First, dry fit the pieces to see if they need any adjustments.
- Put one of the 36-inch feet on the work surface.
- Lay one of the 45 1/2-inch uprights on it to make a “T” shape.
- At each end of the 36-inch board, place one of the 1 x 4 x 15 1/2-inch boards.
- There should be just enough room between each 15 1/2-inch board and the 54-inch board to fit the thickness of a 1 x 4. Use a piece of scrap to verify.
Assemble the Sides
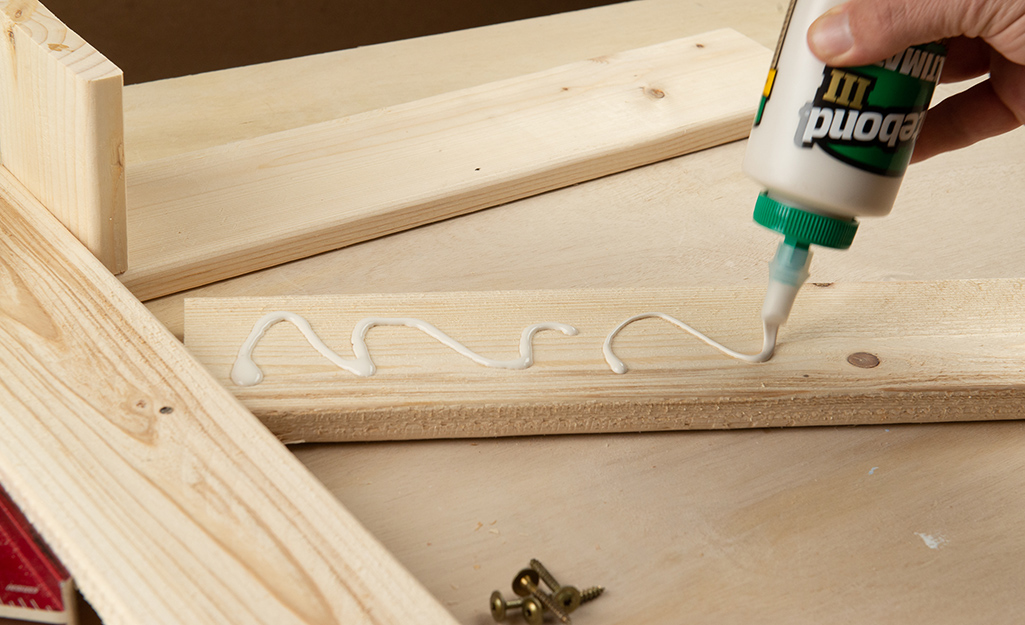
After the dry fit and any necessary adjustments, the pieces are now ready to be assembled.
- Spread glue on the face of the first 15 1/2-inch board and then use four screws to secure it in place.
- Do the same for the other 15 1/2-inch boards.
- Use two pieces of scrap 1 x 4 as spacers to place the 45 1/2-inch upright. Make sure it is square in relation to the foot.
- Glue and screw the 45 1/2-inch uprights in place using three screws in a triangle pattern per side.
Attach Cross Supports and Dowels
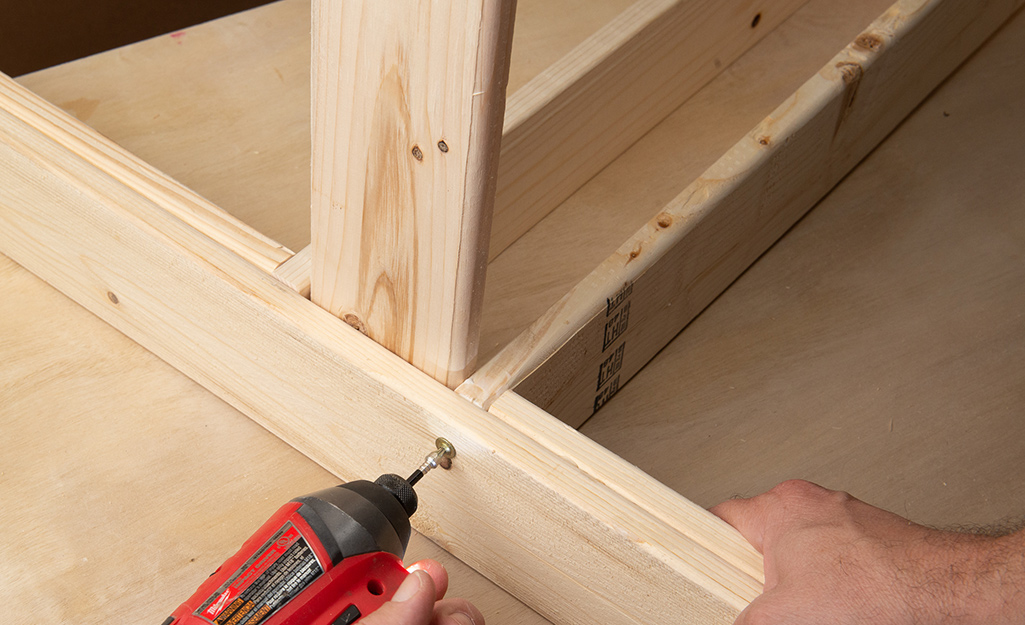
You may need a helper for this part. You can also use two clamps, if you have them nearby.
- Using pan head screws is important for this step, they will pull the joint tight without pulling through the wood.
- Begin by dry fitting to be sure the dowels and braces are the correct length.
- After dry fitting, leave the cross supports in dry, temporarily.
- One by one, apply glue to the holes in one upright. Insert a dowel, and screw it in through the upright, using the pilot hole. Leave the screw out by about 1/8-inch at this point.
- Repeat that process on the other side.
- Remove the cross supports, apply glue at the places where they contact the feet and put them back in place.
- Use two screws per side.
- Clean up any glue with a damp paper towel before it sets up.
Make the Bolas
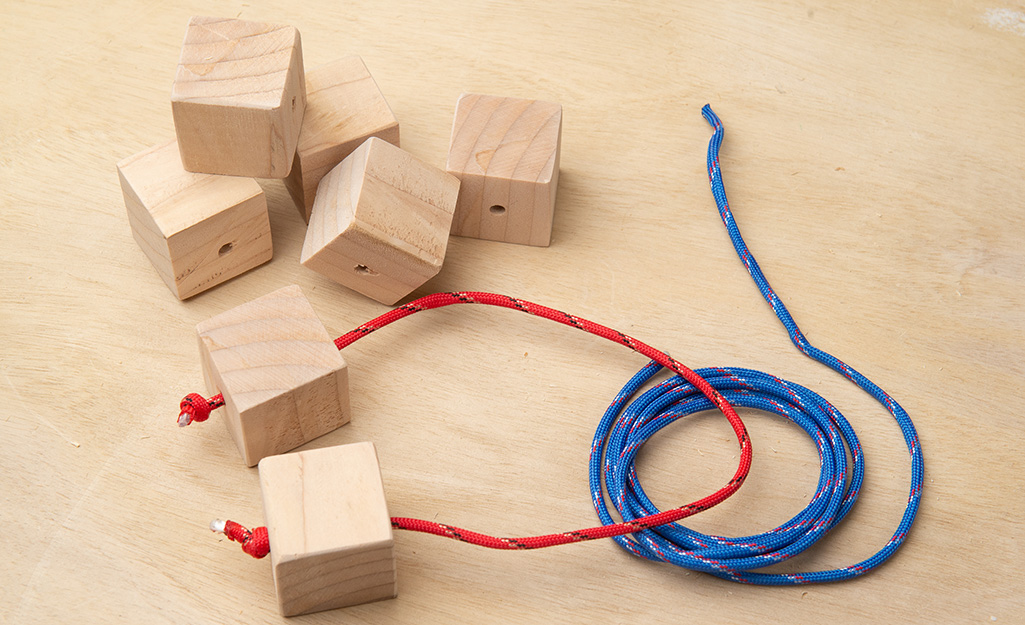
Traditionally, the bolas are made from golf balls, but we used paracord rope and wood to make this set.
- Mark a line every 1 9/16-inches on the 2 x 2, until you have 12 squares marked.
- Before cutting these squares, it will be easier to drill the holes with the piece intact.
- Mark the center of each cube and drill a 1/4-inch hole.
- Cut the cubes on the line, in the same manner as the dowels.
- Cut six 20-inch pieces of paracord.
- Thread the paracord through two cubes and tie knots in the end so that the cubes are 13-inches apart.
- Trim any extra cord.
Tip: These instructions are to make two sets of bolas. Keep in mind, these bolas can constitute a hazard for young children. Do not let young children use them without adult supervision.
Finish and Play
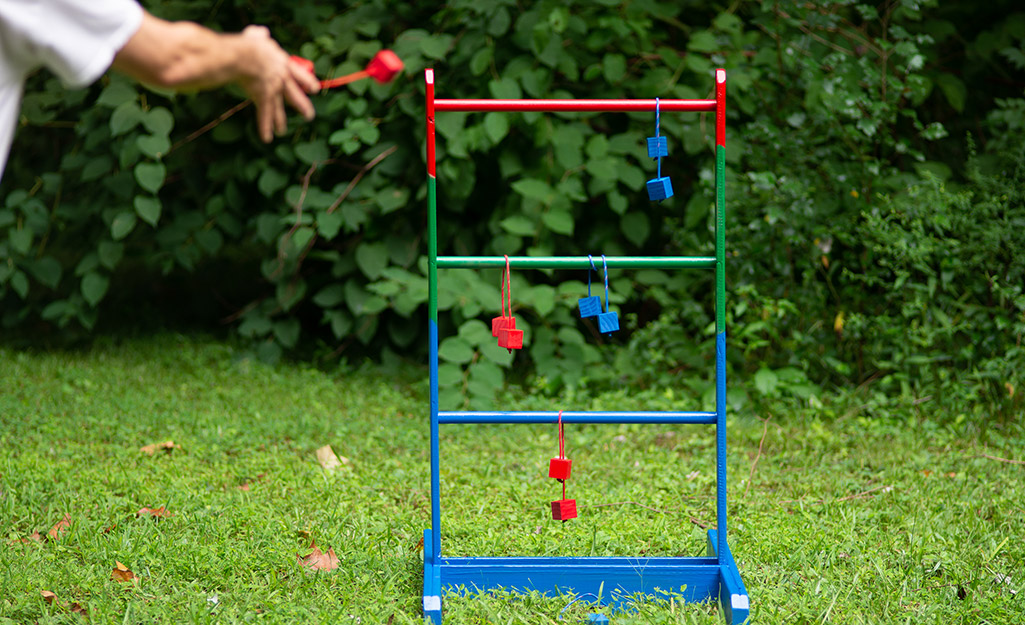
Once you've finished building your ladder golf game, it's time to paint or stain it to your preference. Use your imagination, or let the kids help, and get creative with it. Then head outside and play.
Here's how to play:
- The object of the game is to toss the bolas so that they
wrap around the rungs of the ladder. The game is played in rounds, with players tossing three bolas each. - Ideally you should place ladders about 12 to 15 feet apart from each other.
- The top rung is worth three points, the middle rung is worth two points and the bottom rung is worth one point. The first team/player to get to 21 points wins.
Ladder golf is a great way to turn an ordinary day at home into game day in the backyard. Ready to get the supplies you need to make a DIY ladder golf game? The Home Depot delivers online orders when and where you need them.

